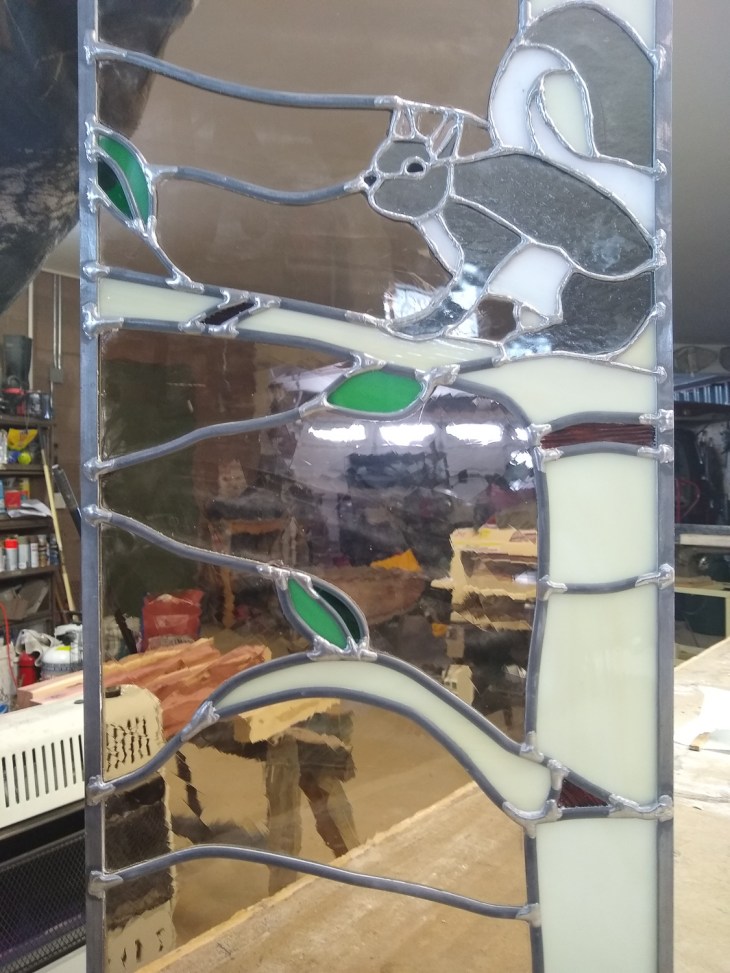
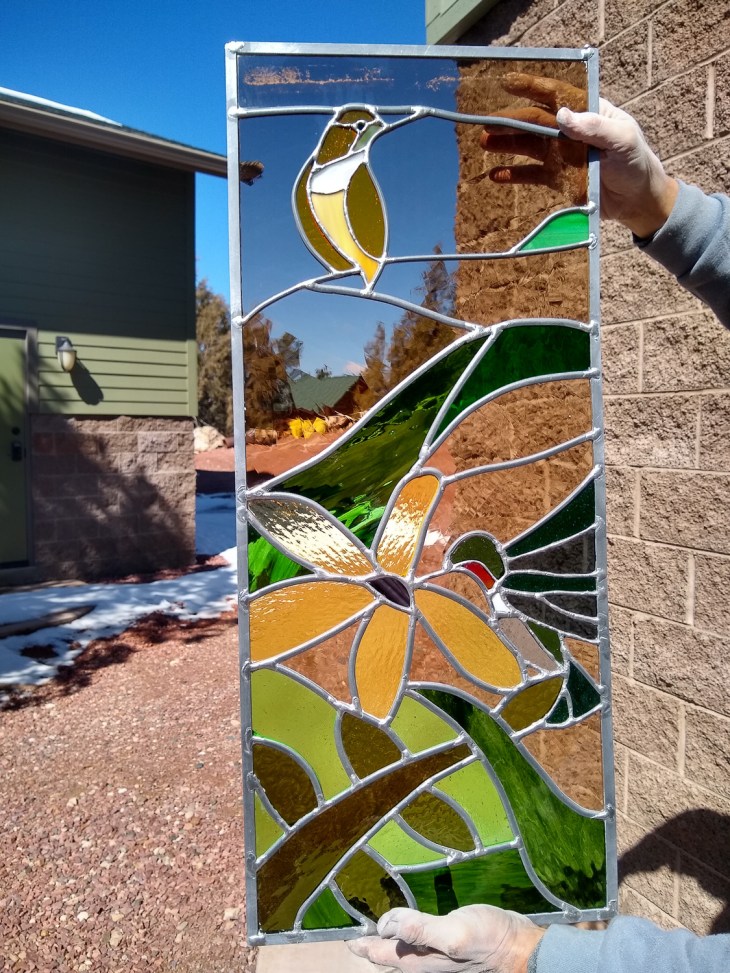
Finished stained glass panels for floor lamp
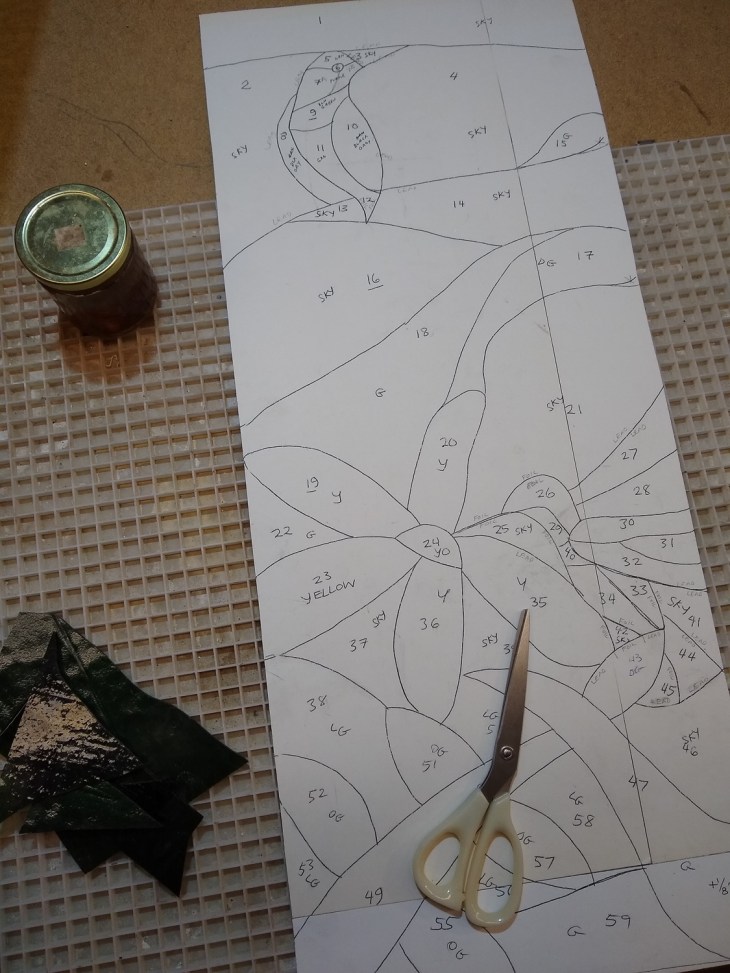
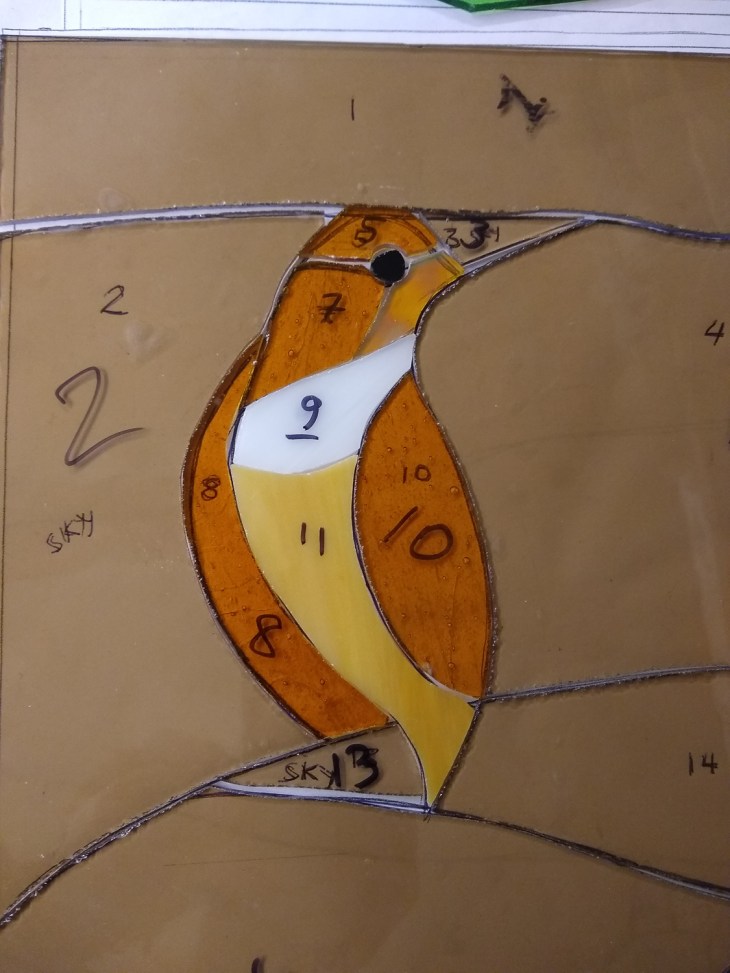
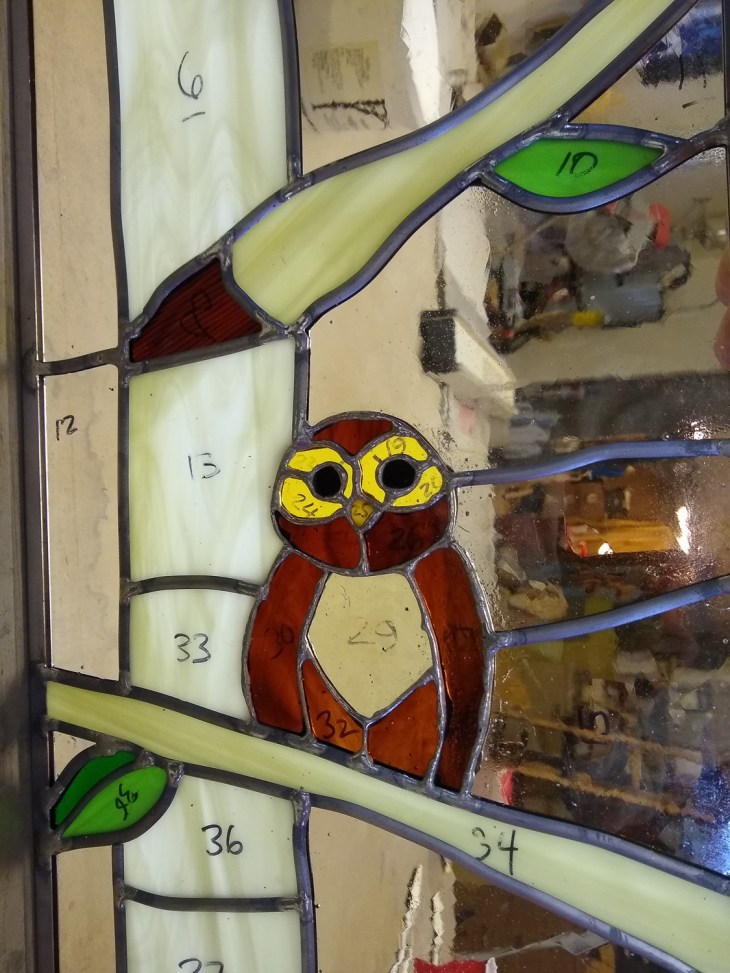
Remember those stained glass panels I wrote about here? .. https://kritterspaw.com/2019/03/18/one-thing-begets-another/
We have been working hard to get the woodworking done to receive the panels I worked so hard on… but the woodworking has proven to be as labor intensive as the glass work.
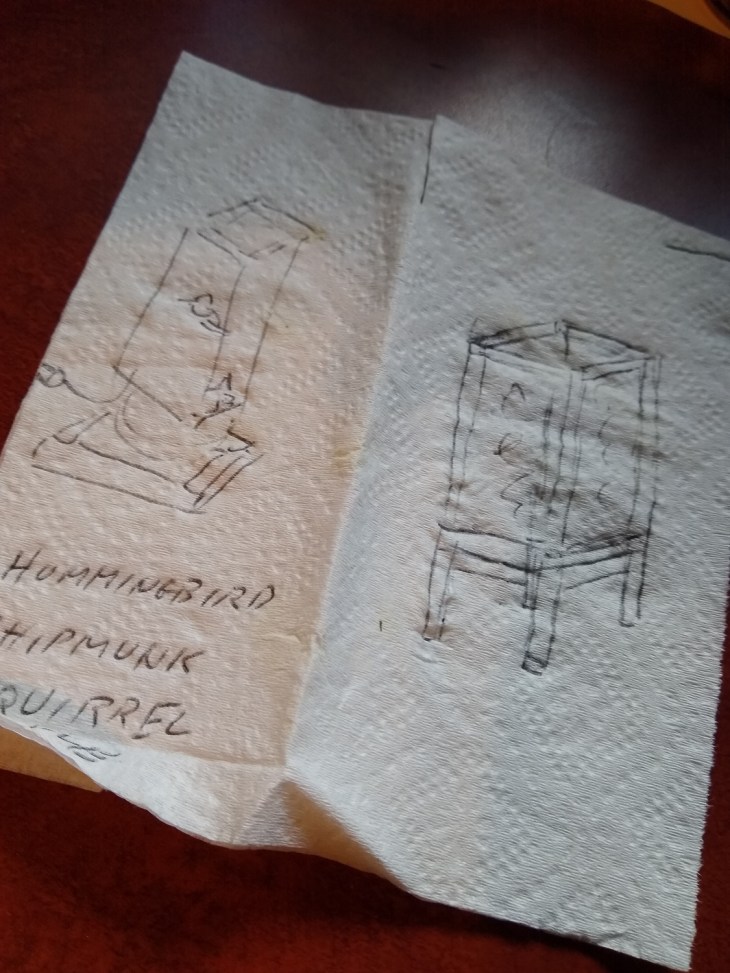 Initial back of the napkin concept drawing
I got a hearty laugh, when someone mentioned to me the other day, that as I put out these blogs, that people will know how to make our projects.
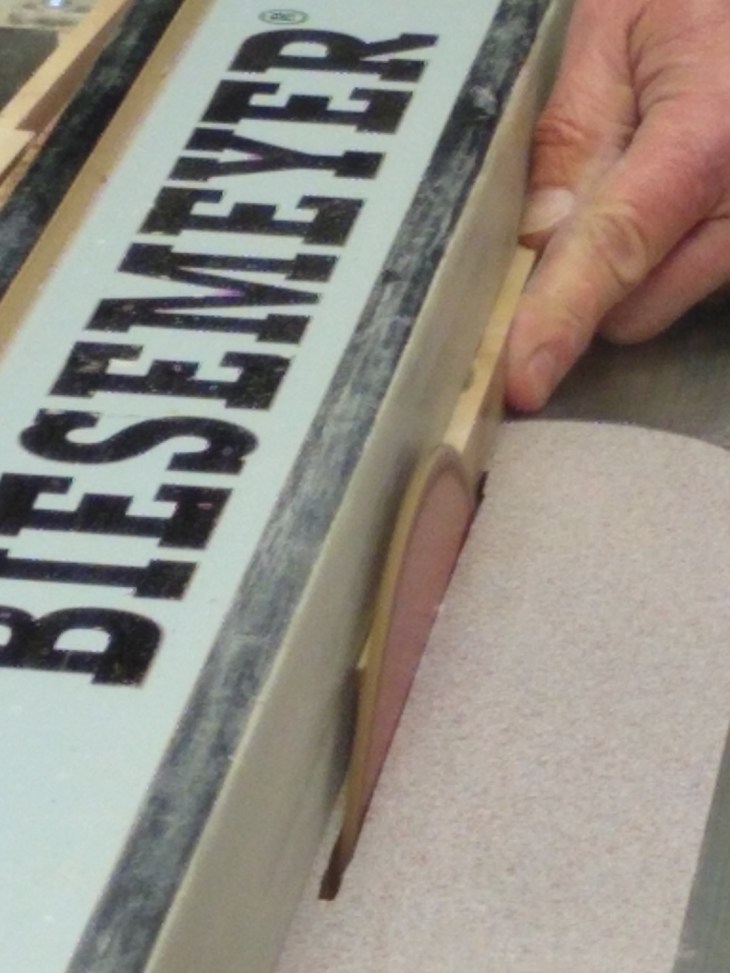
 Making pillars for uprights to support stained glass panels
We never have plans for any of our projects. Projects for us start as a hair brain idea and a need for something… in this case for a floor lamp to be able to read by… which morphed to wanting to match it to the stained glass door we had just finished.
 Cut upright pillars
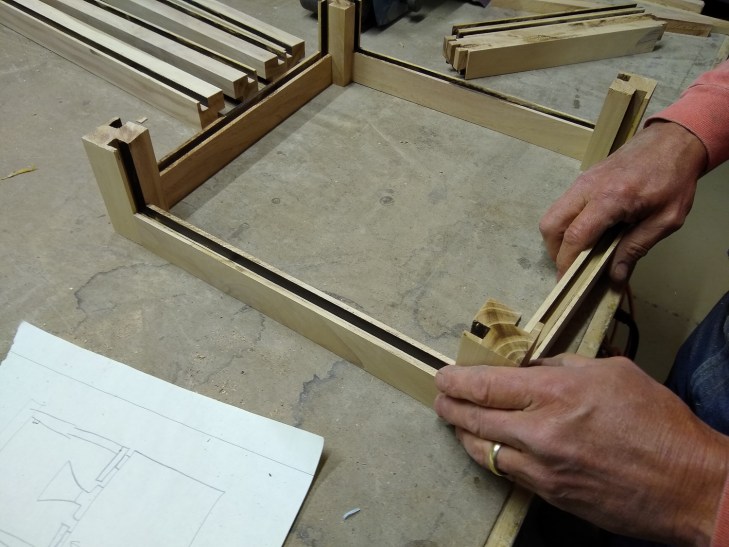 Trial fit of pillars to stretchers
We actually think through the project and ask ourselves questions as to how it might go together and draw up multiple concept cartoon drawings for the different pieces and phases of the project.
 Cutting list
We then make a cutting list of the pieces and parts that need to go together, making sure to include stacked dimensions of the veneered pieces, various tongues, grooves, or other cut outs.
 Glued together top section for glass panels
We often design on the fly, and the project may morph as we go along.
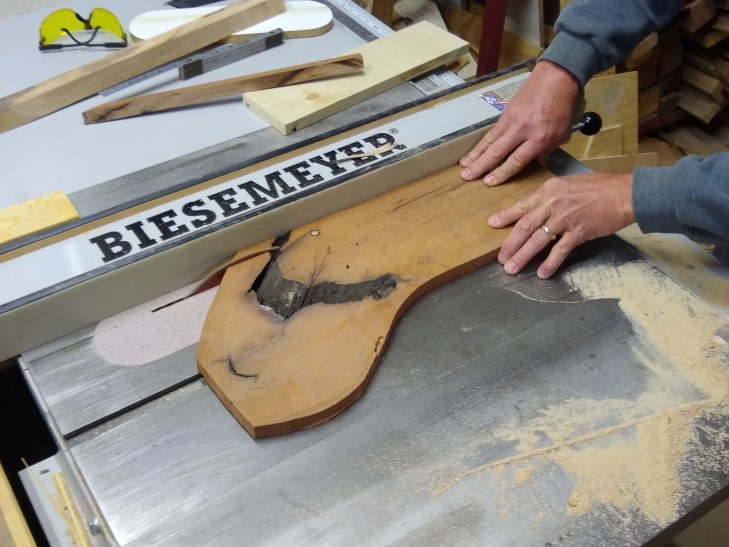 Cutting mesquite inlay for shelf
 Gluing shelf together
Which was the case when we decided to make a pull out shelf for the lamp base, so that we could sit a glass of wine (or coffee) on it while we read.
 Making our own baseboard molding from pecan lumber (started as tree cut from our yard)
 Cutting moulding on baseboard
Of course, in true Ritter style, the shelf had to have 3 inlays, made with birch, mesquite and pecan.
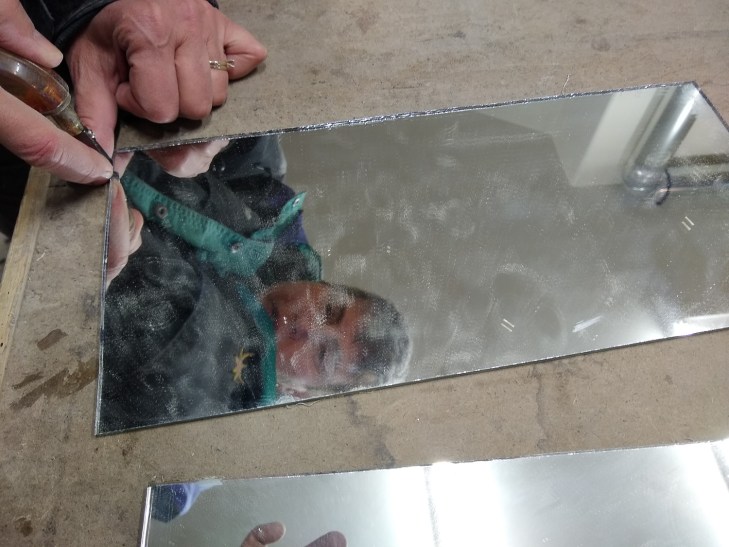 Cutting mirror for light reflection
 Retainer for mirror on top stretchers
To further complicate things as we went along, we decided to add a mirror to the top of the lamp to reflect back light that would beam through the glass panels… so yet another change had to be incorporated … no drawings to be had.
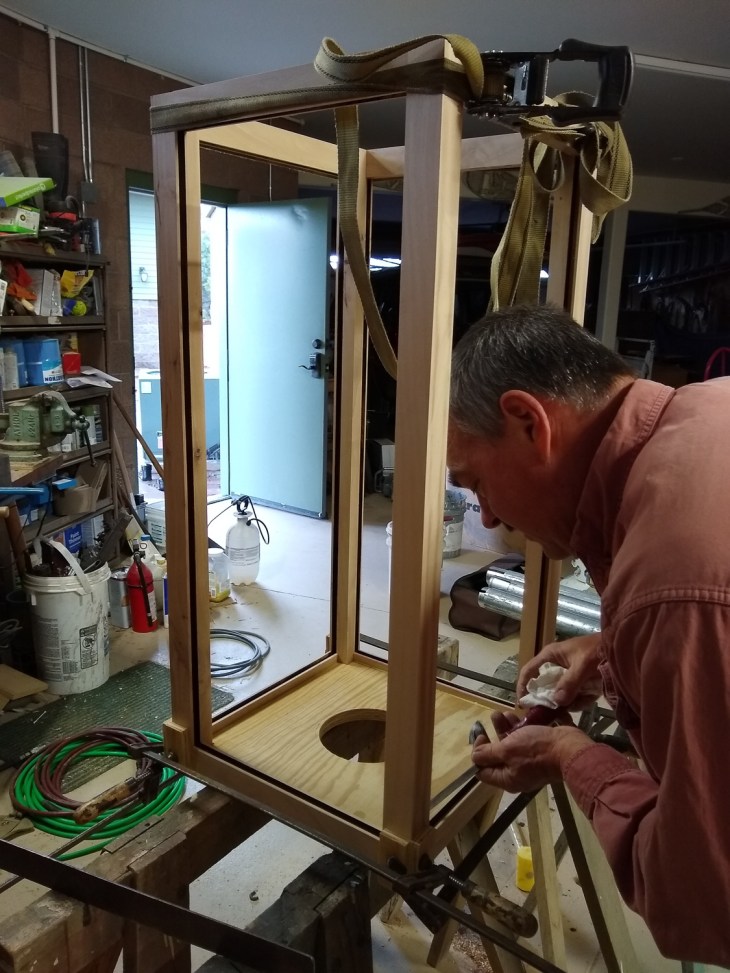
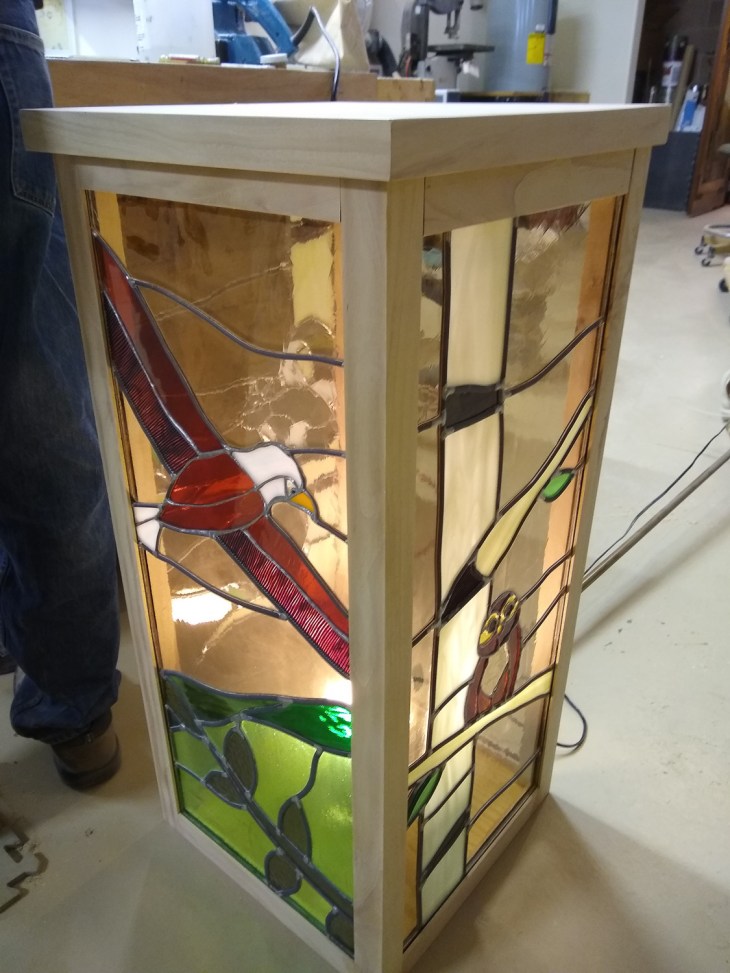 Trial fit of glass panels with light and mirror
Once we started on the base, cutting all the sides, top, bottom, and lots of pecan veneer… we decided the empty box would be better with a door… and power to be able to charge a tablet or phone.. and storage for magazines and such.
 Cutting birch bottom section pieces
 Cutting veneer
So with yet another change (no drawings) we are off on the fly again morphing the design to continuously improve this already interesting project we have embarked on (same ol’, same ol’ around here!)
 Bits and pieces of bottom section, cut and veneered
 Hinge recessed for door
With all the bottom pieces cut, veneered, shelf designed, cut, glued, door made, and new designs incorporated… we are finally ready for final sanding (and sanding!) and gluing.
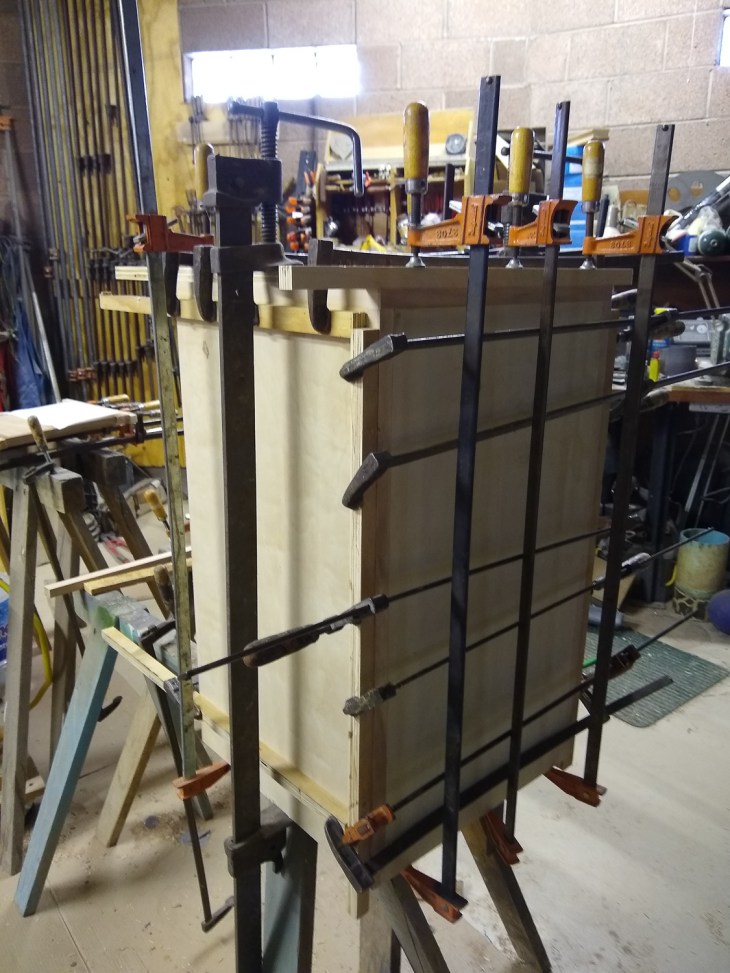 Lower section glued and clamped together
Someone else suggested once, we could put our projects on Pinterest… What?, and have them steal and make our ideas? Ha, not likely.
 Gluing baseboard moulding
 Staining lower cabinet section
Since only a subset of the actual steps and operations are represented here (none of the jointing, plaining, mortise & tenons, etc, etc), no plans in sight, not to mention the 6 months of labor… I think we’re safe in no one copying our designs! There I go, heartily laughing again. You know what they say, ” Laughter is the best medicine.”
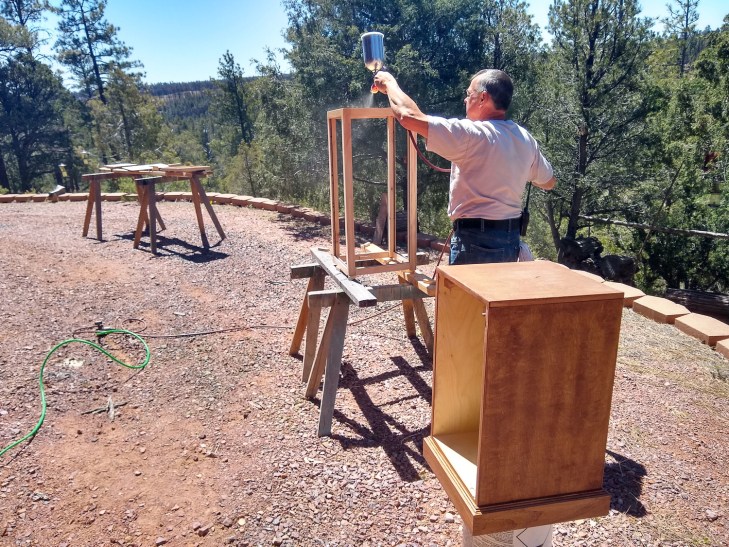 Spray lacquering cabinet top, bottom, and pieces
No matter. We work for ourselves and do projects that intrigue and interest us for our own perceived ‘need’. We enjoy the work, the problem solving, and the end product. It is always intellectually challenging, fulfilling, and leaves us with a sense of pride and accomplishment. That’s all that really matters.
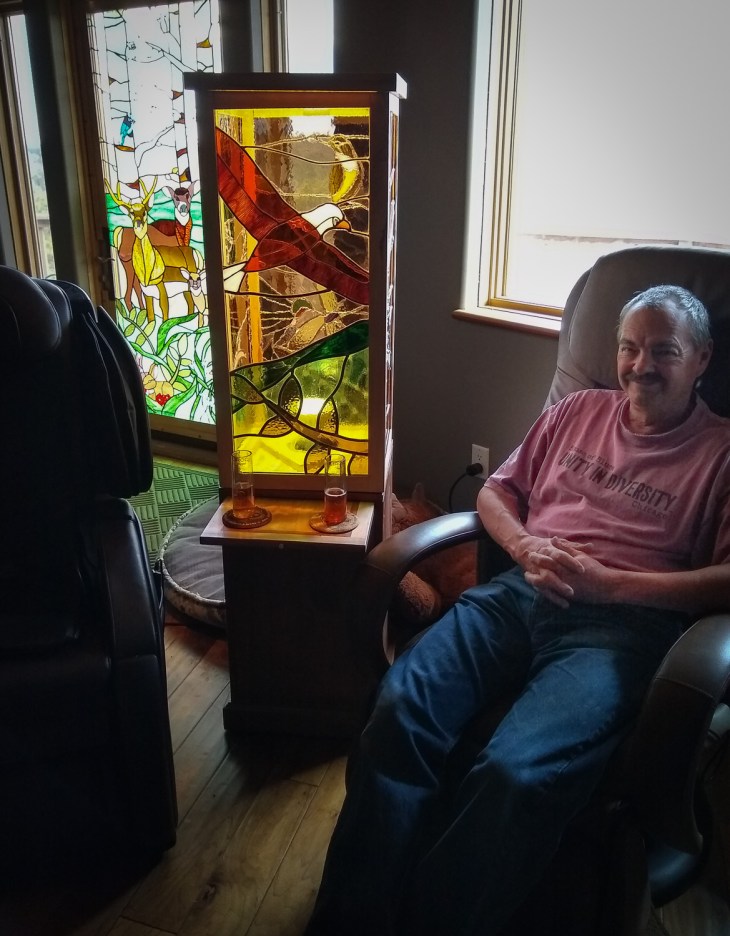 Finished lamp with shelf pulled out
 Finished lamp in place