So if you’ve followed this blog you might have noticed that we take on some fairly oddball and eclectic projects. It’s not because we lie awake at night and try to think of these ‘interesting’ projects. We actually see a need… and just aren’t scared of the work or the ‘we’ve never done that before’ or ‘we don’t know how’, or ‘we don’t have the skillset’ (my personal favorite). Those phrases we hear from other people, just aren’t in our vocabulary. Many of our projects, believe it or not, come about because we come up with some good idea… but we can’t buy ‘it‘ or it is too expensive to buy.
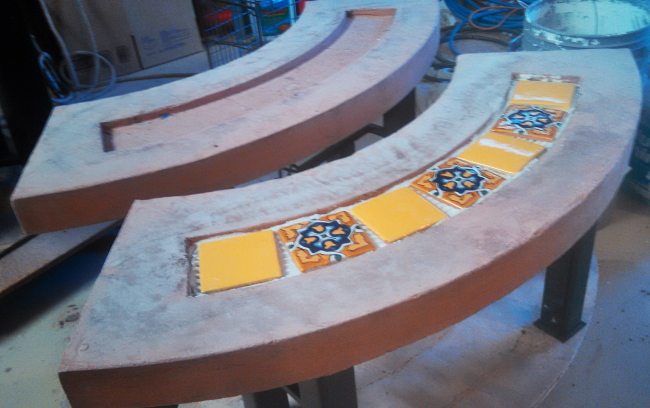
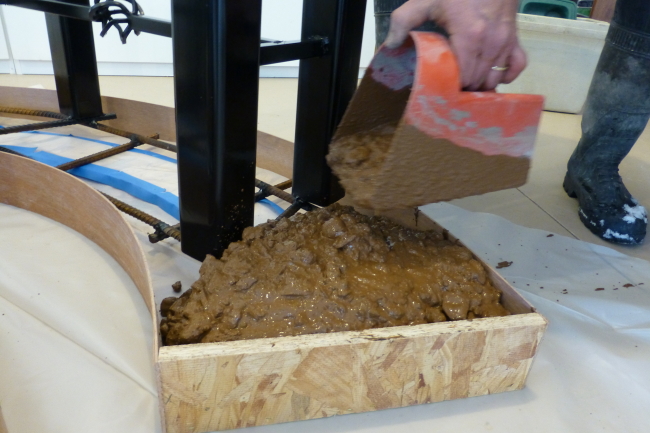
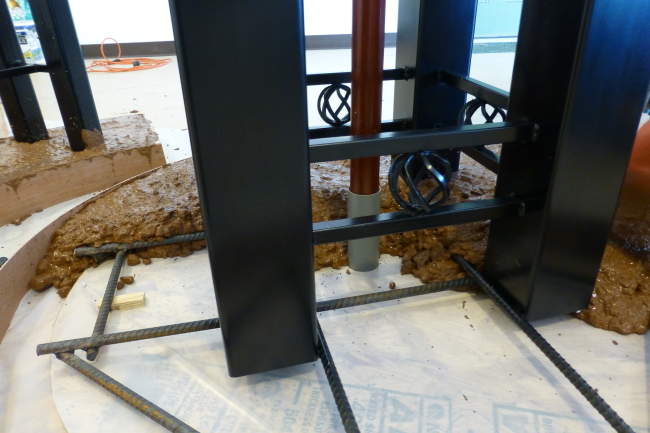
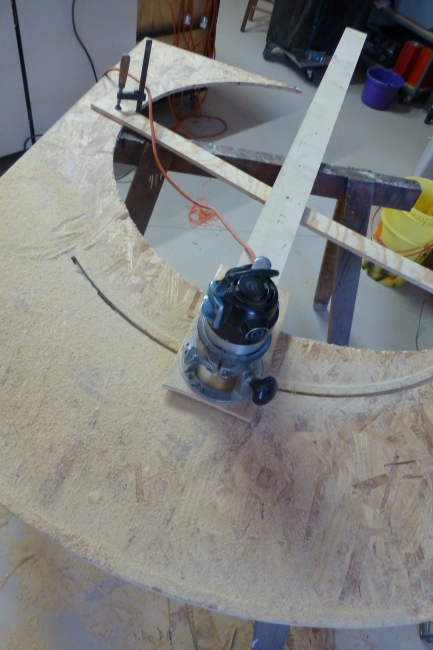
Take our concrete table for instance. Who builds their own concrete table? We didn’t set out to build our own concrete table… but we were just too cheap to pay the 4 figures for a seemingly simple concrete table. We asked instead… ‘how hard could it be’? Well… we found out!
But I digress… We are still working on the project that just keeps giving… our pizza oven. Somehow it’s hard to work outside when the ground is covered with ice and snow. But we are determined to find an end to this project so that we can move on to something else. So we put in the wiring and the lights.
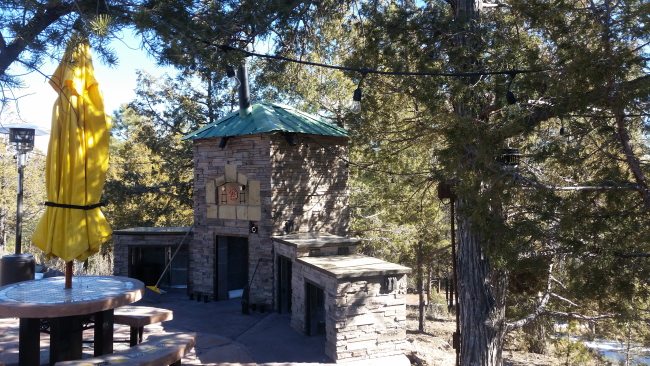

We put lights under the eaves of the pizza oven roof, aiming down at the granite counter top. We also hung mood lights in the trees. We draped them across the drive way, drawing the eye to the pizza oven itself. To do so, we erected a tall 12′ post to swag the lights between. We found the tall silver post, at least during the daylight, to be a bit of an eyesore.
At night, you can’t really see the post, and the lights look good.


So we decided that the silver post needed something to distract from it. Maybe it’s being in the middle of winter with snow all around, and more expected. Maybe it’s our unconscious desire for the onslaught of Spring. Wellll…..
When we were in New Mexico in November 2015 (just a couple months ago), we went to Ruidoso as recommended by our friend Gary. We purchased a ‘bushel’ of metal flowers and brought it home, not knowing exactly what to do with it. It has sat in our basement ever since. That is until we were looking for something to distract from that silver post. So we cut the base off and the flowers apart and re-purposed them… trimming them and cutting them back, flattening their ends, and drilling holes in them. We painted the post and mounted the flowers, carefully arranged, like a vertical flower arrangement. Let there be color in the middle of our winter. No more eye sore of a silver post… Let there be flowers.
 Post before
 New painted post with flowers
 Flowers
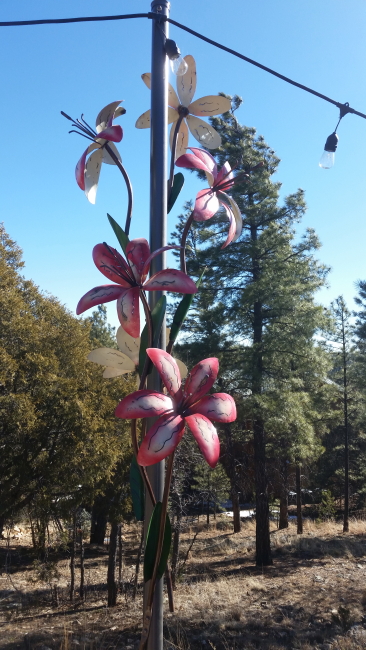 Flowers close
Much better!
And people ask us what we do in retirement.
Nutin’ . Sit around and drink coffee all day. 🙂