Don’t do this at home

We do the darnedest things!, as we have been told more than once. So why stop now.

We got a wild hair, and decided we had a paver stone pad that begged for some kind of artful adornment. After scratching our heads a bit, and pondering the self-made dilemma, we decided that special something should be a sundial.

Ok, I know, now I’ve got you scratching your head, but stay with me. This sundial would not only read time via shadows, but it would be a 6′ circle made from re-bar (thank you, Pat & Leonard). So we did a bit of astrophysics to calculate the longitude / latitude for our elevation to determine proper degree of alignment for the numbers, and appropriate angle and height of the gnomon (you know, that angled piece that projects the shadows).

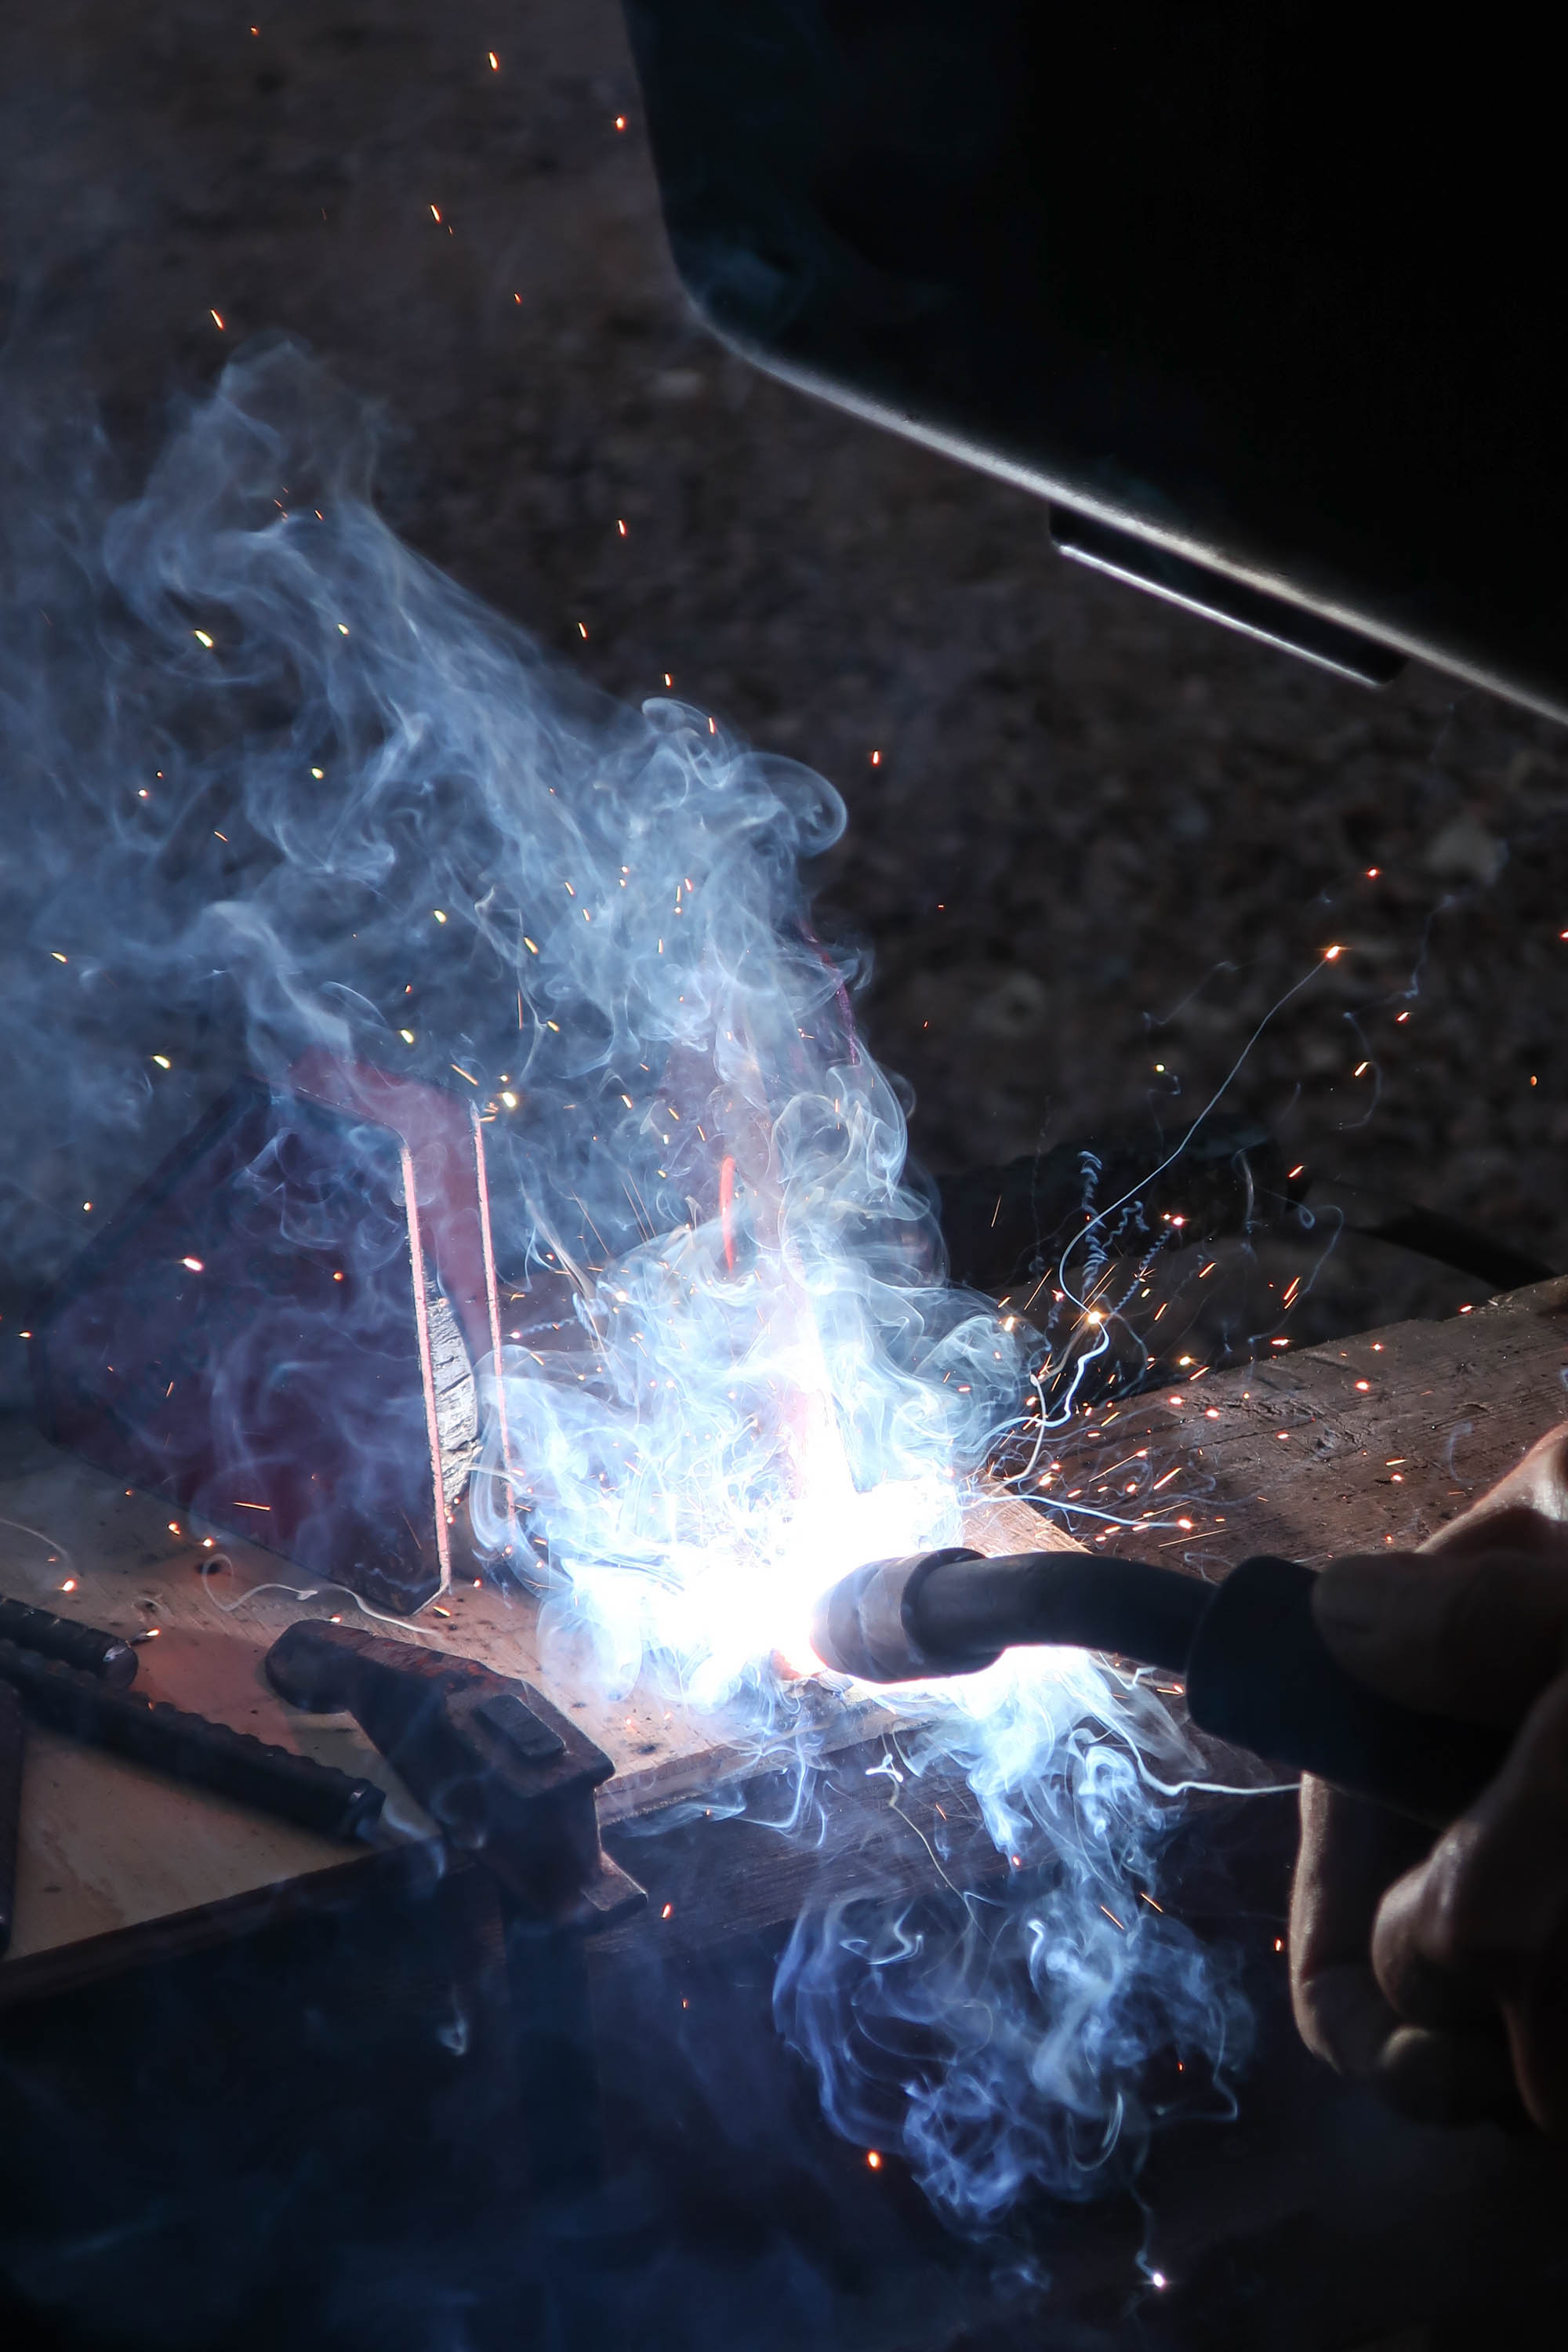
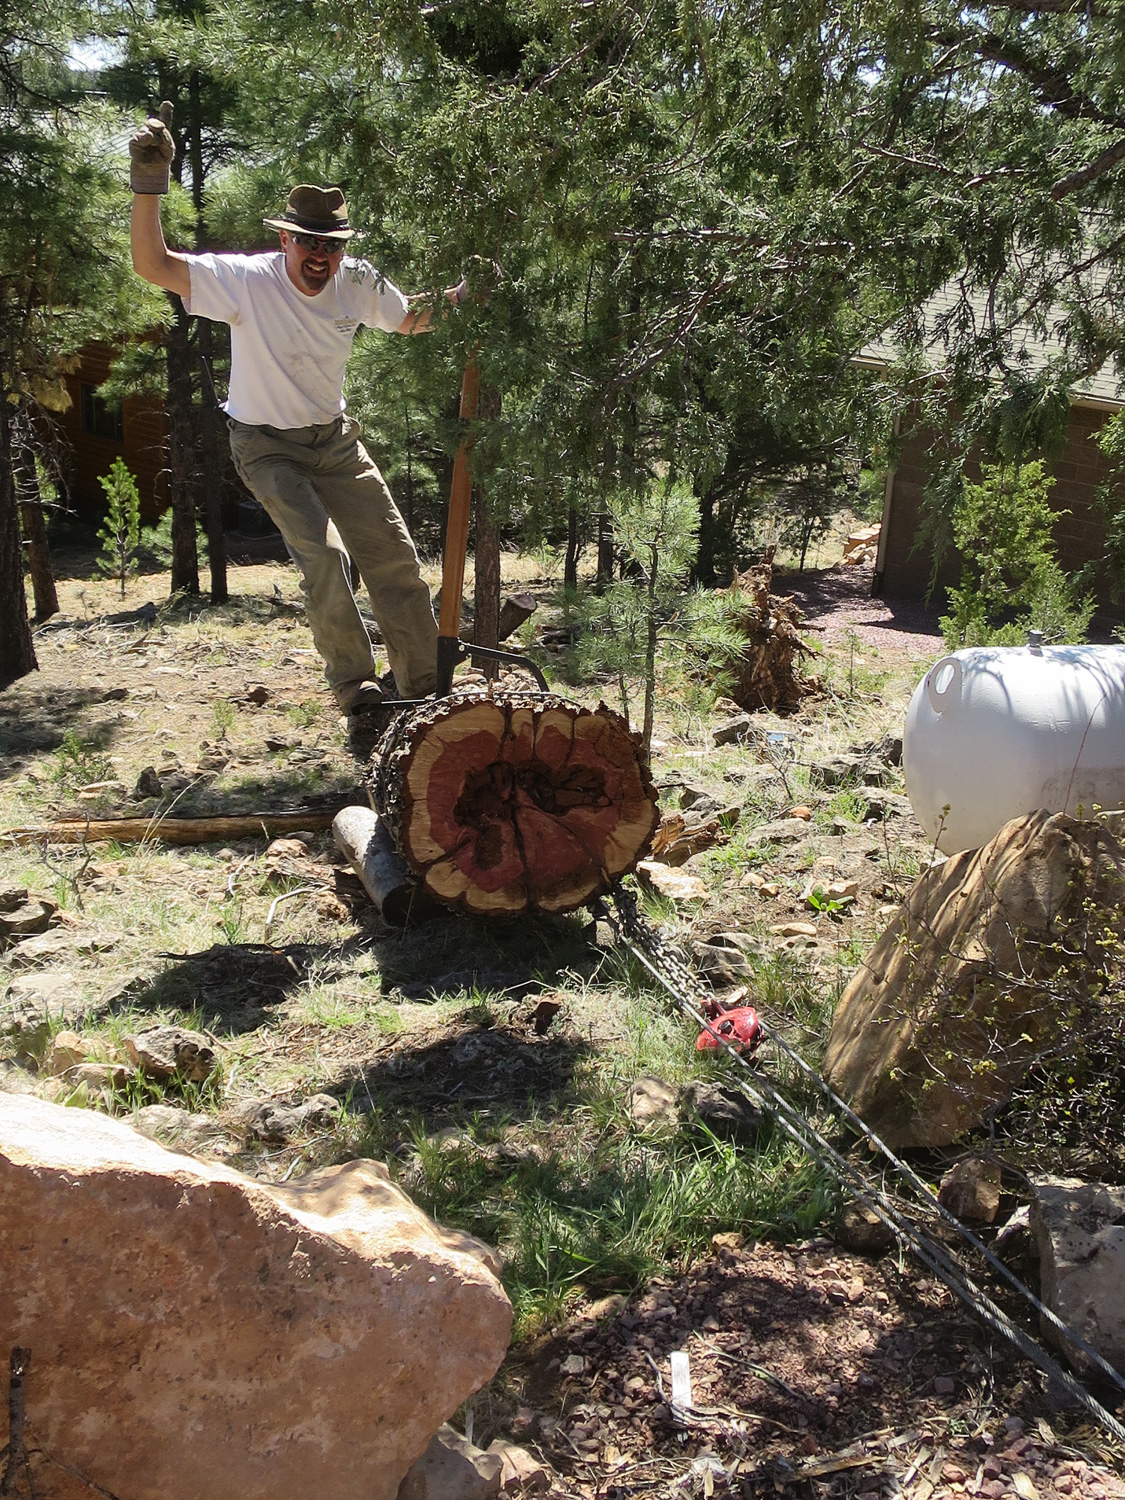
We built a jig made up of spaced ‘bumpers’ to cold-form the 1/2″ rebar into a perfect 6′ circle. As we bent it around, the re-bar resisted, so we had to convince it to conform to our whim with a helper bar and inch-winch, putting ‘keeper’ bumpers on the outside to contain the re-bar.

It was definitely a learning experience as the re-bar let loose a couple time. John has the bruises to add insult to injury. The 3rd time was the charm, making it easier for the inside 5’2″ rebar inner circle. By the time we bent the 2nd circle we started putting straps around the circle such that we could safely flip it to weld the opposite side, hoping for no more ‘un-furling of the re-bar’ incidents.

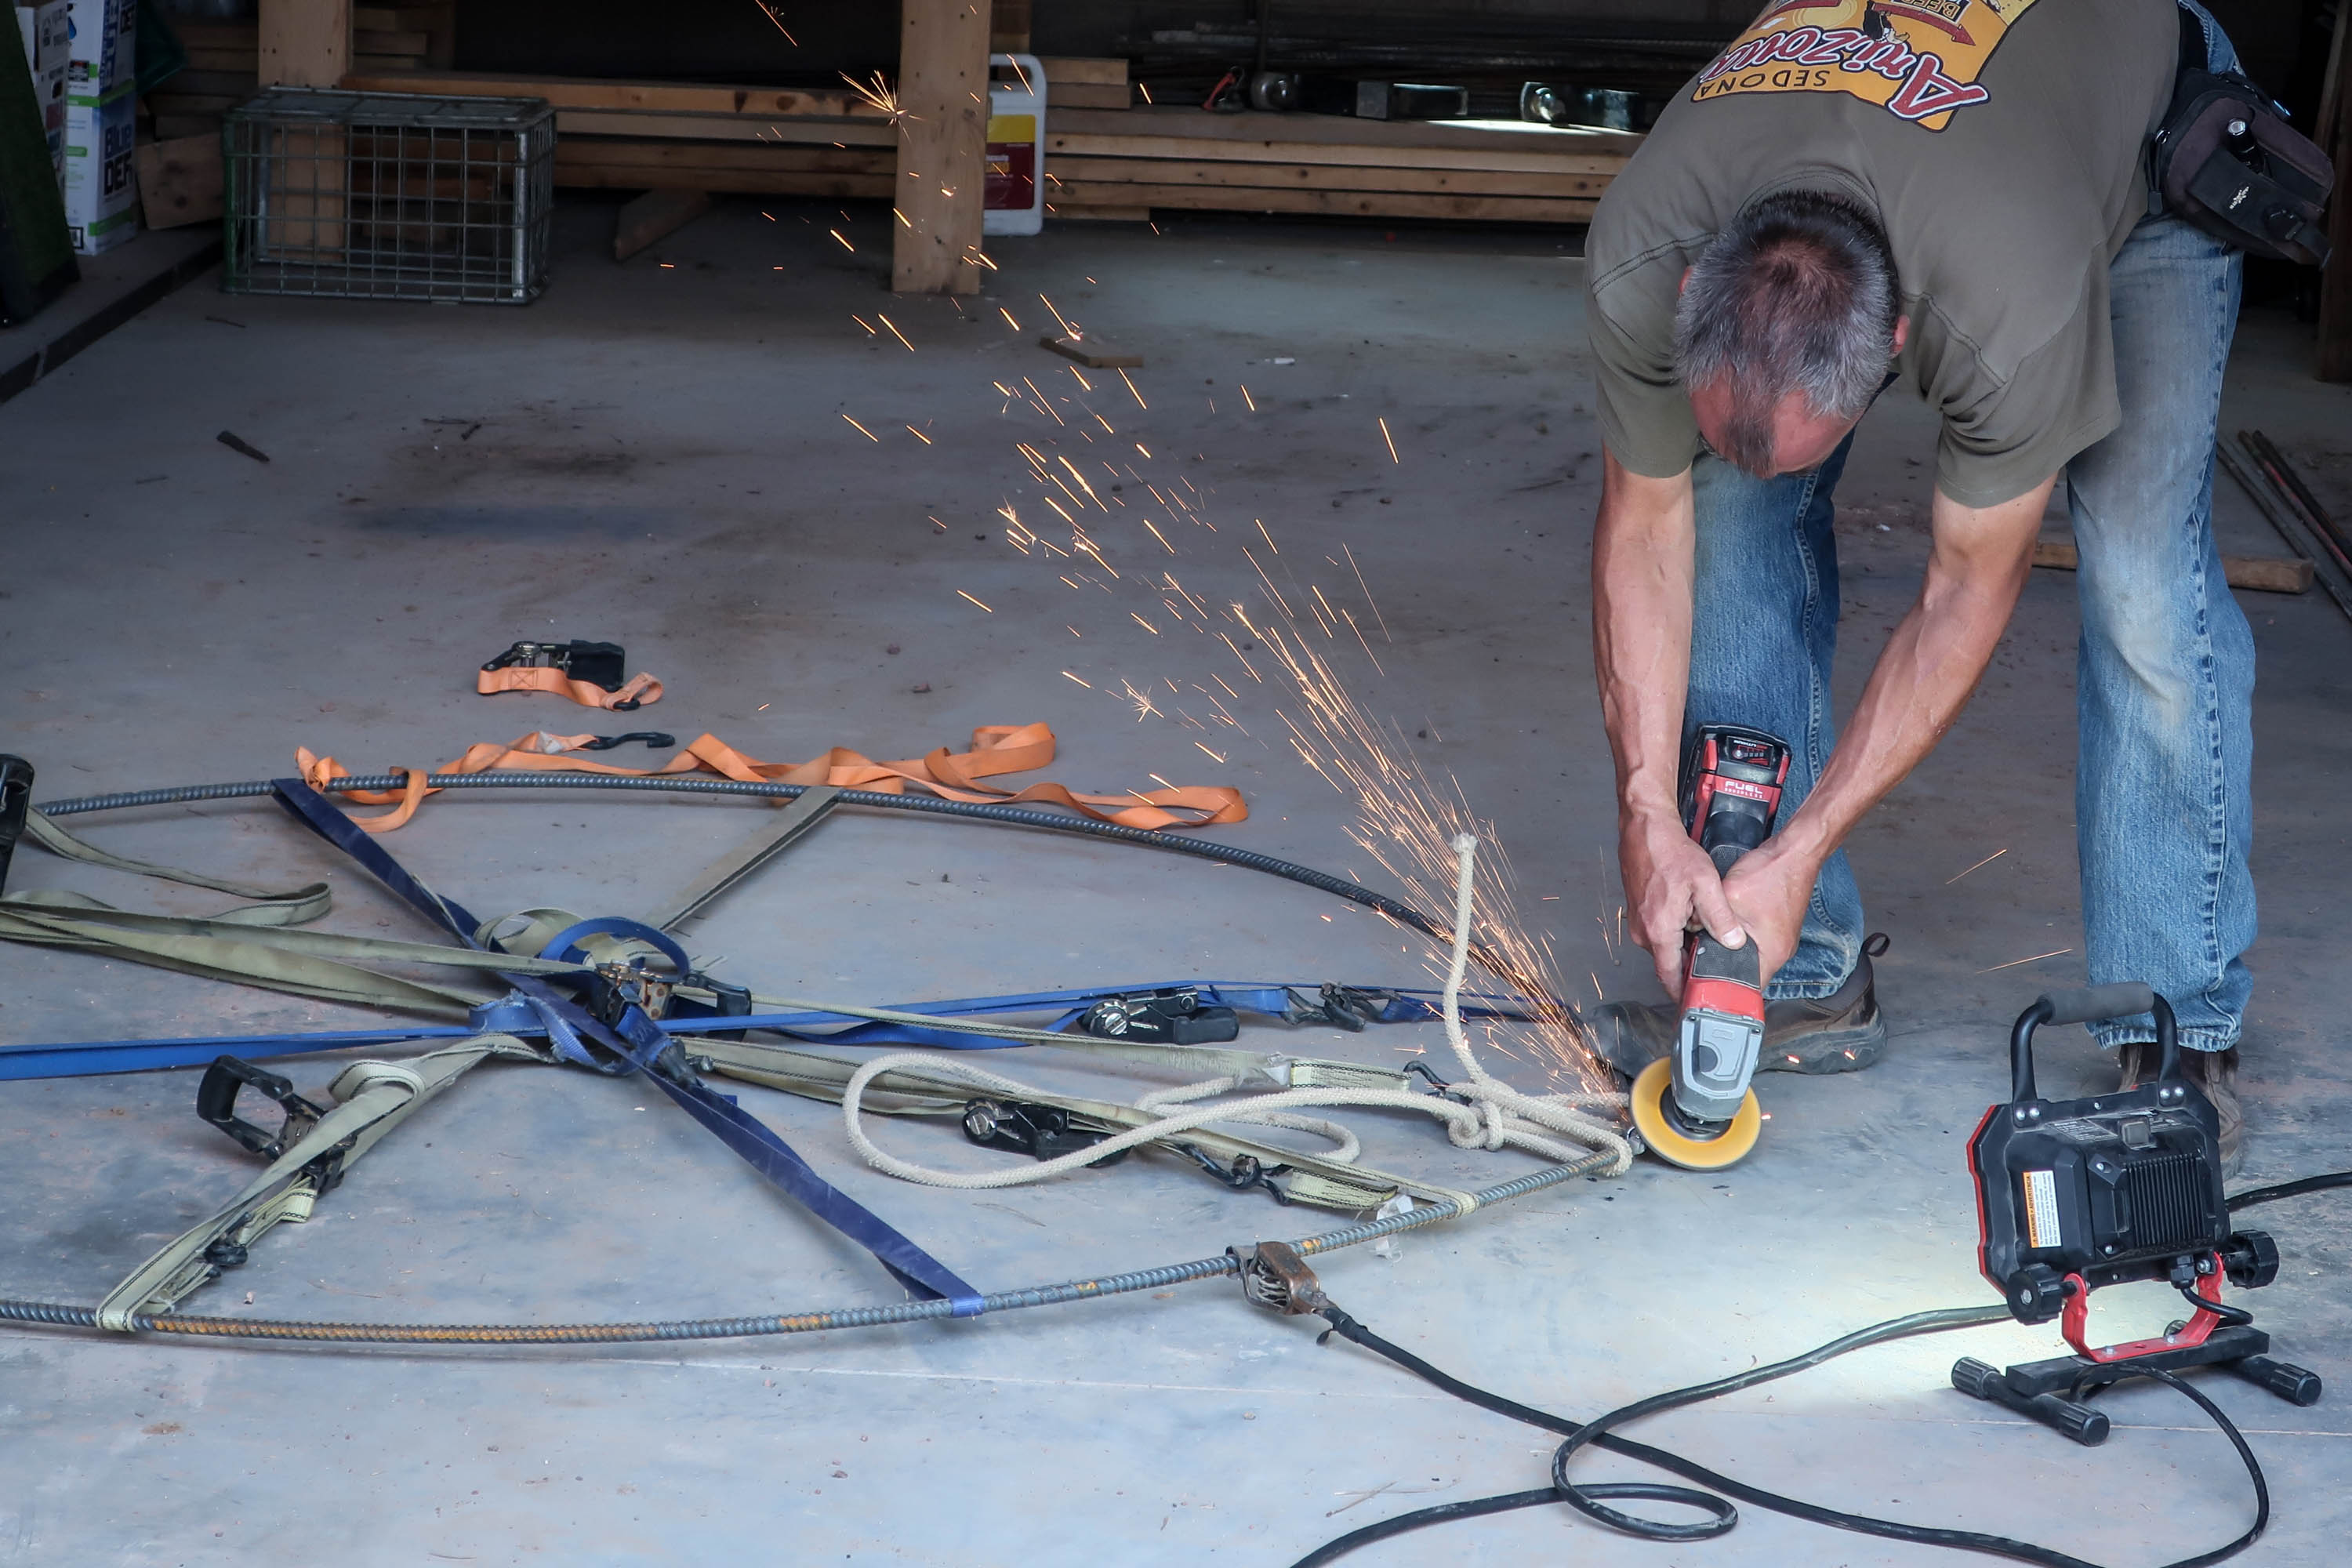
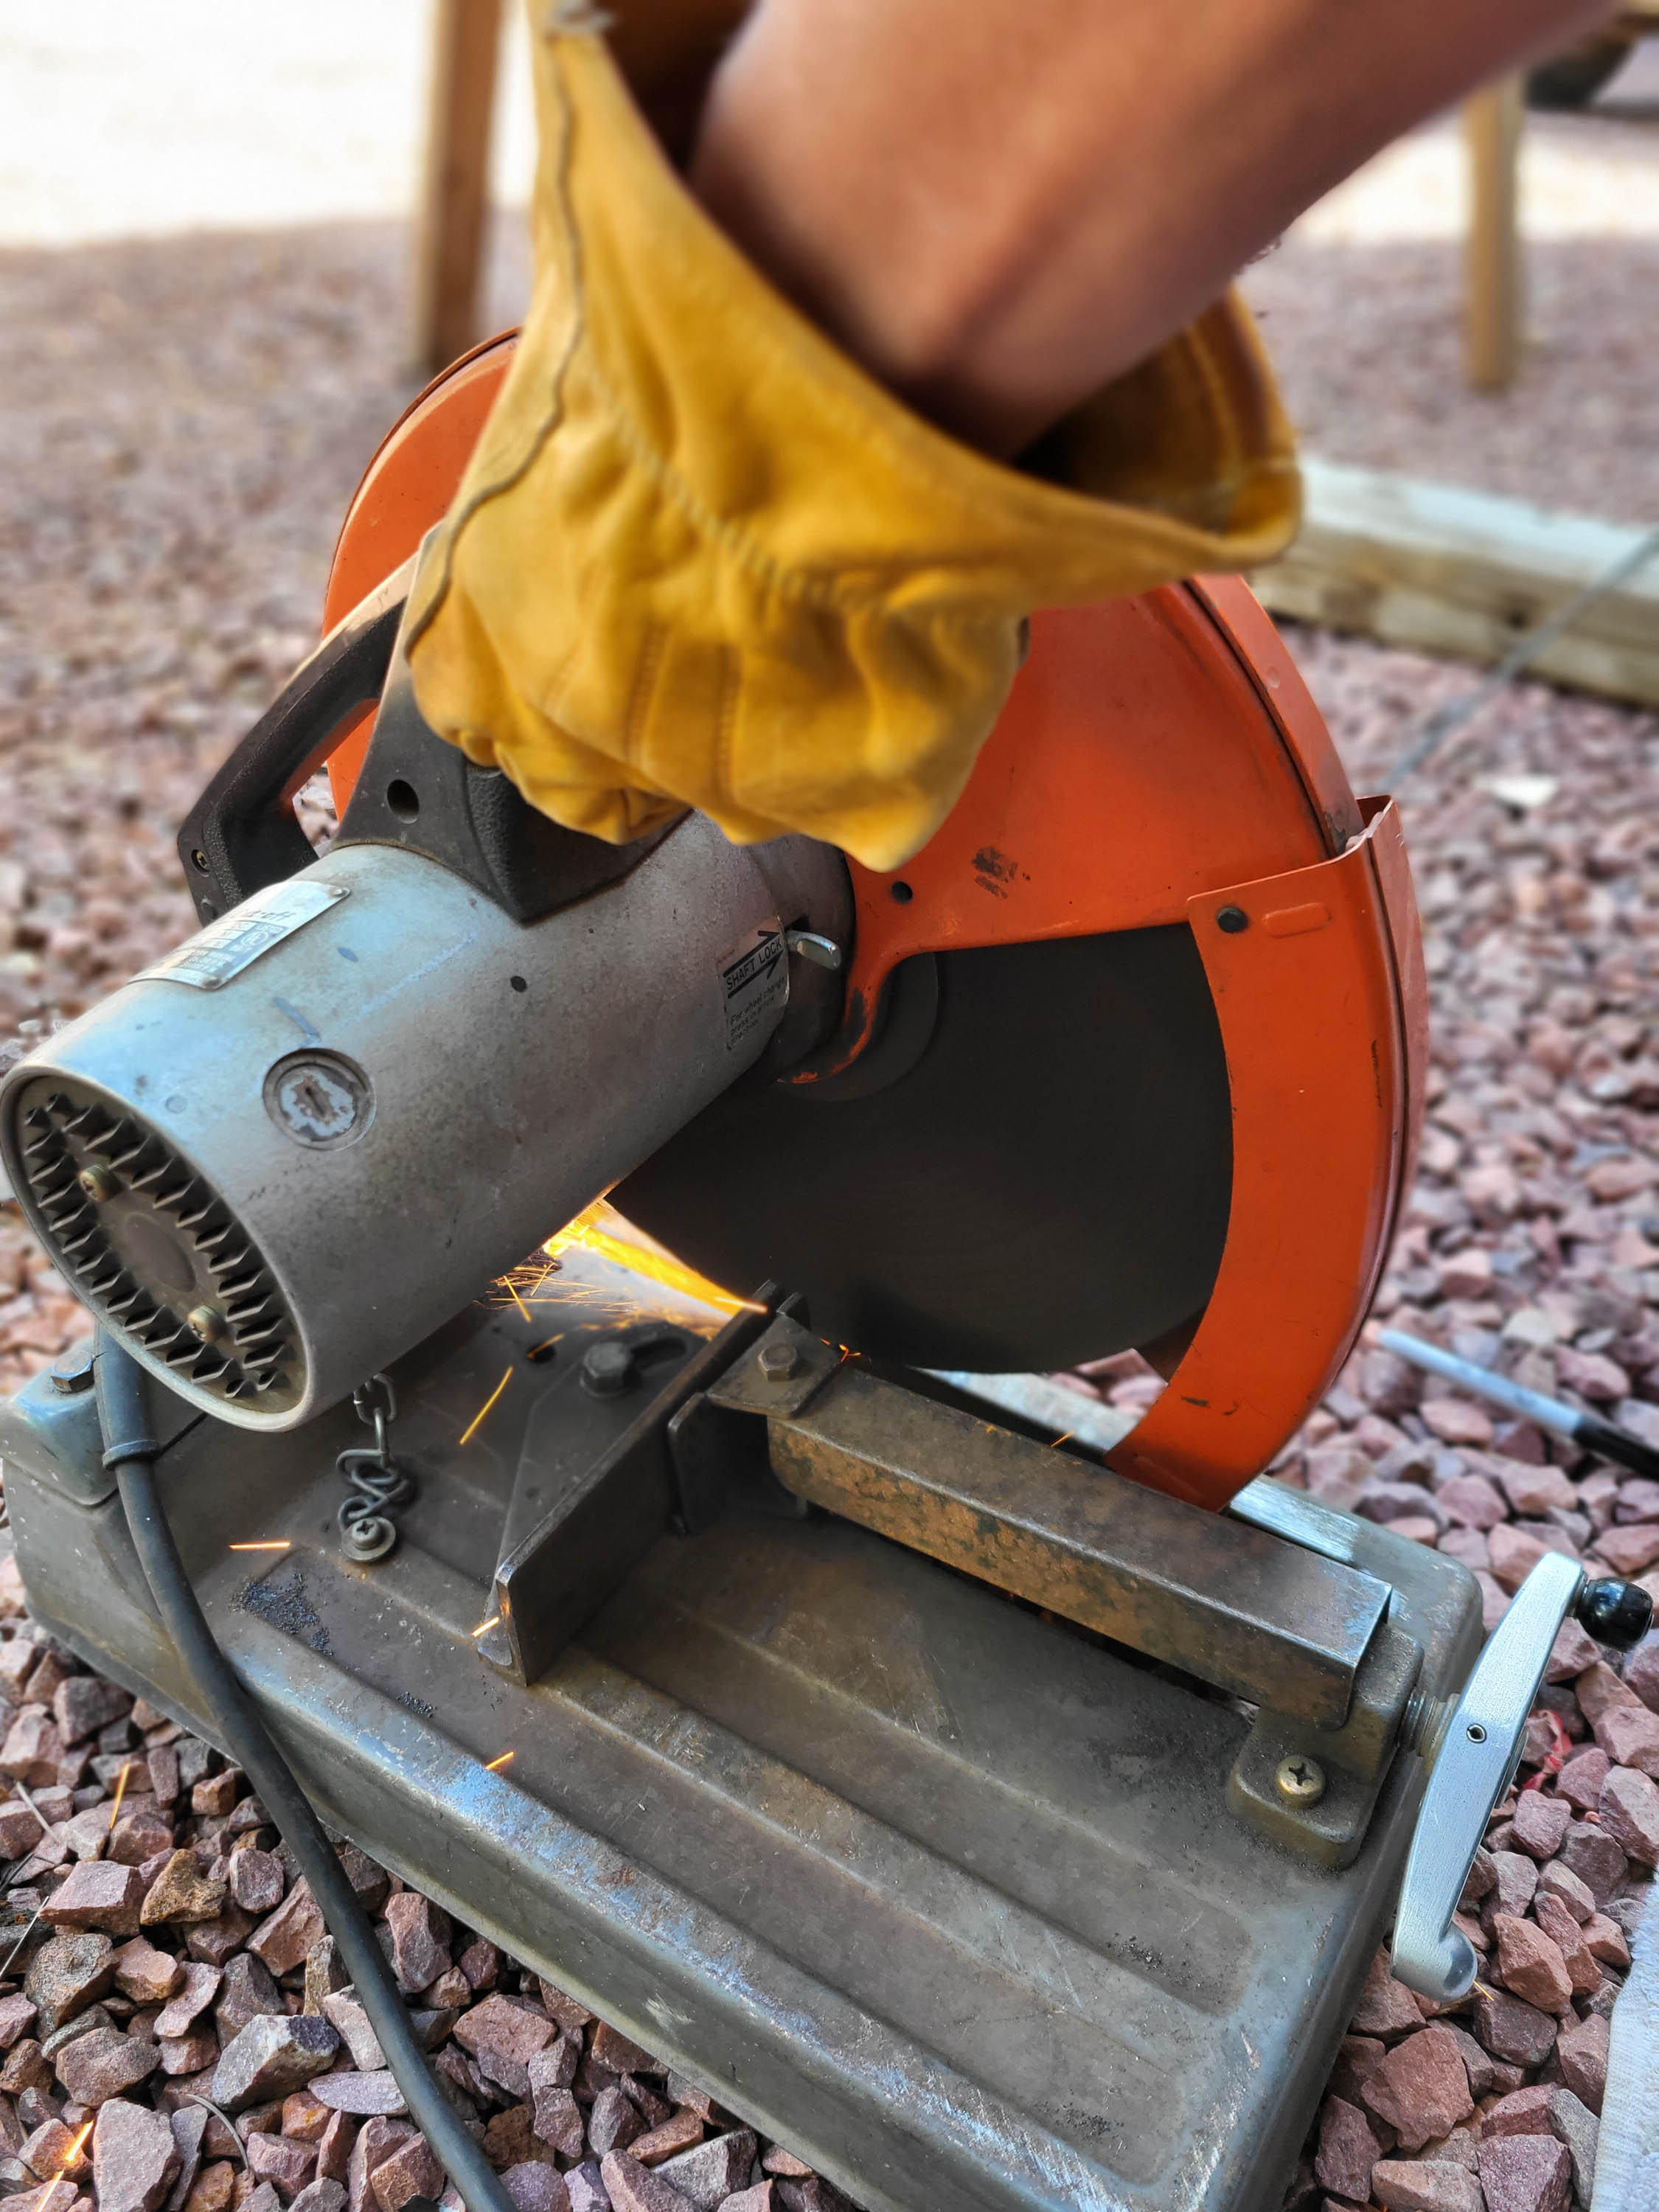
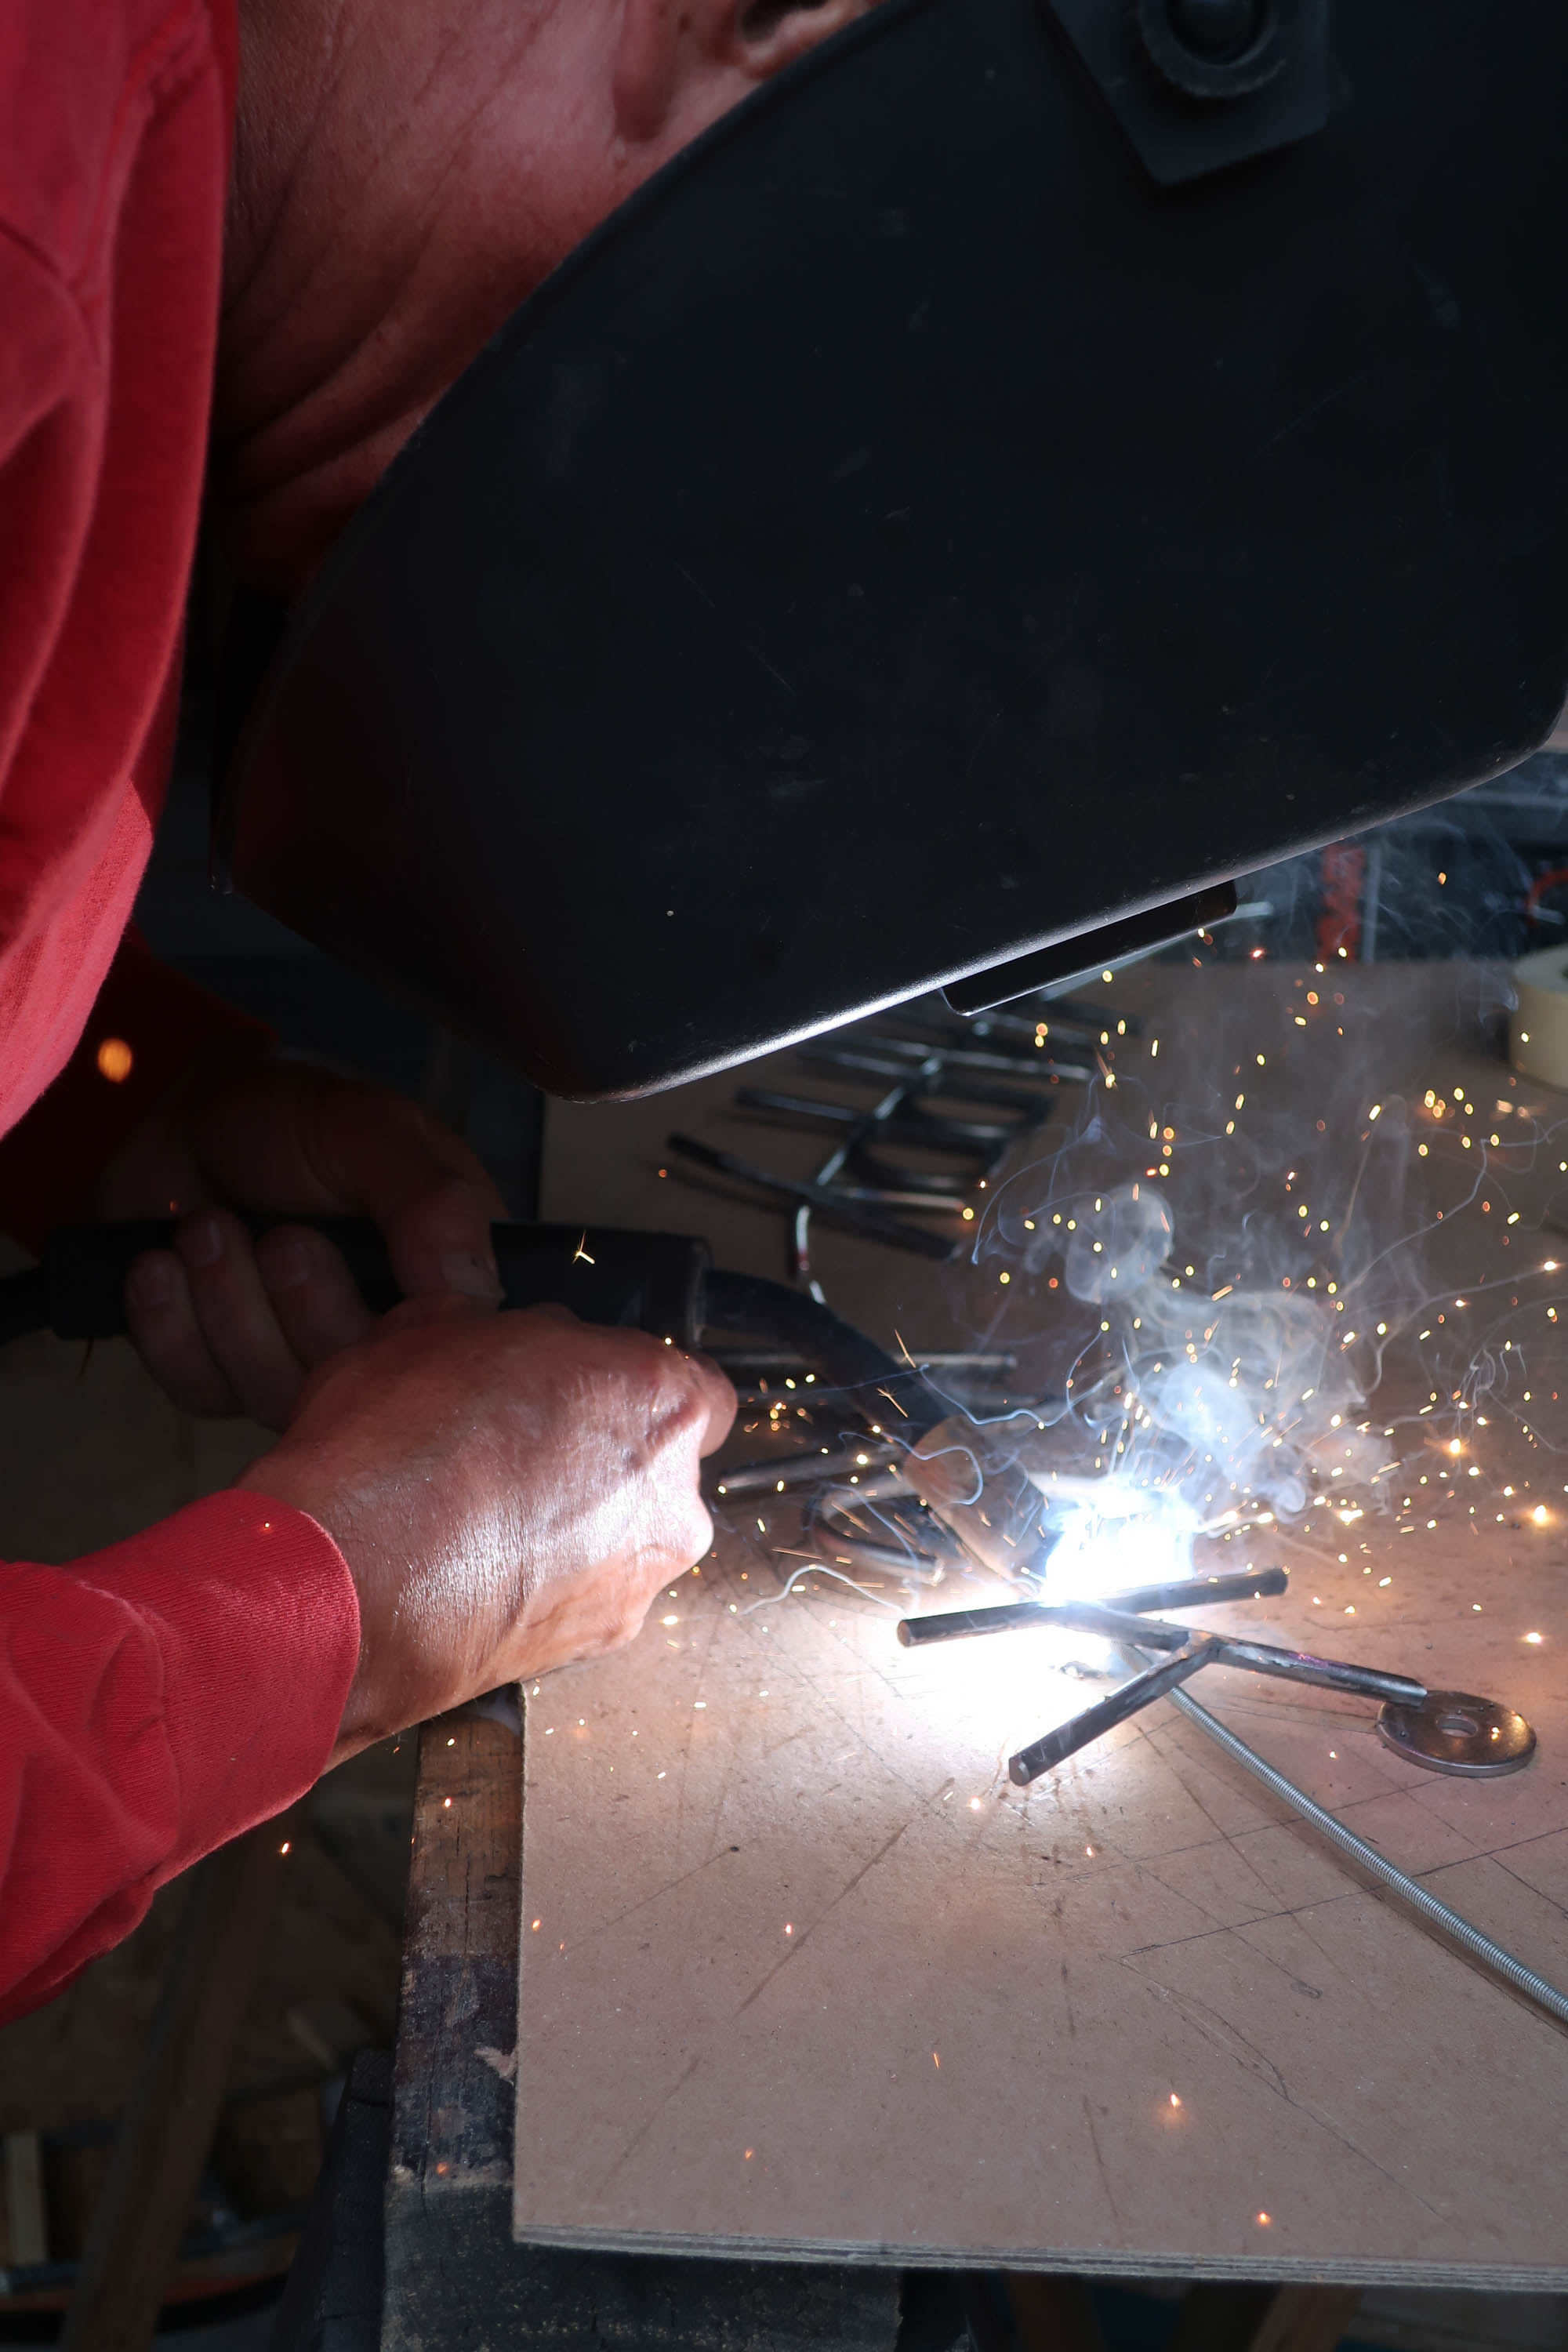
With the rings bent, welded, and ground, we were ready to undertake the roman numerals. We cut and ground the 16- I’s, and built a jig for the angled X’s and V’s.

Then welded them together, and ground them.

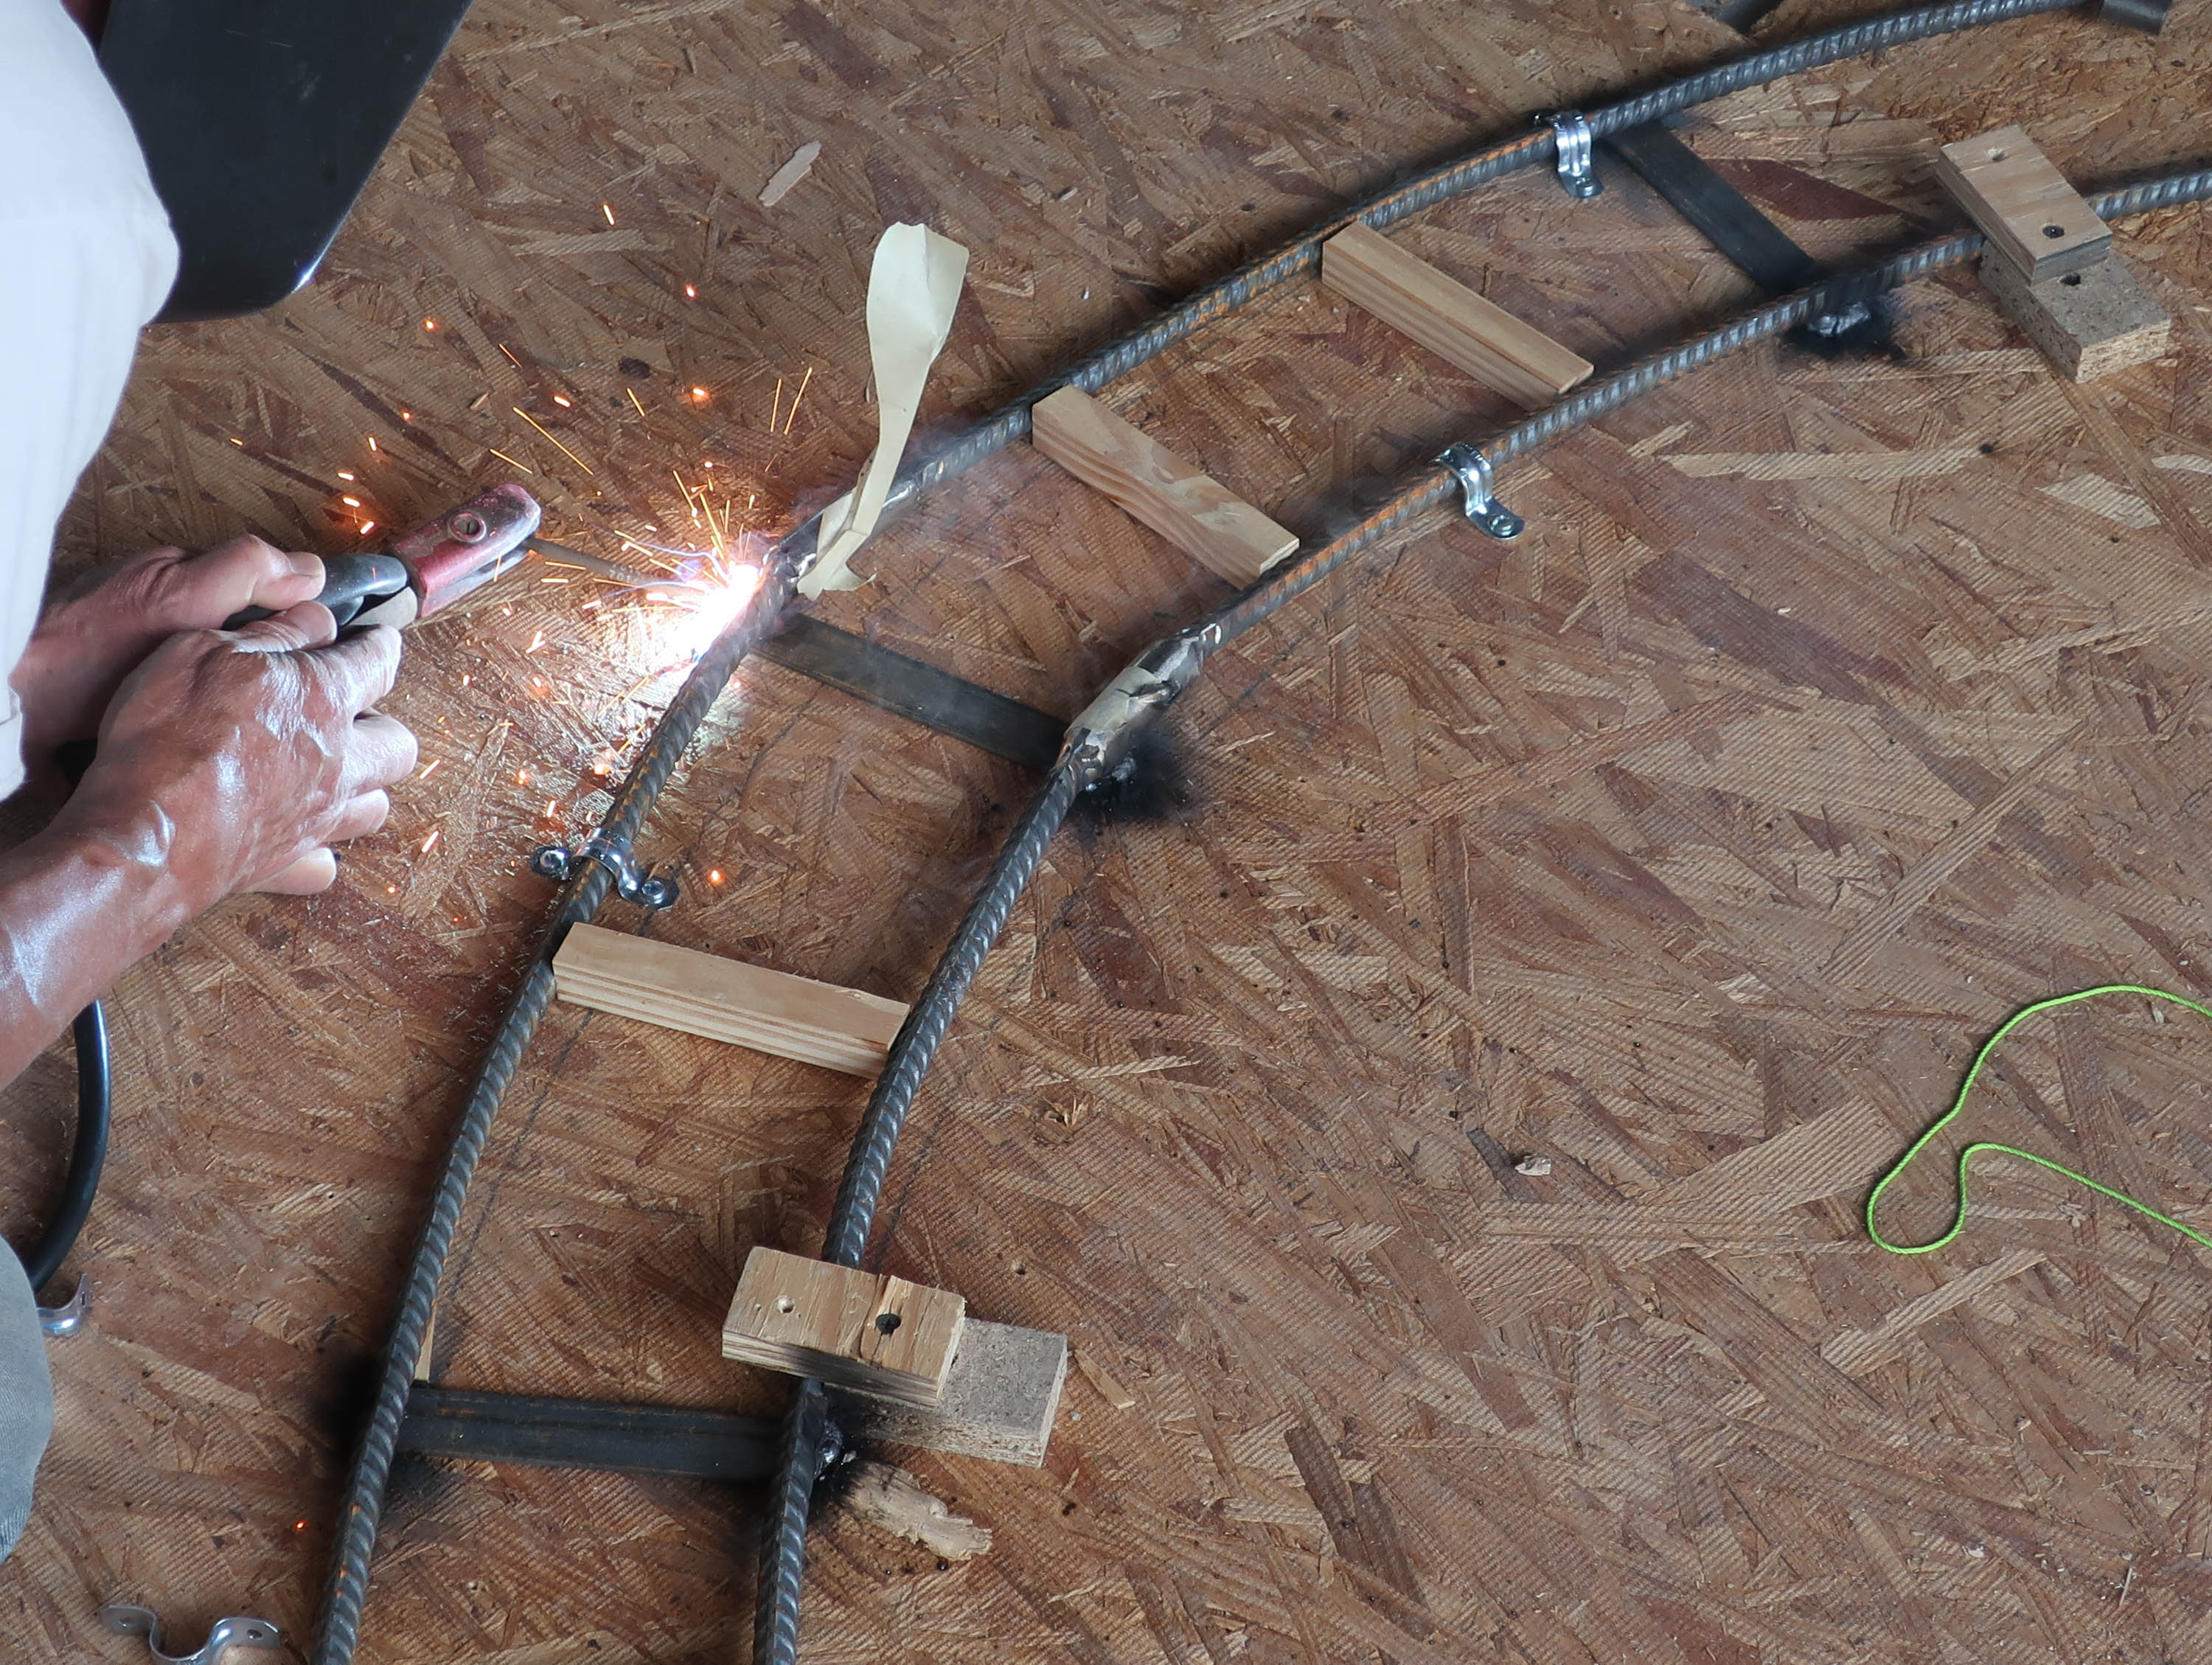
Using a protractor, a string and our calculations we measured the angles for placement of our clock face roman numerals – 11 am and 1 pm at 8.64 degrees, 10 am and 2pm at 18.13 degrees, etc. Then we individually welded our numbers into position.

For added strength we welded 5 re-bar support struts from the center to the OD of the inside ring, one of which the gnomon will mount on.

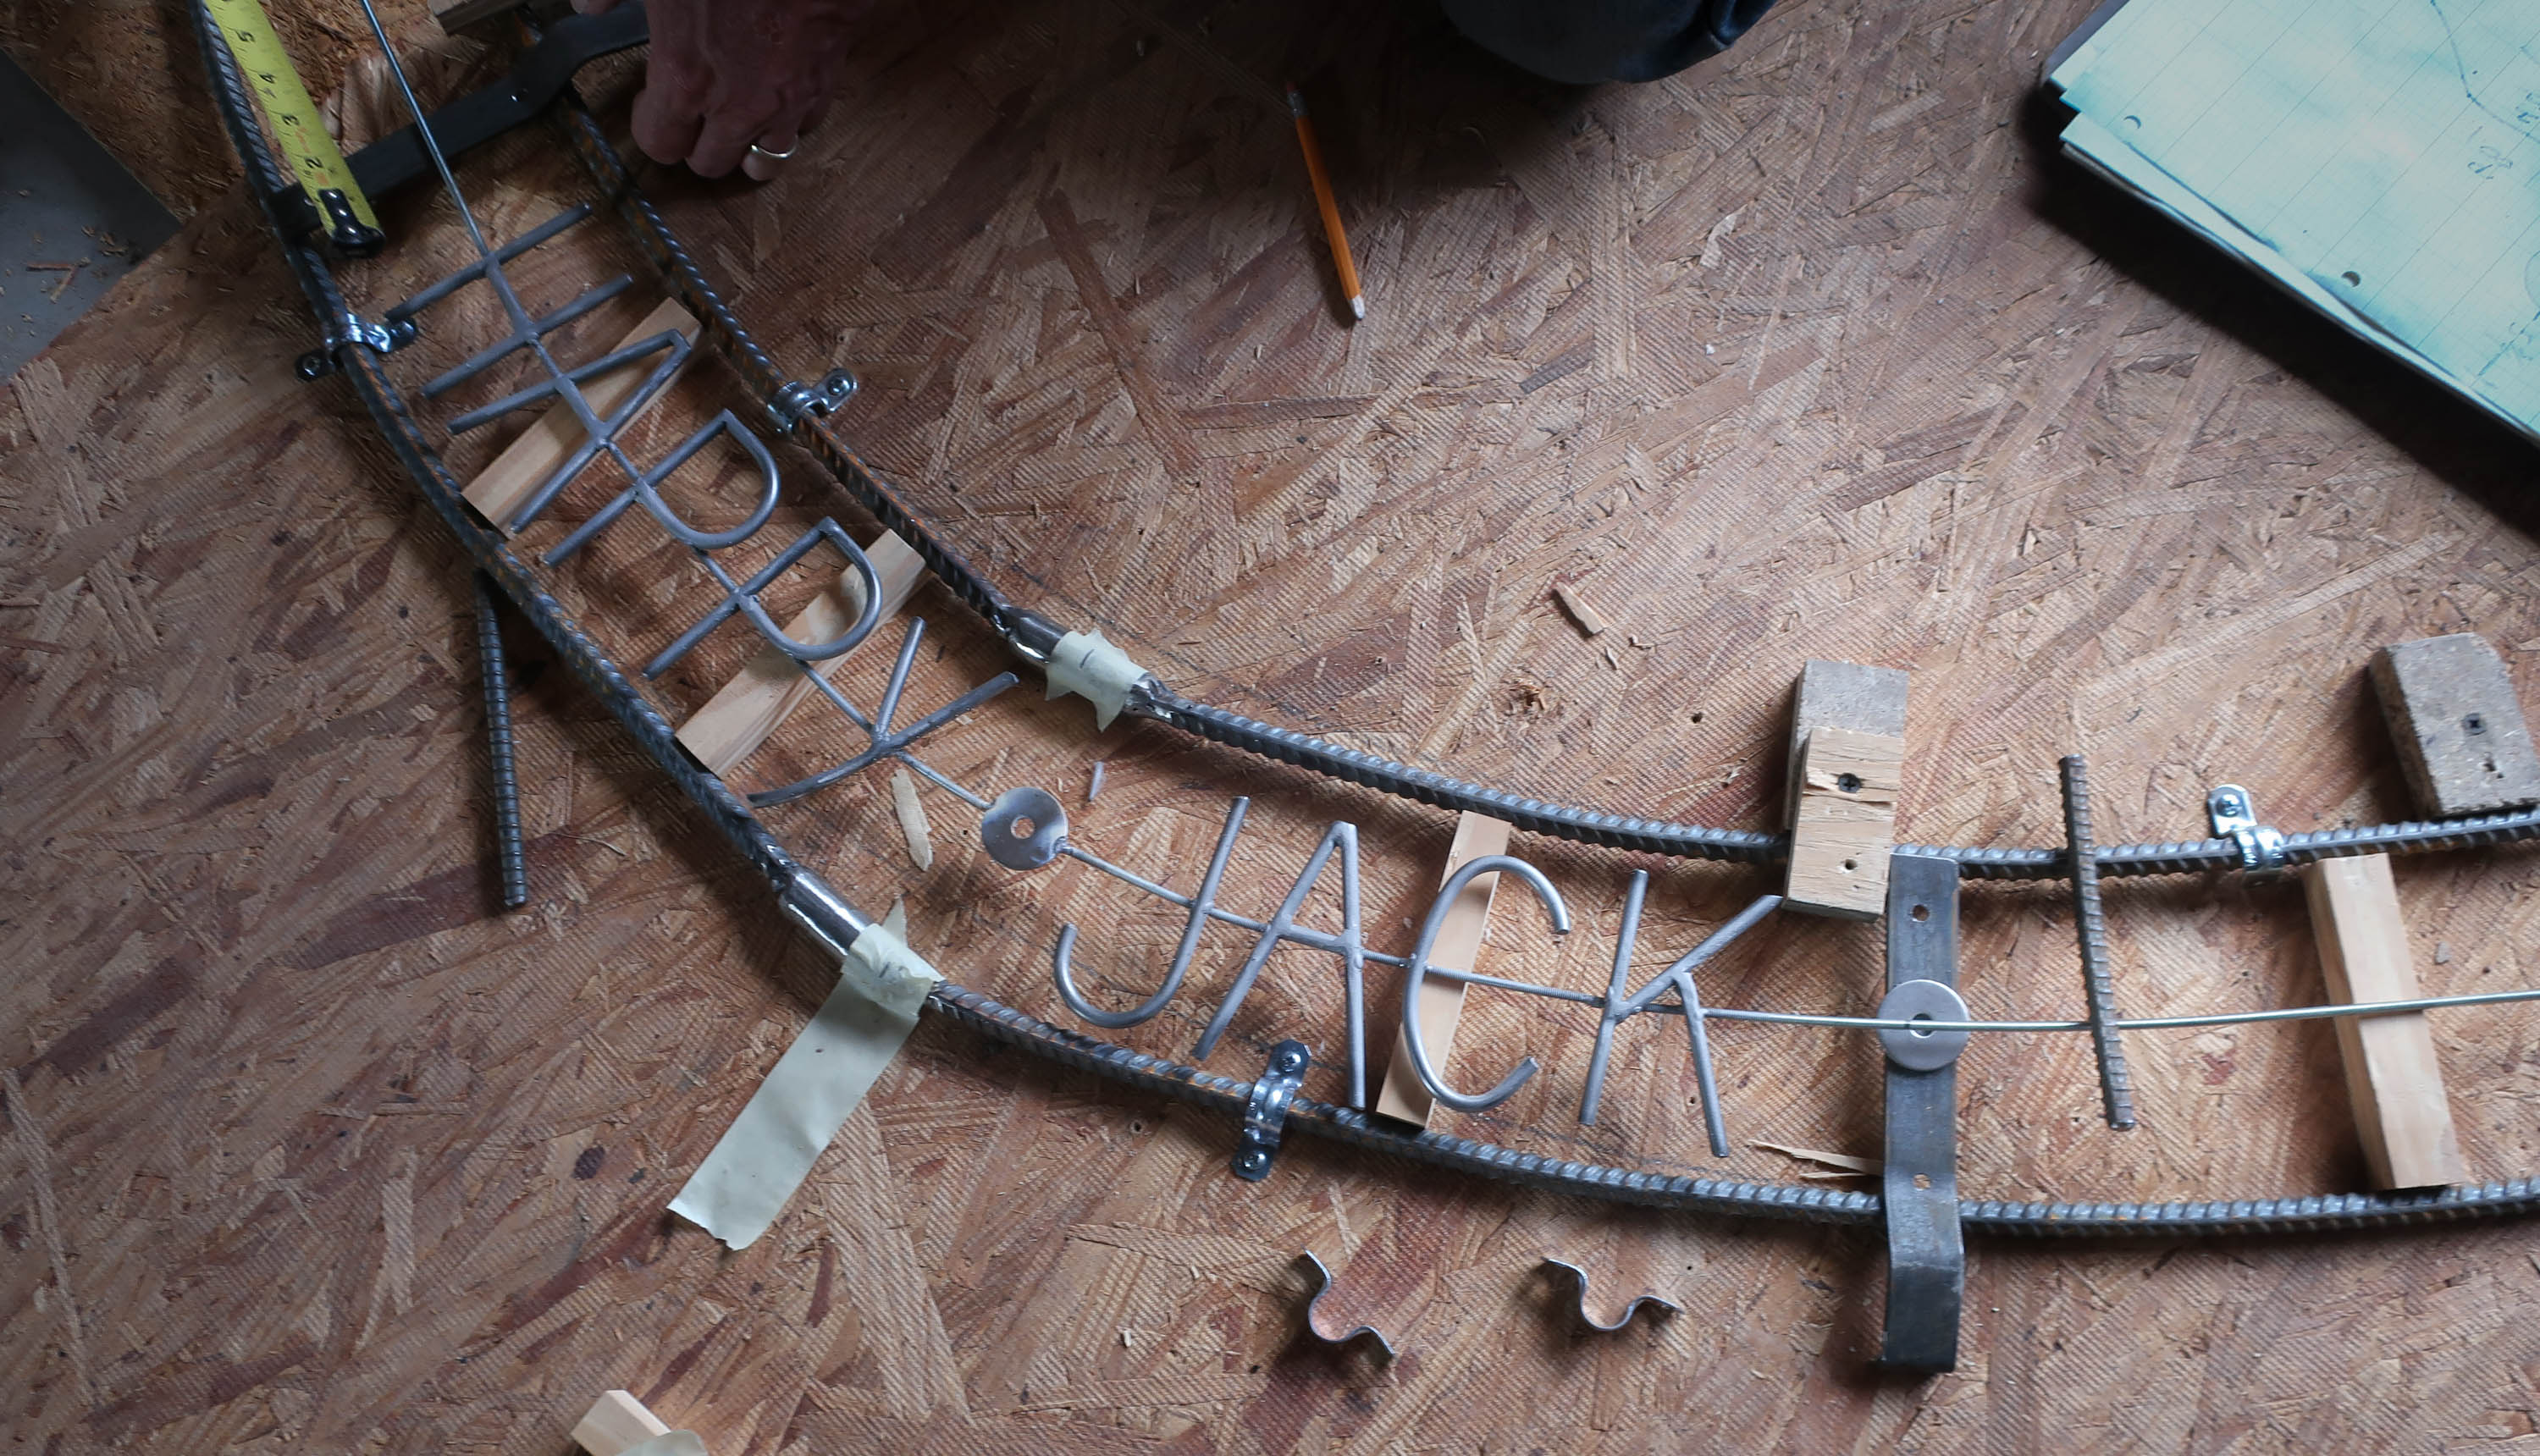
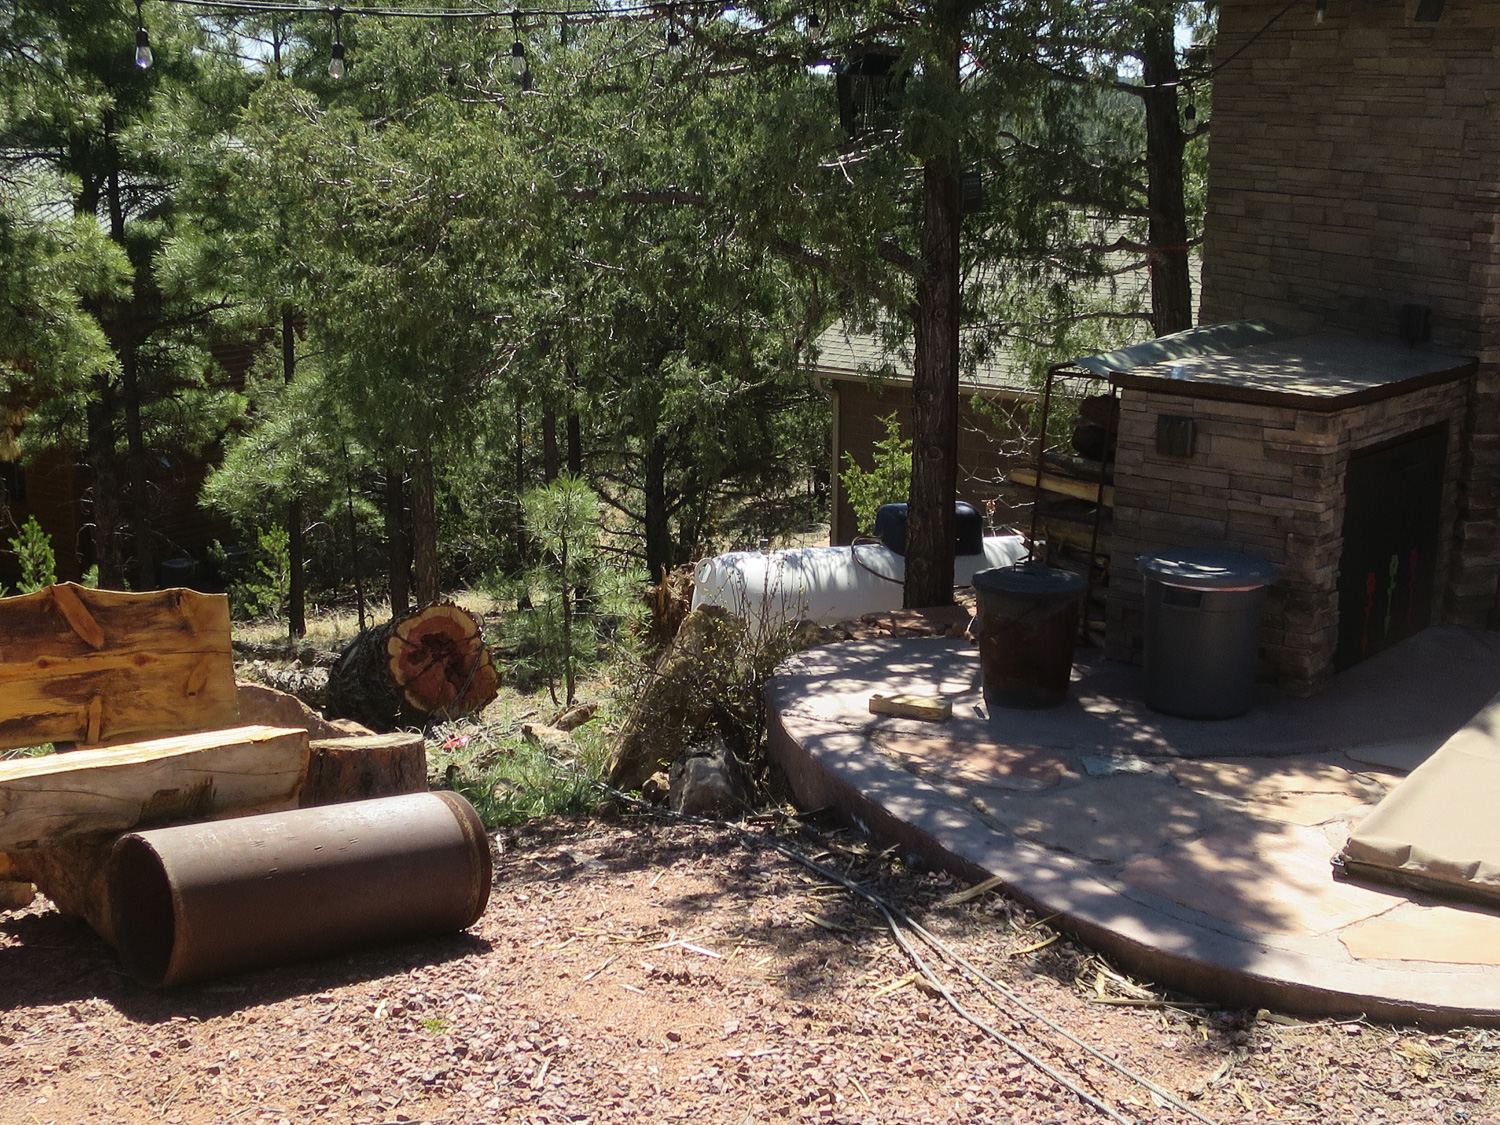
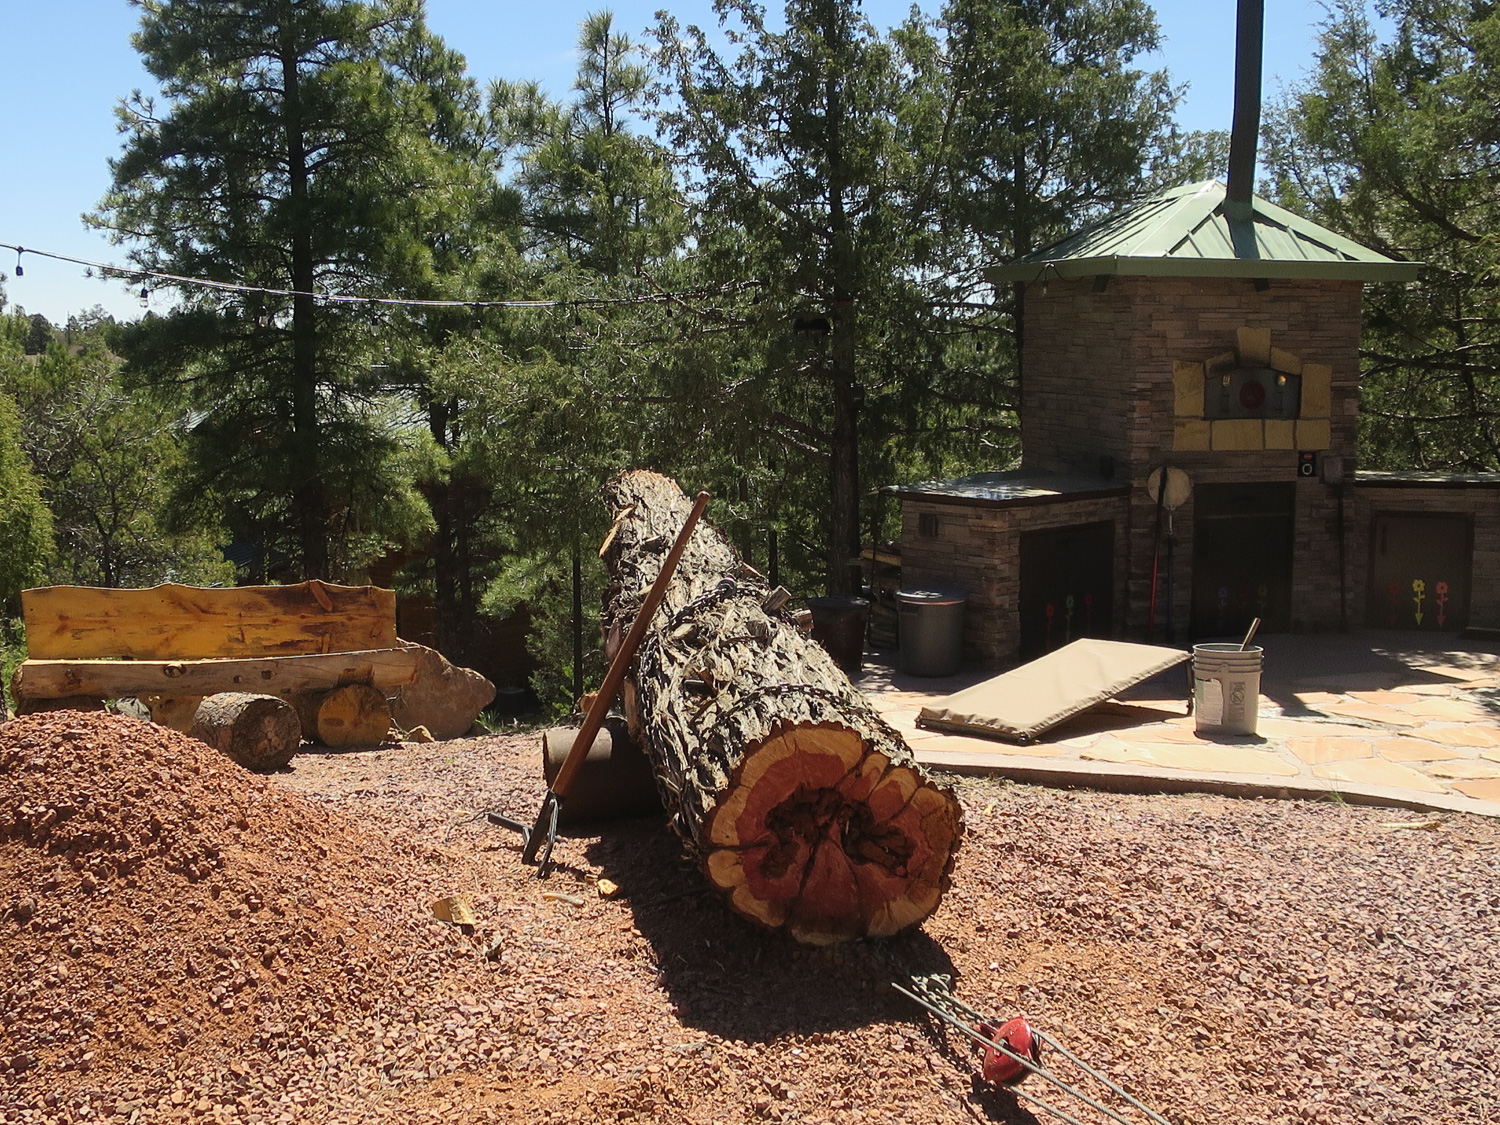
After a lot of welding and grinding, we are looking toward the embellishment phase. The clock face will be powder coated a brick red color, so to make it pop we decide to add a removable adornment at the bottom. It will be mounted on bands, adding strength to the bottom of the sundial, and tying the bottom rings together. So that it can be removed to be painted another color (black) we have to get creative on a method to remove.

We individually cut, bent and ground 1/4″ bar stock to make letters spelling out ‘HAPPY JACK’.

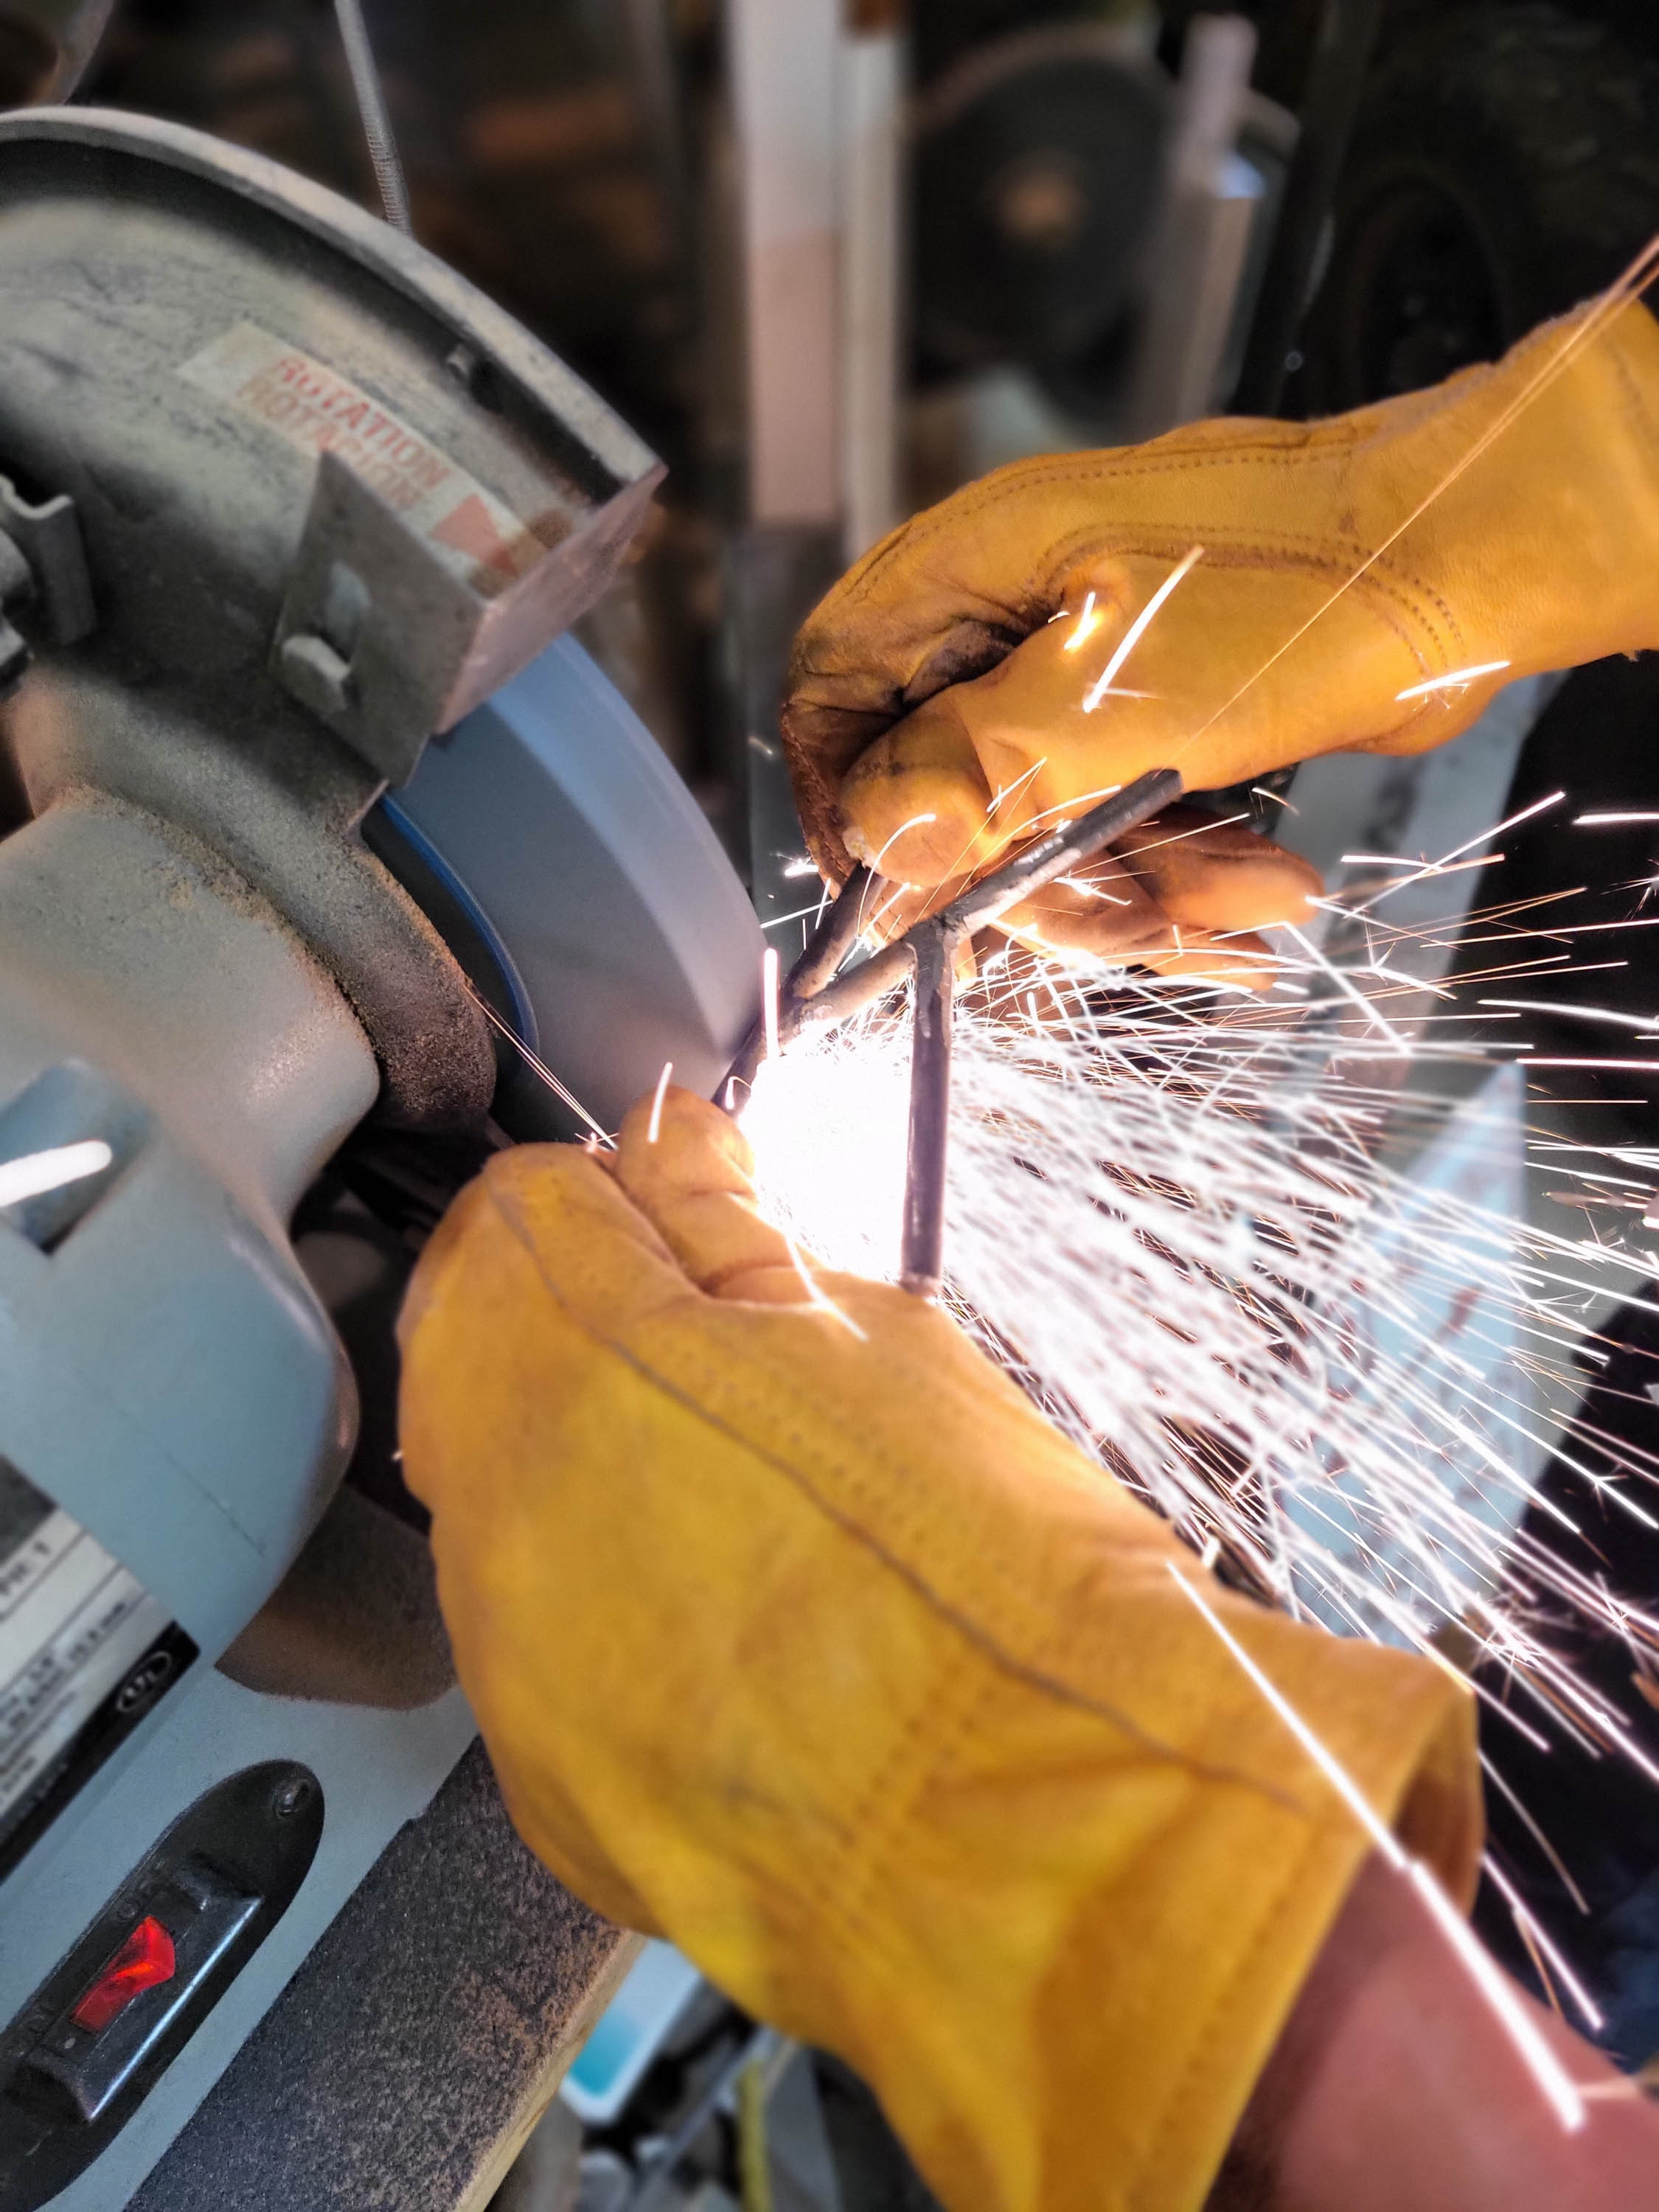
Individual letters are cut, ground and formed to shape.

To tie the letters together we attach them to a wire to hold them in place and make them removable, adding washers to bolt to the bands on the clock face.

Are you staying with me? Whew! I know.

Aside from the clock itself, some of the most pondering came from trying to figure out how to make the HAPPY JACK and gnomon removable, and seamlessly elegant without clap trap.

Finally we get to the gnomon part and speeding that process along, we cut the gnomon with a plasma cutter and weld it to re-bar, attaching metal tabs to the clock face and bottom of the gnomon.

And wa-la, a conversation piece is born.

We had it powder coated at Arizona Powdercoat (on Washington / 202 in Phoenix), who have always done a fabulous job for us, and it pops… and tells time, in it’s own artful ancient way.

For a high level history of the sundial check out my post here … https://wordpress.com/post/kritterspix.com/4441

Creative Outlet

Ever feel like taking a break from life?  Things are pressing you down a bit, so you need a new perspective?  It’s those times, that it’s good to get out and fill the mind with something constructive, new, maybe even inventive.

layout_IR.jpg  Layout

We decided to take a ‘break’, and do something creative and fun…. so why not build birdhouses.

plasmacut_IR.jpg  
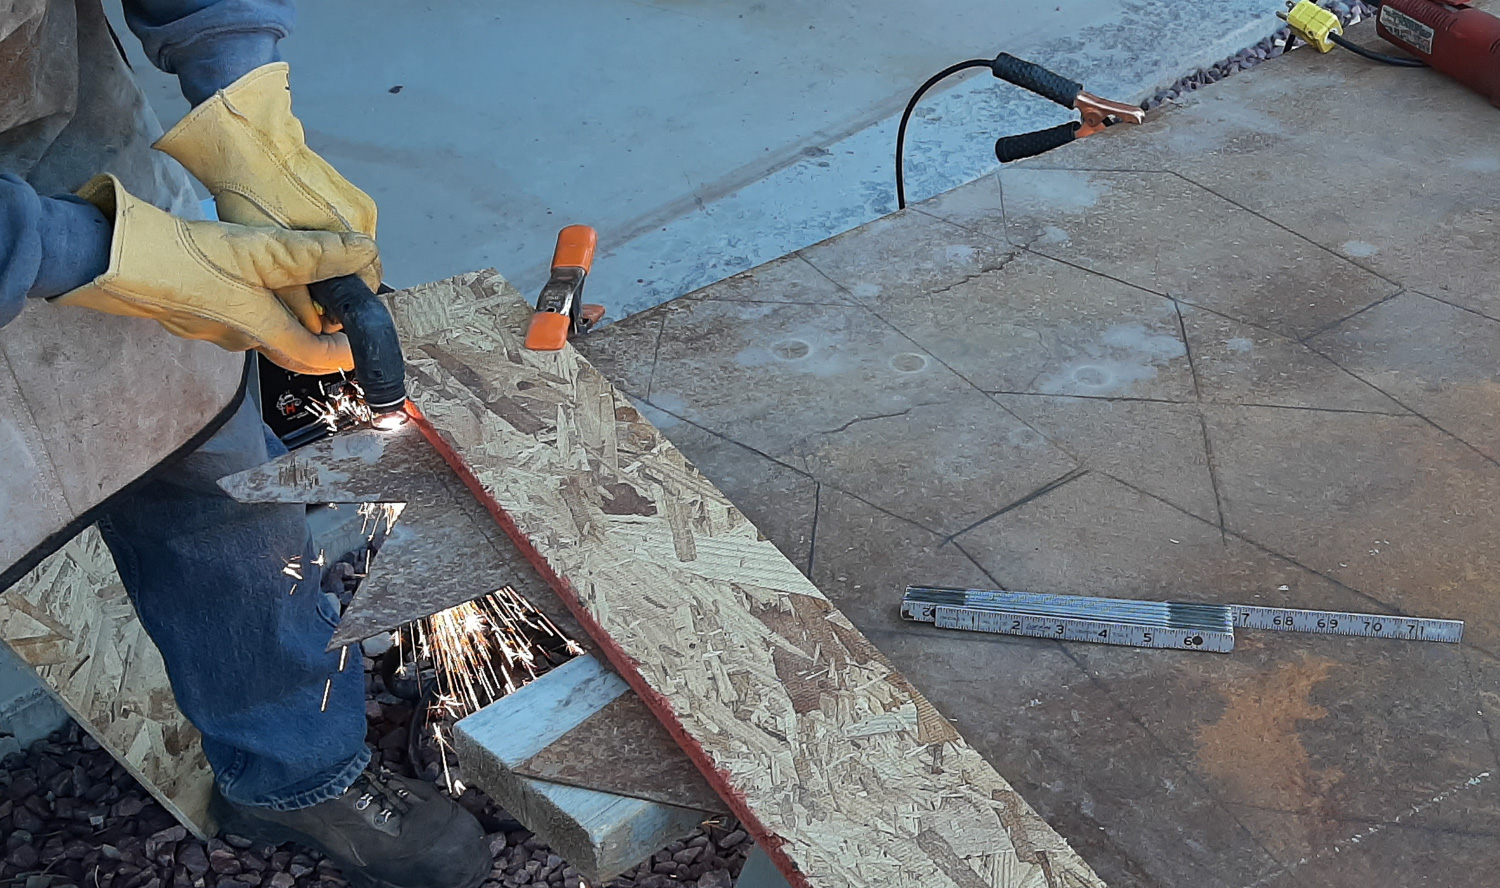
Plasma cutting metal

Birdhouses are an easy creative outlet.  They can be made of anything – wood or metal… and be of any size or shape.

benchgrinder_IR.jpg  
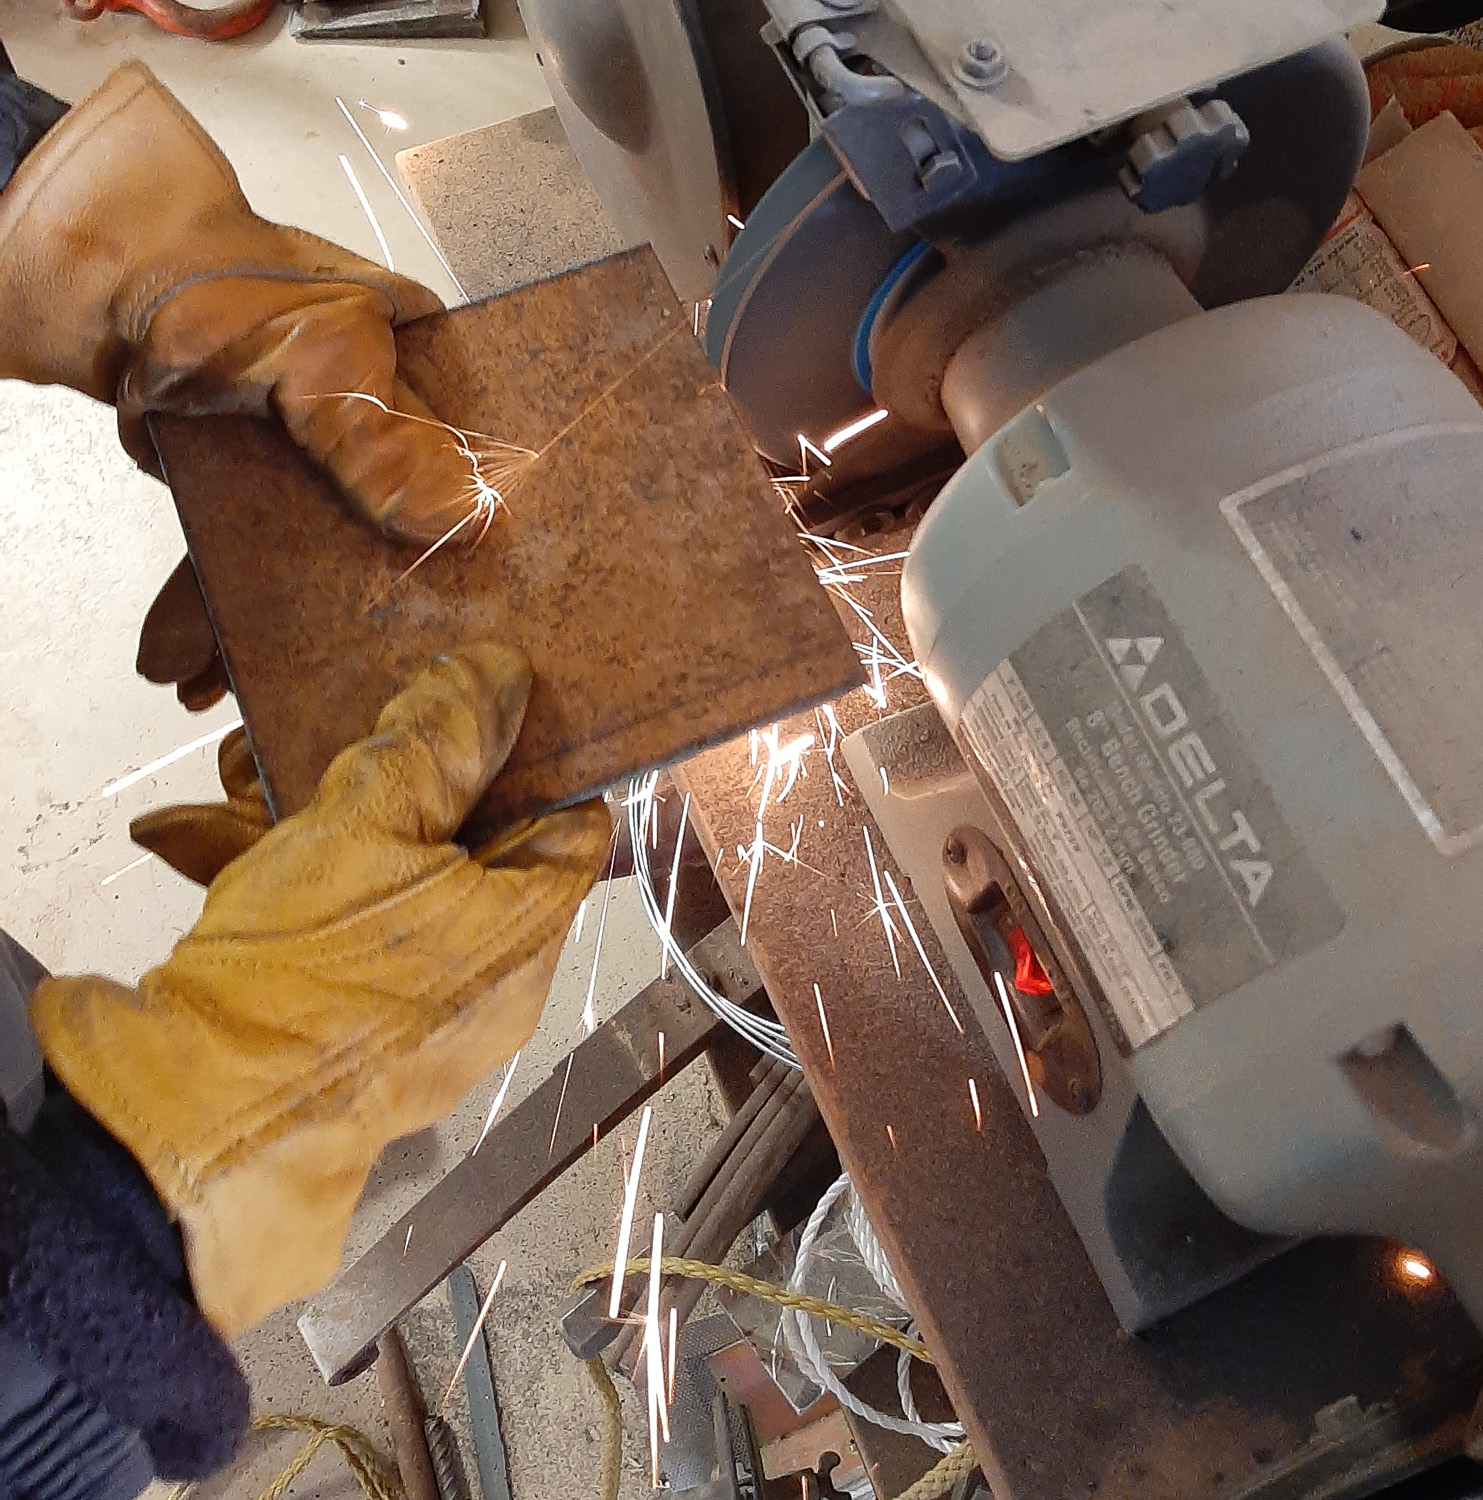
Bench grinding sides

With a little ingenuity, a few tools, some time and patience, one can build anything one sets their mind to.   We find ourselves proving that time and again.

anglegrind_IR.jpg  Angle grinding fronts

With a dash of creativity one can use just about anything to make something extraordinary.

braiseshutters_IR.jpg Braising on ‘shutters’ from antique chain link
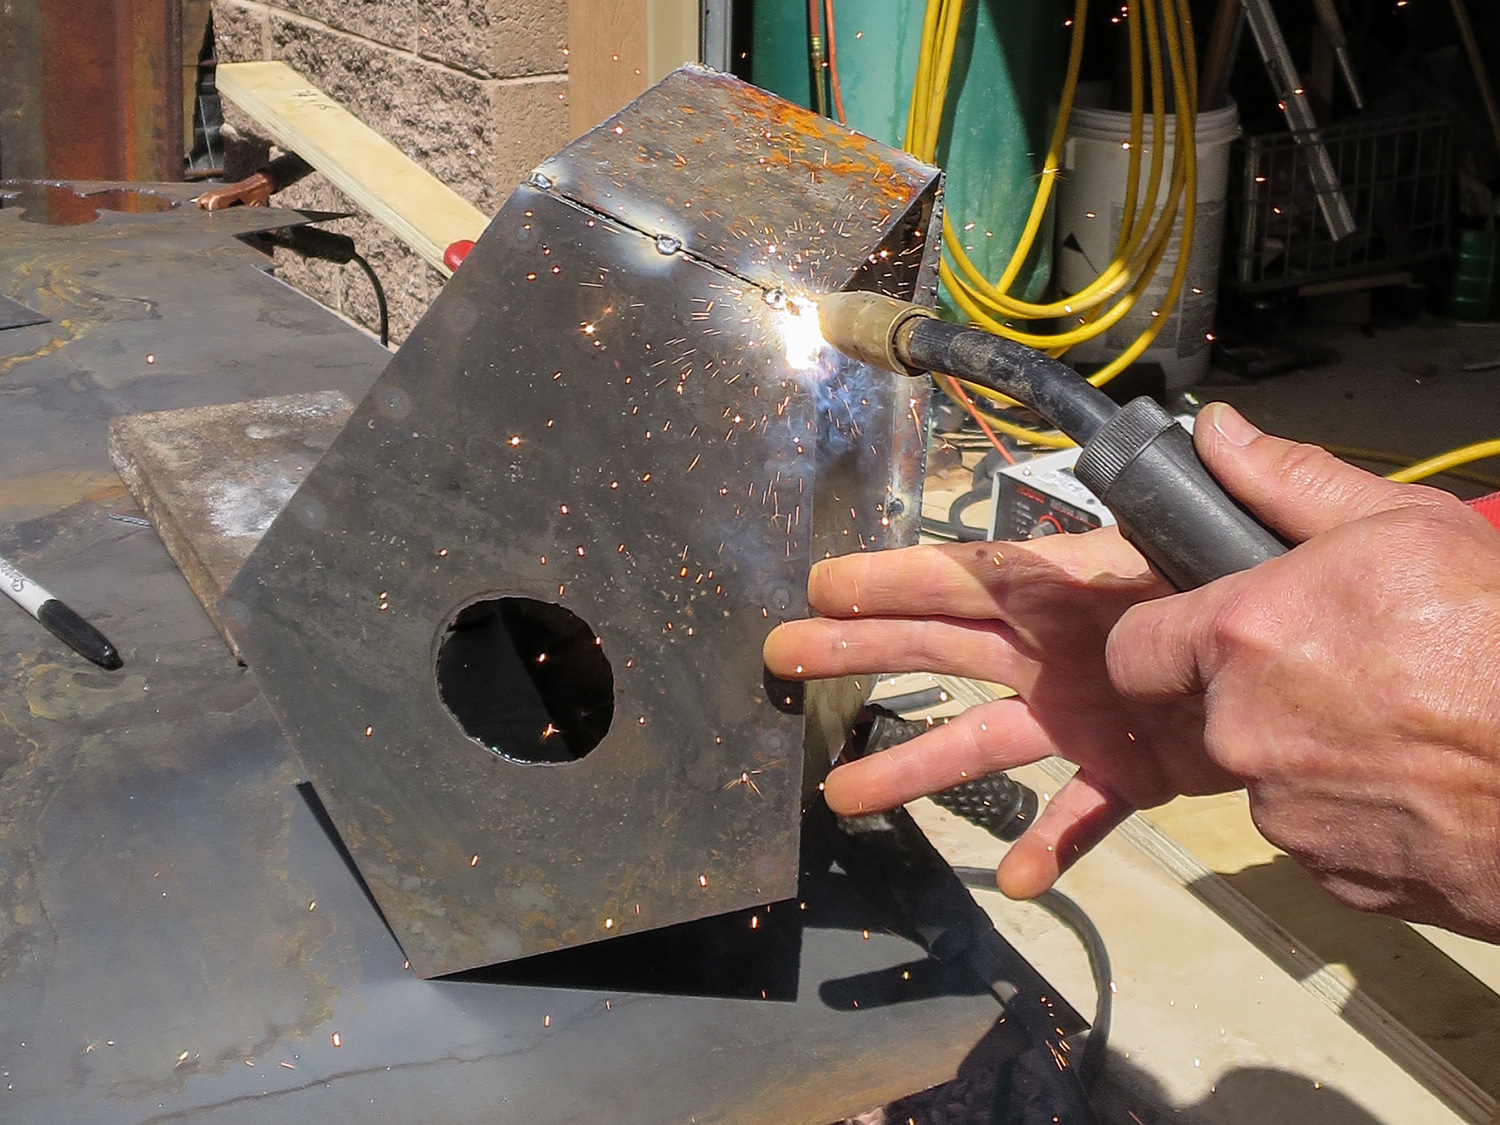
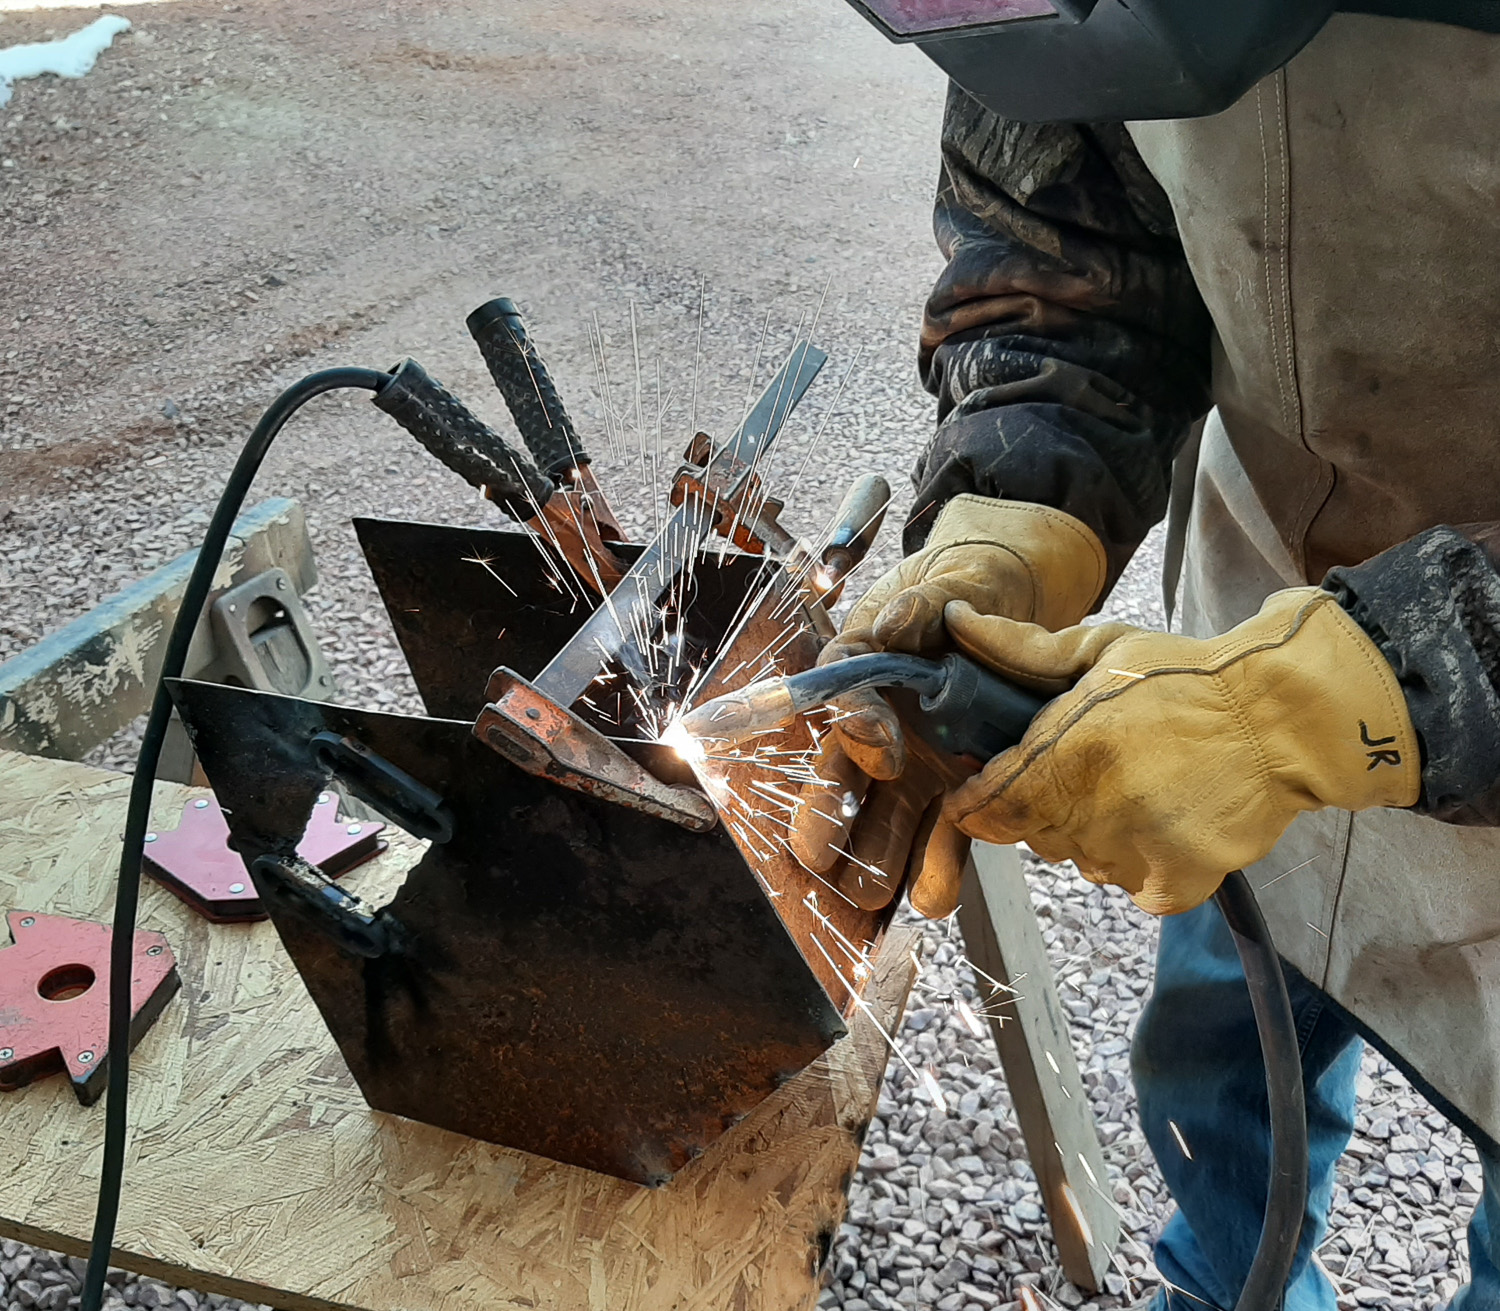
In the end, something special can be created from nothing, if we just feed our imagination and give ourselves time to flourish.

weldg_IR.jpg  Arc-welding panels

Never underestimate our own power to surprise even ourselves and others with perseverance, determination, and shear will power.  Stay the course, be strong, and good things will come.

bluhous_IR.jpg
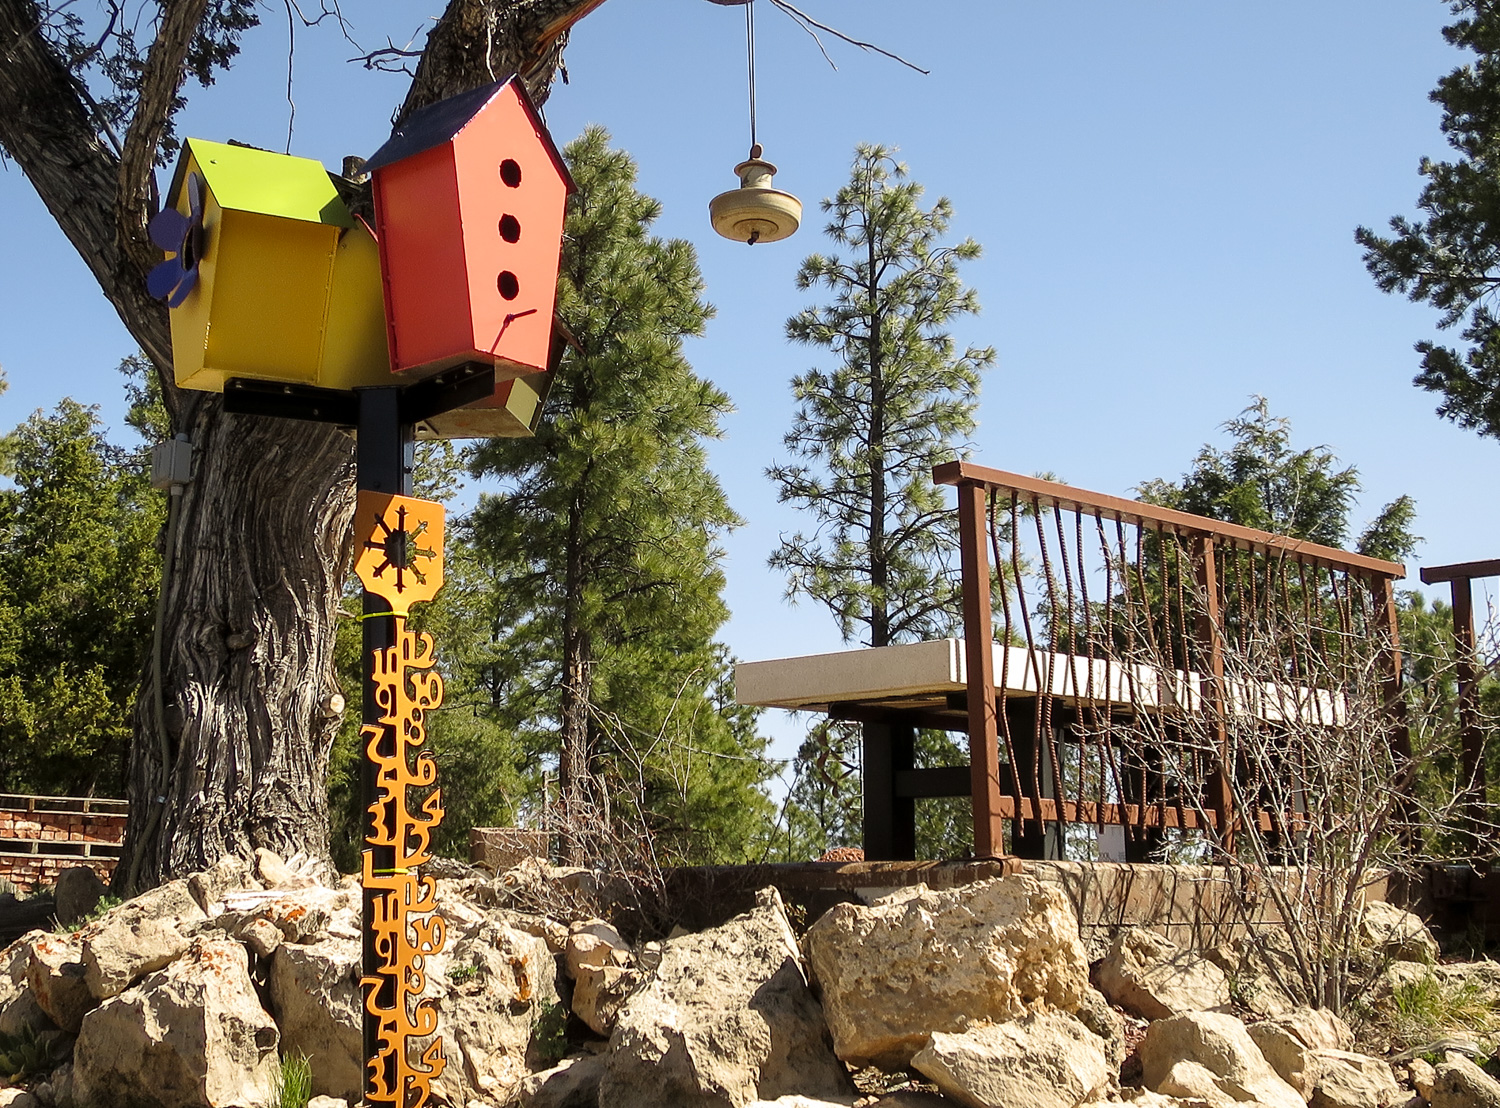
Finish birdhouse – full of character and rustic charm


Stained Glass Door

All good ideas start with a vision.

20180308_100530_IR.jpg

It’s not like I seek out things to do.  They just come to us, with a need.  Well, maybe, need, isn’t the right word.  How about… a good idea.

20180712_111859_IR.jpg

For instance… we have these doors.  They are pretty plain.  Wouldn’t they look better with a stained glass window on them.  That’s what we thought!

20180316_100931_IR.jpg

So I drew up a pattern that seemed suited for our area… you know, elk, bunnies, blue jays, trees.

20180316_144554_IR.jpg

And then set out to build it.  We have never fretted over the amount of work in any particular project.  I suppose if we did, we’d never get anything done.  We just think of the finished project, and how cool it might be… and set out to accomplish it.

20180326_104534_IR.jpg

Once the pattern was finished, I set out to choose the colors… and cut the glass for the 6′ tall door.

20180410_115744_IR.jpg

And cut glass….

20180629_141941_IR.jpg

Then I began the daunting task of a combination of leading and foiling the glass pieces in a long labor intensive effort that took patience, determination and perseverance.

20180721_085415_IR.jpg

Then after soldering all the joints, I had to ‘pack’ the lead channel with a DAP window caulking.

20180719_152502_IR.jpg

Then use a gypsum powder to clean the flux off the solder joints and lead channel.


I actually made my husband a bet… I expected the project to take a year, he gave me 8 months.  Working long consecutive days at every opportunity I had available to me, I finished it in 6 months.

20180821_141624_IR.jpg

Now our door isn’t plain any more.  Who knew we needed a stained glass door… but it was a good idea.


Mossy Rock Wall

0 ready to start_IR.jpg

If you have followed a number of the posts on this blog, you would find that we have been doing front yard ‘landscaping’.  We built a paver stone pad for our corn hole games… and then got completely carried away and built a pizza oven.  You can see the posts on that here (Part 1), here (Part 2) and here (Part 3).  If you take a look at these, make sure you click on the videos to see the videos – the best part 🙂

To complete this section of the yard we decided to build a little pony wall and ‘decorate’ it with solid rock face made from mossy rocks we would collect in the forest.  Little did we know when we took on this project how much work it would really be!

Once we dug and poured the footer, laid the block wall and filled it with concrete we were ready to begin the real work!

First we collected a number of trailers full of hand selected flat mossy rocks from the woods.

2 load em up_IR.jpg

Then we carefully put a large rock base layer along the bottom.

3 putting in base layer_IR.jpg

We chiseled rocks that were too roundy or large, down to a more flat even size.

4 chisel em down_IR.jpg

And proceeded to build up the wall with stone.

IMG_7606_IR.jpg

Because they were such large stones we used screws anchored in the wall to hold them in place, mortared the back side, and used large metal ‘sticks’ to clamp them in place while they dried.

We worked side to side every day, picking the perfect rock to fit into its given space, trying to maintain as small of grout lines as possible.

IMG_7652_IR.jpg

When all the rocks were in place, we used die to color our grout and custom applied and finessed the grout between each rock.

k grout_IR.jpg

Finally we made a cardboard template for the rock top.  The rock top will be custom cut to our template from rock we pick from the rock quarry in Drake, AZ (about 3-4 hrs from our home).

template_IR.jpg

moss walli.JPG

Whew!  A lot of hard work pays off with a beautiful detail wall.

Riding the Log

Some people go to the gym for exercise.  Some people are adrenalin junkies and go white water rafting or bungee jumping.  Here on the mountain, or abroad for that matter, we don’t subscribe to such extreme ‘sports’.  Our work around the house pretty much suffices for our exercise… AND adrenalin fix.

When we were away on our road trip we had a tree fall near the house.  It was only 6′ from the house itself, so we were lucky it fell the right direction… particularly since we weren’t home at the time in case it fell wrong.

treefell_IR.jpg

Now for the task of getting rid of the fallen tree.  The tree measures about 50′ long, 30″ around at it’s base.  We limbed the tree to rid it of all the scraggly branches, and cut the root ball off.

nearhouse_IR.jpg

longtree_IR.jpg

Most people would cut it on the spot and carry up logs for firewood, one at a time.  But that would be too easy.  For us though, this beautiful cedar tree can make great lumber for projects.  We can slab it and make shelves with it, or lathe it and make salt cellars.  The possibilities are endless…. particularly if it is kept whole.

The tree sits down a fairly steep incline, so the task is to get it up the hill … without of course hitting the propane tank, pizza oven, or rocks.  We have a 2′ space we’ll have to thread it into.

uphill_IR.jpg

between_IR.jpg

So we rig up snatch blocks in a tri-pull configuration to snake this 50′ long tree around several trees to thread it between the propane tank and rocks, using the winch from the truck parked up hill.

forks_IR.jpg

We use tree branches as rollers to help finesse it up the hill.logride_IR.jpgtripull2_IR.jpg

When the truck starts sliding over the chalked tires and lumber toward the hill we have to stop to chain it forward to a tree on the top of the hill.

pzza gas between_IR.jpg

John winds up having to ‘ride the log’ jacking it away from the propane tank to situate it through our small opening.

ridinglog_IR.jpg

As a fire fighter with chain saw and sawyering skills, he looks like the poster dude for what NOT to do in those Forest Service training video’s he watches.  All is fine until he is bucked off the log as it makes an unexpected turn toward the propane tank.

We turn to steel ‘rollers’ to get it up the rest of the way.

thru narrows_IR.jpg

truckpull_IR.jpg

Whew!  What a chore.  But we got it up the hill, rode the log, and got enough adrenalin to spare.

whew_IR.jpg

Bird House Condo

What do you think of when you think of retirement?  Relaxing?  Golf?  Travel?   Not having to work!

For me, it is doing exactly what you want to do, when you want to do it.  Not having to report to someone else or appease another for the sake of work.  These days I surround myself with people I want to be around and do the projects, travel, and hobbies that we enjoy doing.

Since retirement, we have worked harder than we did at work… and not pushing paper or on the phone at a desk job.  We have built our home, and large projects which require jack hammers, cement mixers, shovels, picks, and tractors.  The back breaking type of work that yields noticeable large results… but keeps you sore and often hurt.

I have hoped for a day that we can do just this kind of project in retirement… birdhouses!  Simple, small, fun and fulfilling.

We opted to make 3 different size bird houses for a ‘bird house condo’.  We’d make them out of metal… cut them with the plasma cutter and weld them together, then paint them fun colors.  Colorful fun!

layout_IR.jpg
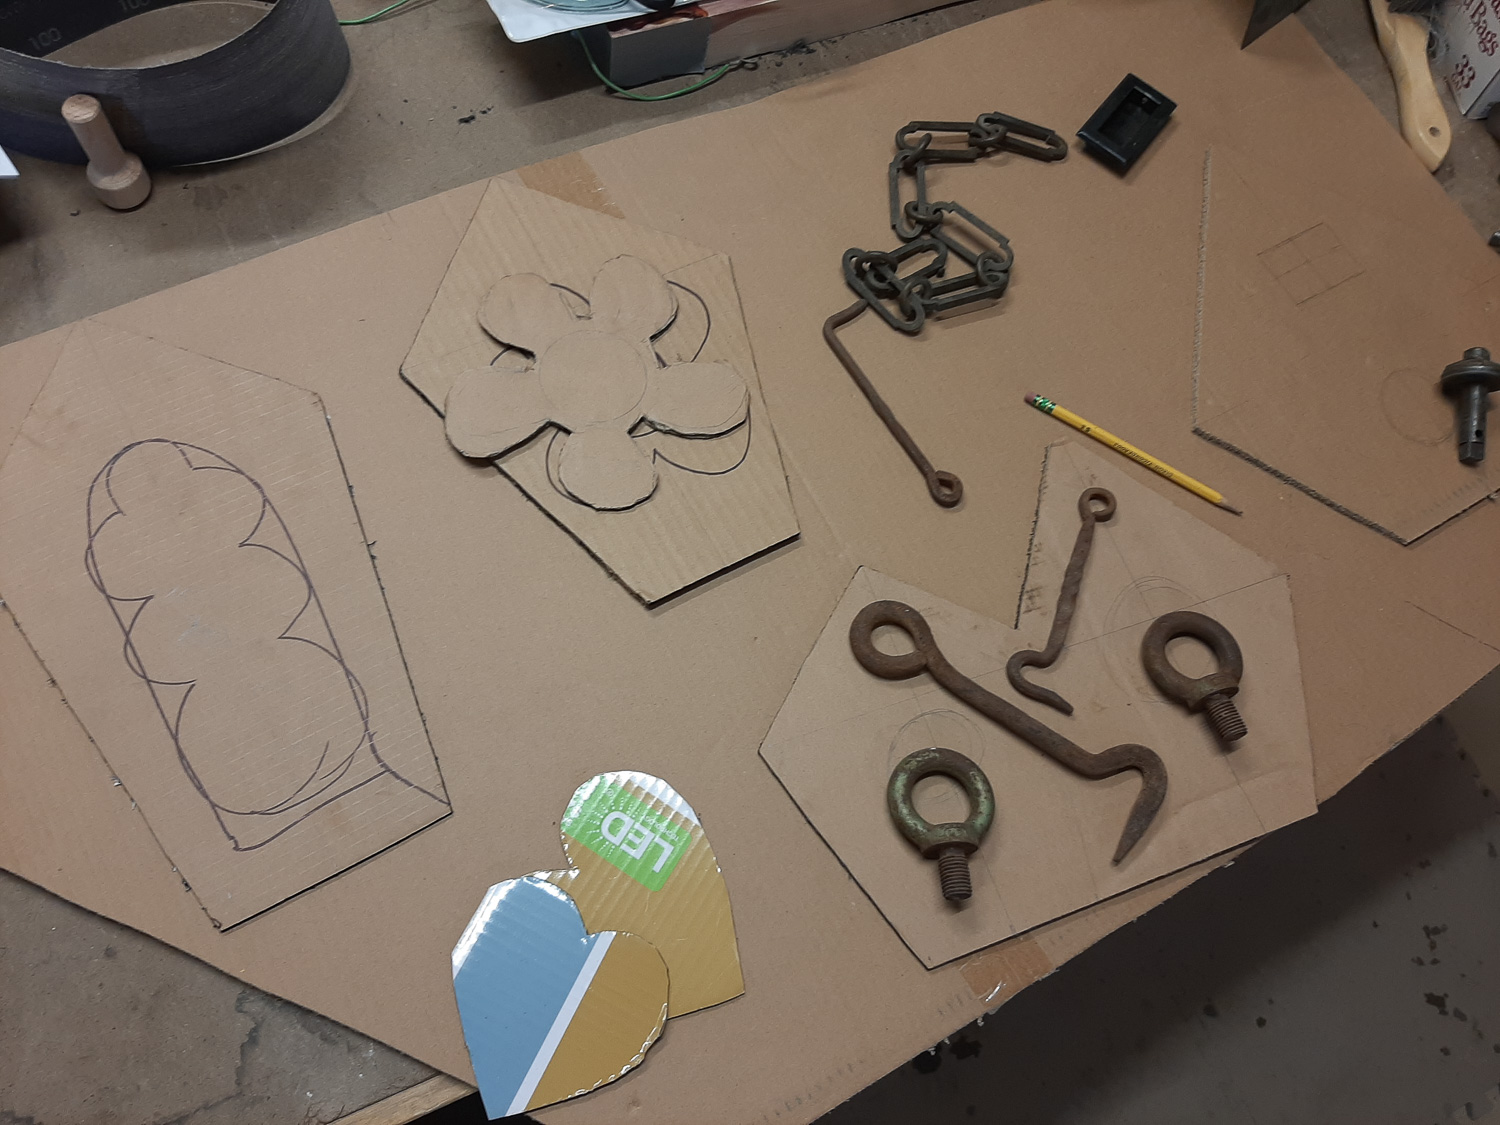
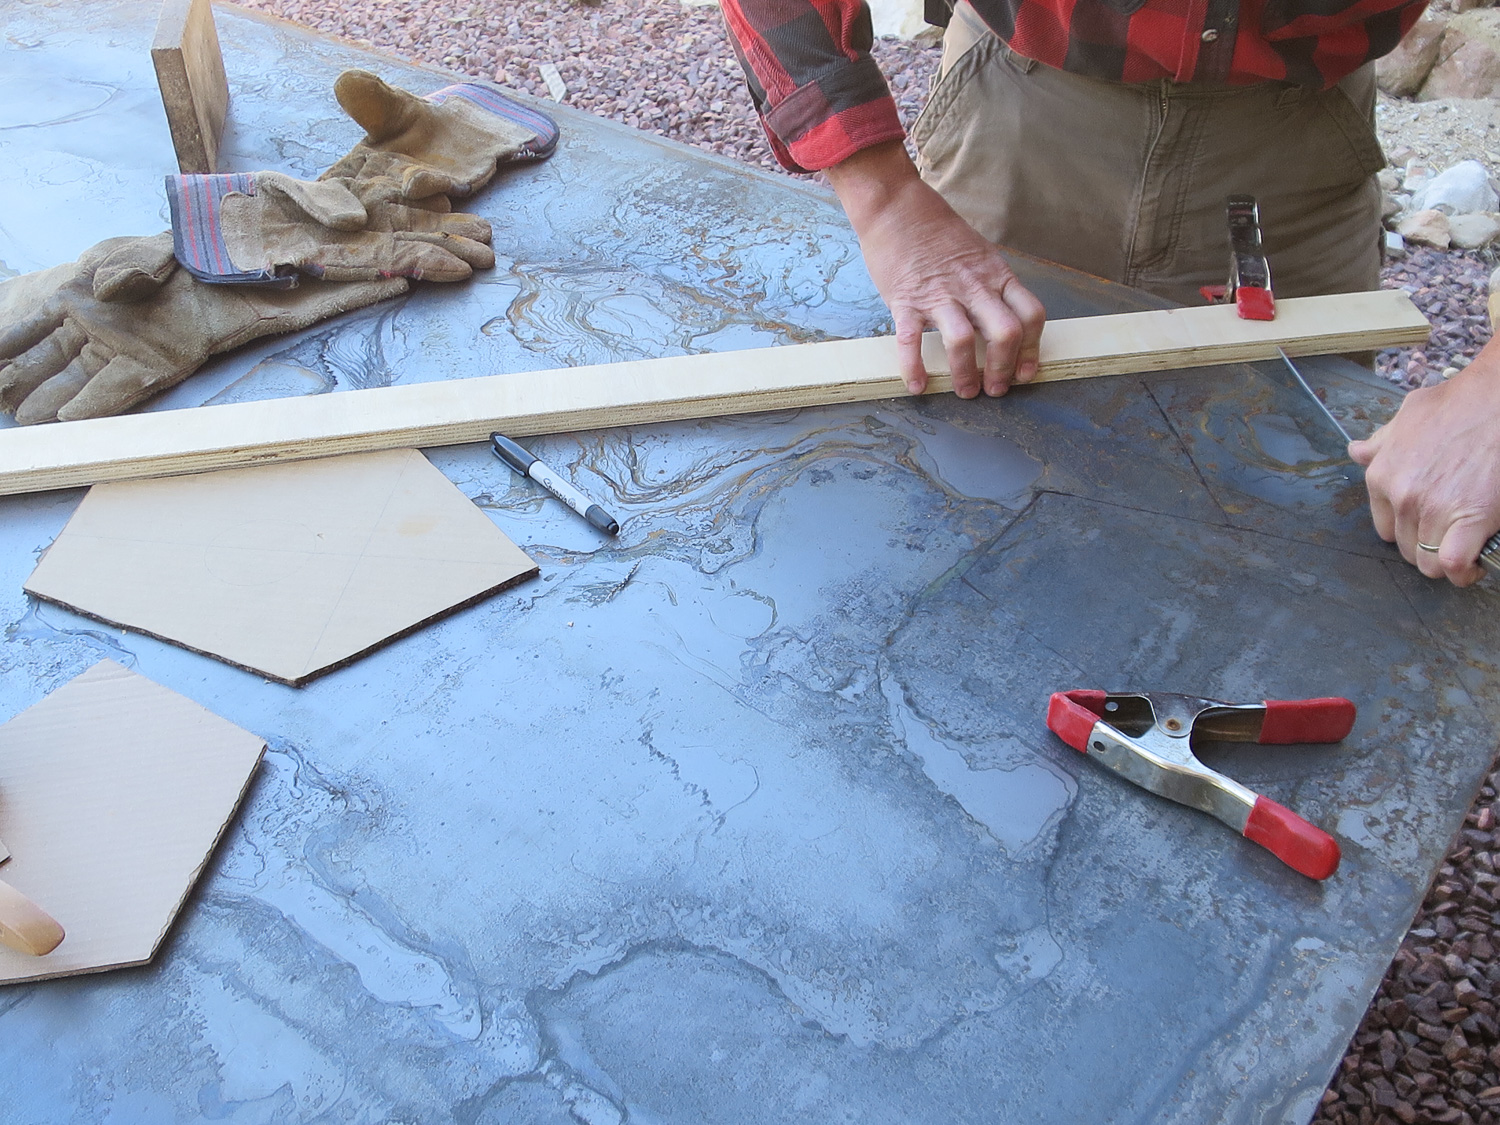
We started with cardboard templates and marked them onto our sheet metal.

plasma cut clos_IR.jpg
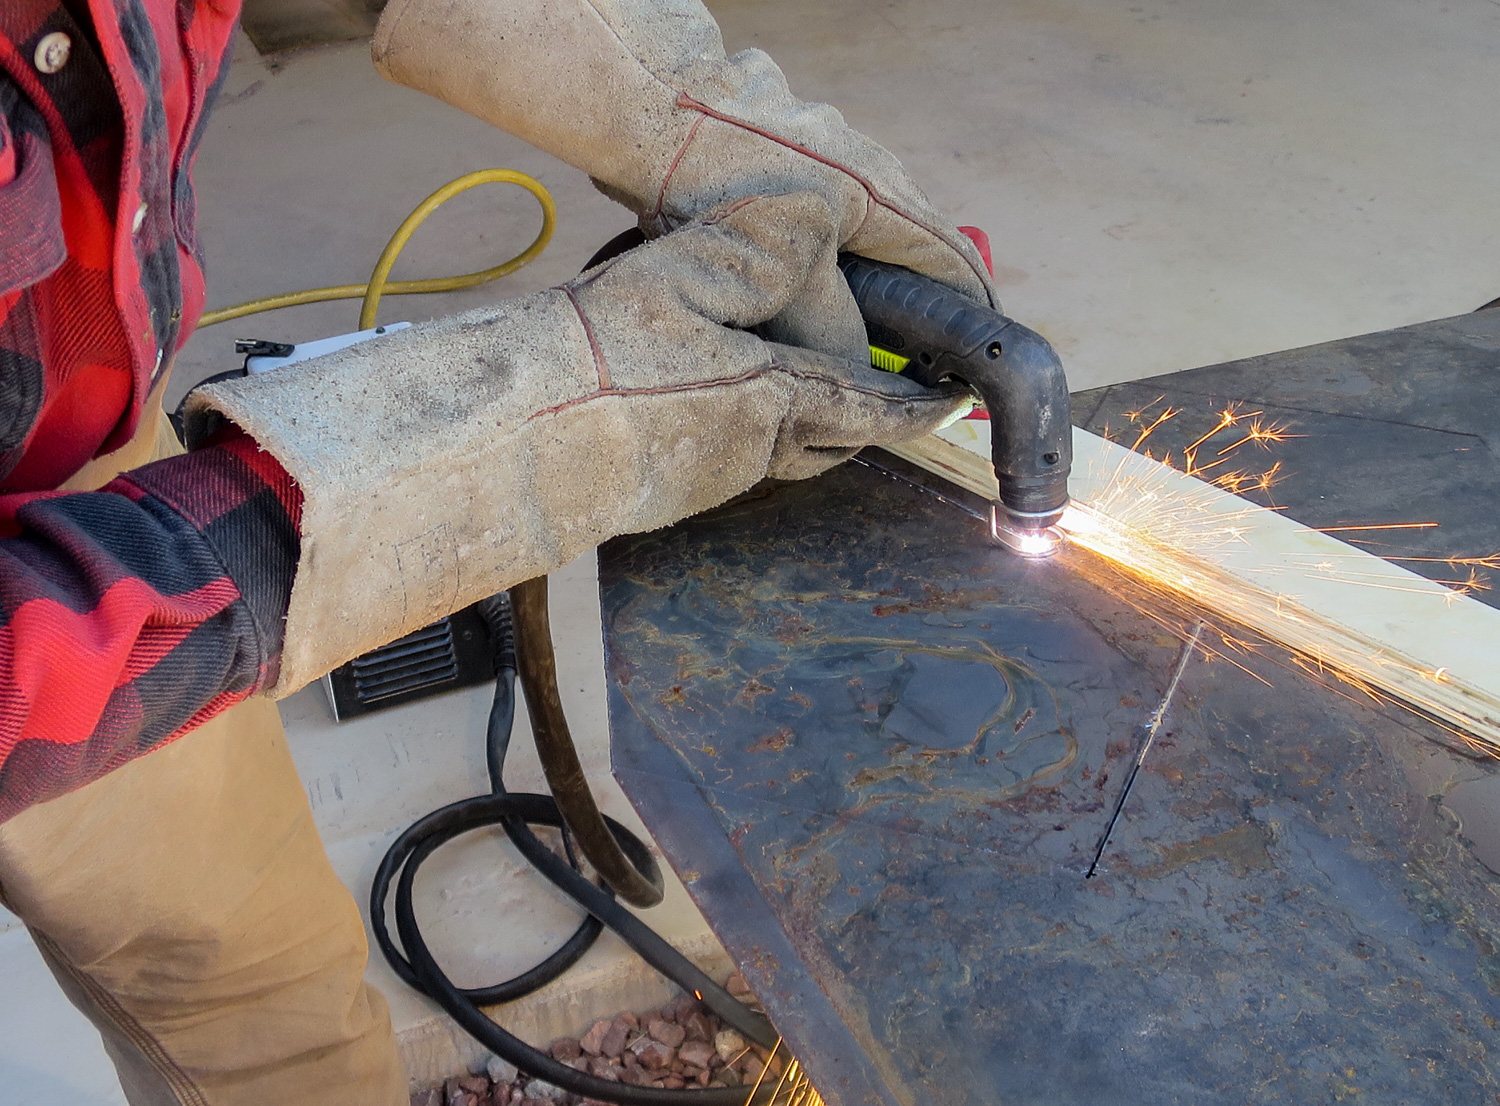
Then we cut them out with the plasma cutter, along with the accouterments (flowers and hearts).

flwr cut_IR.jpg

Then we set them up..   .corner set_IR.jpg

… and welded them together

weld hous_IR.jpg

welding_IR.jpg

bending roof_IR.jpg

hous_IR.jpg
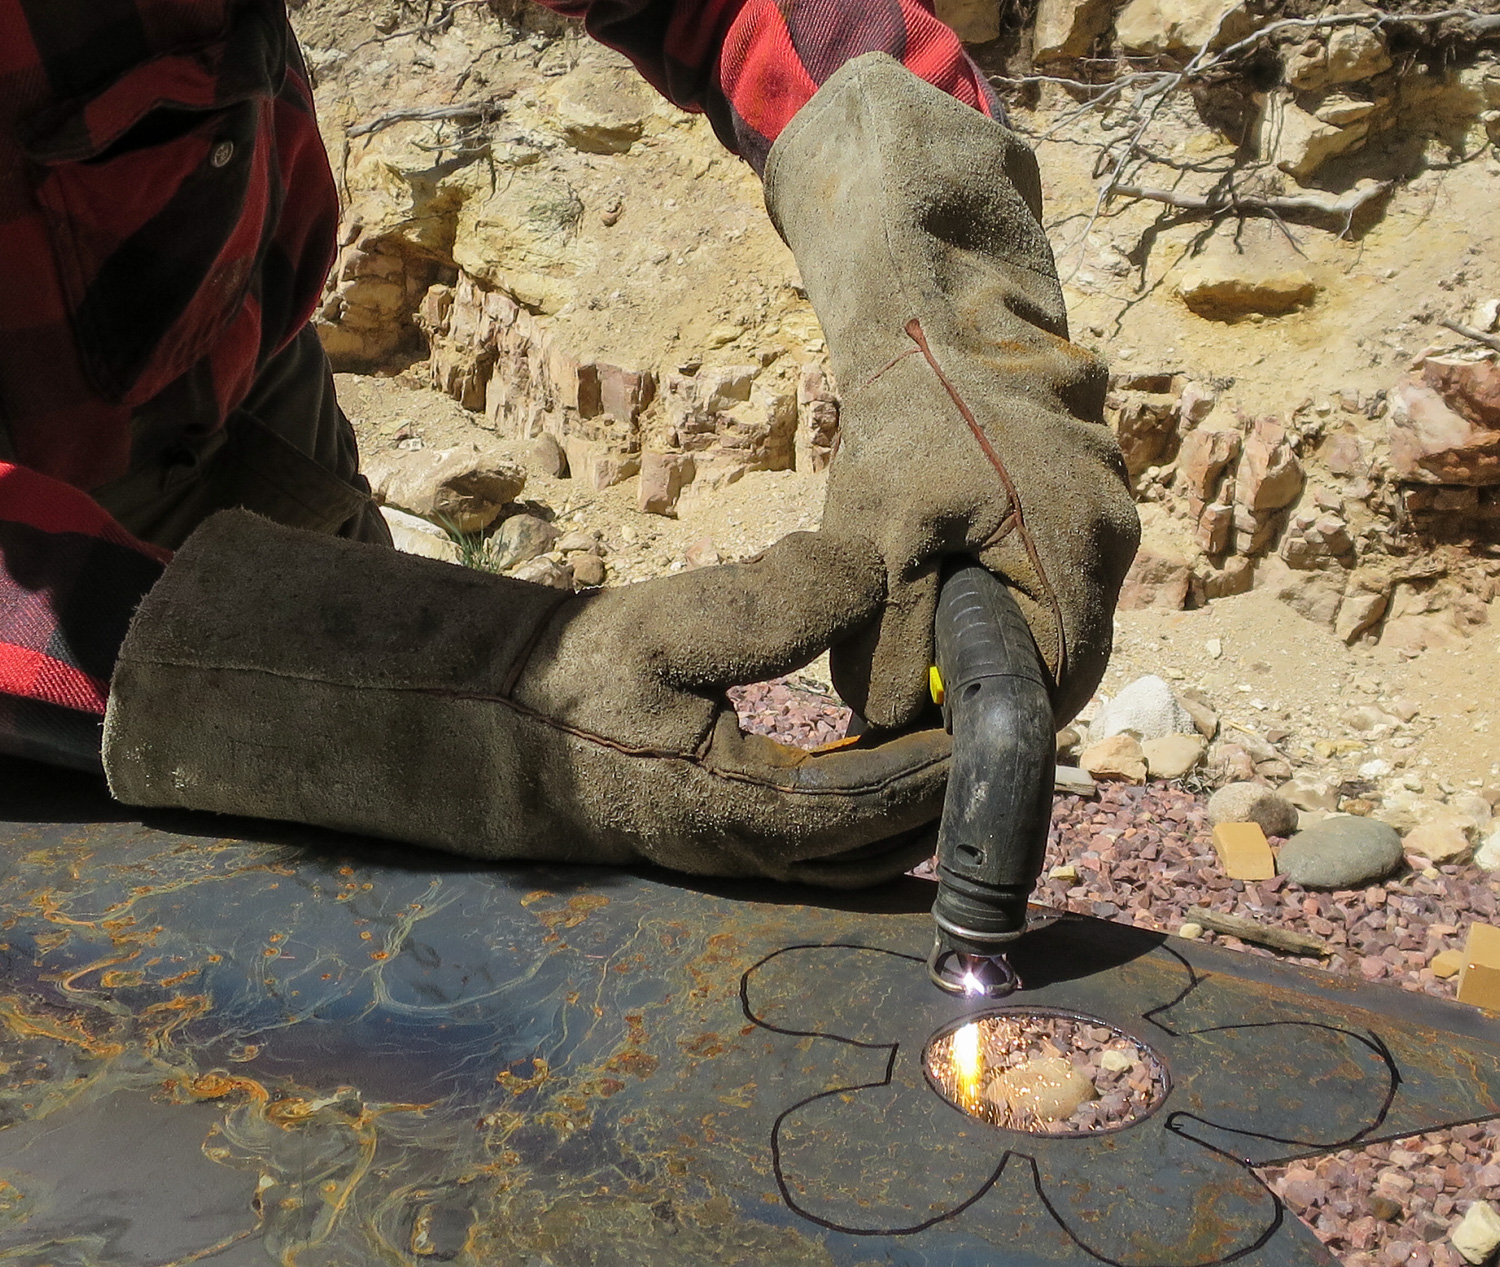
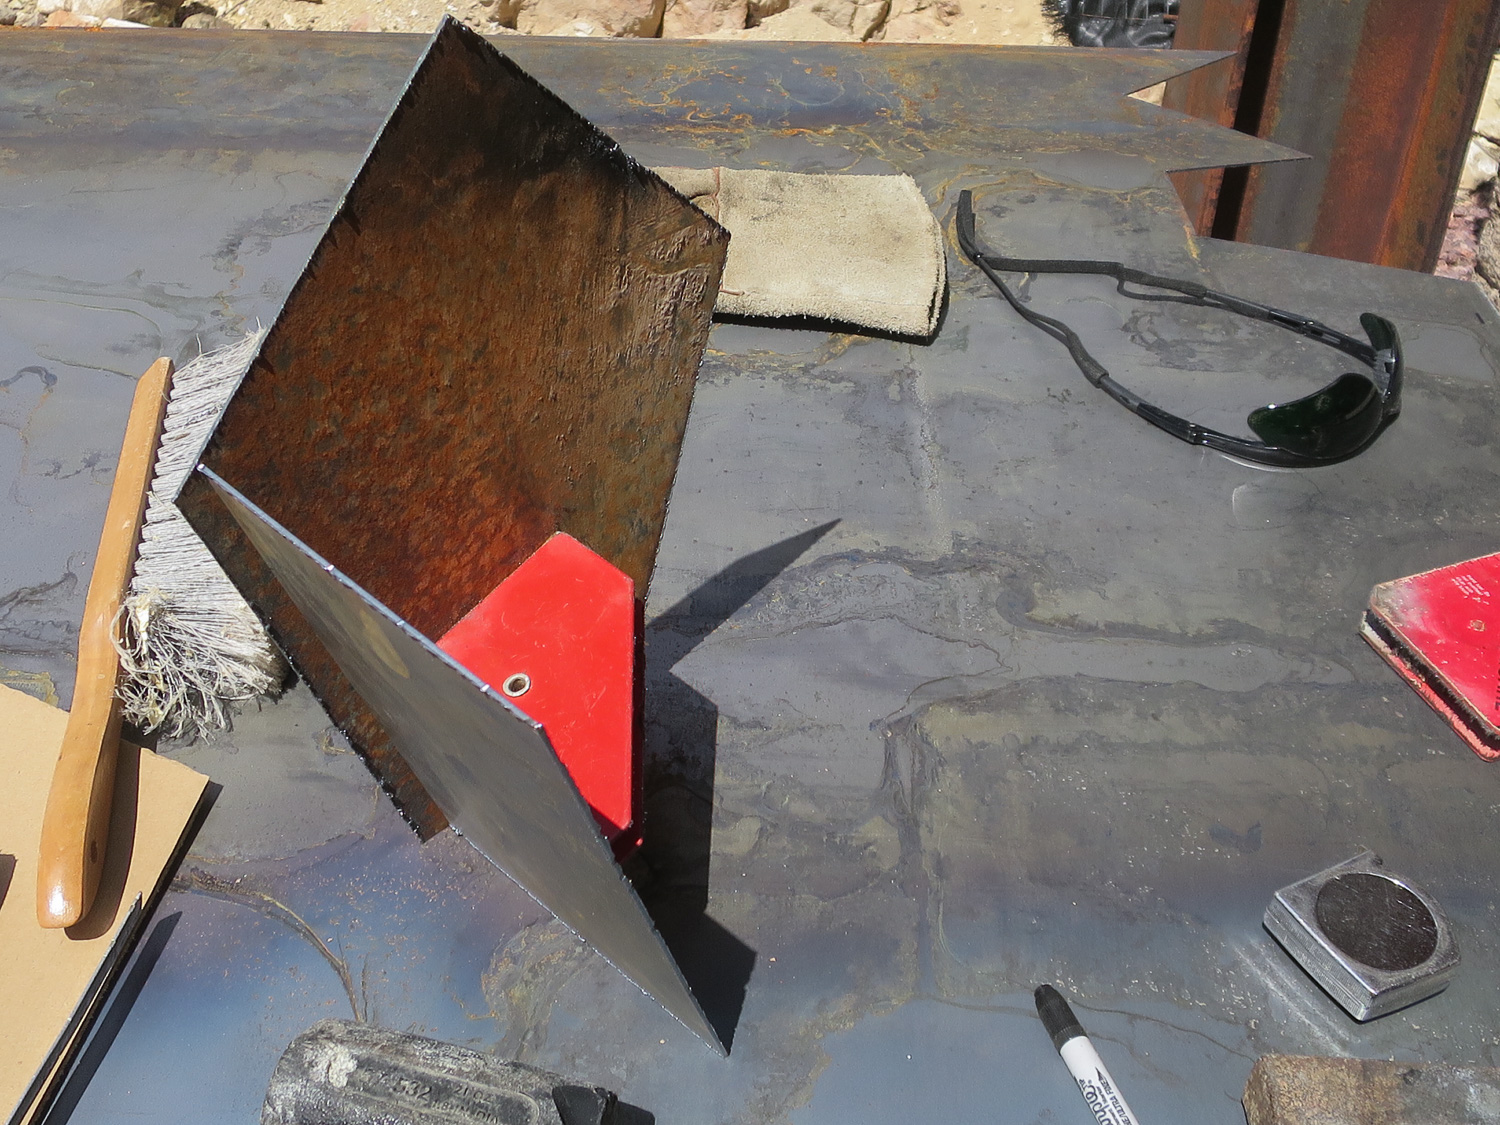
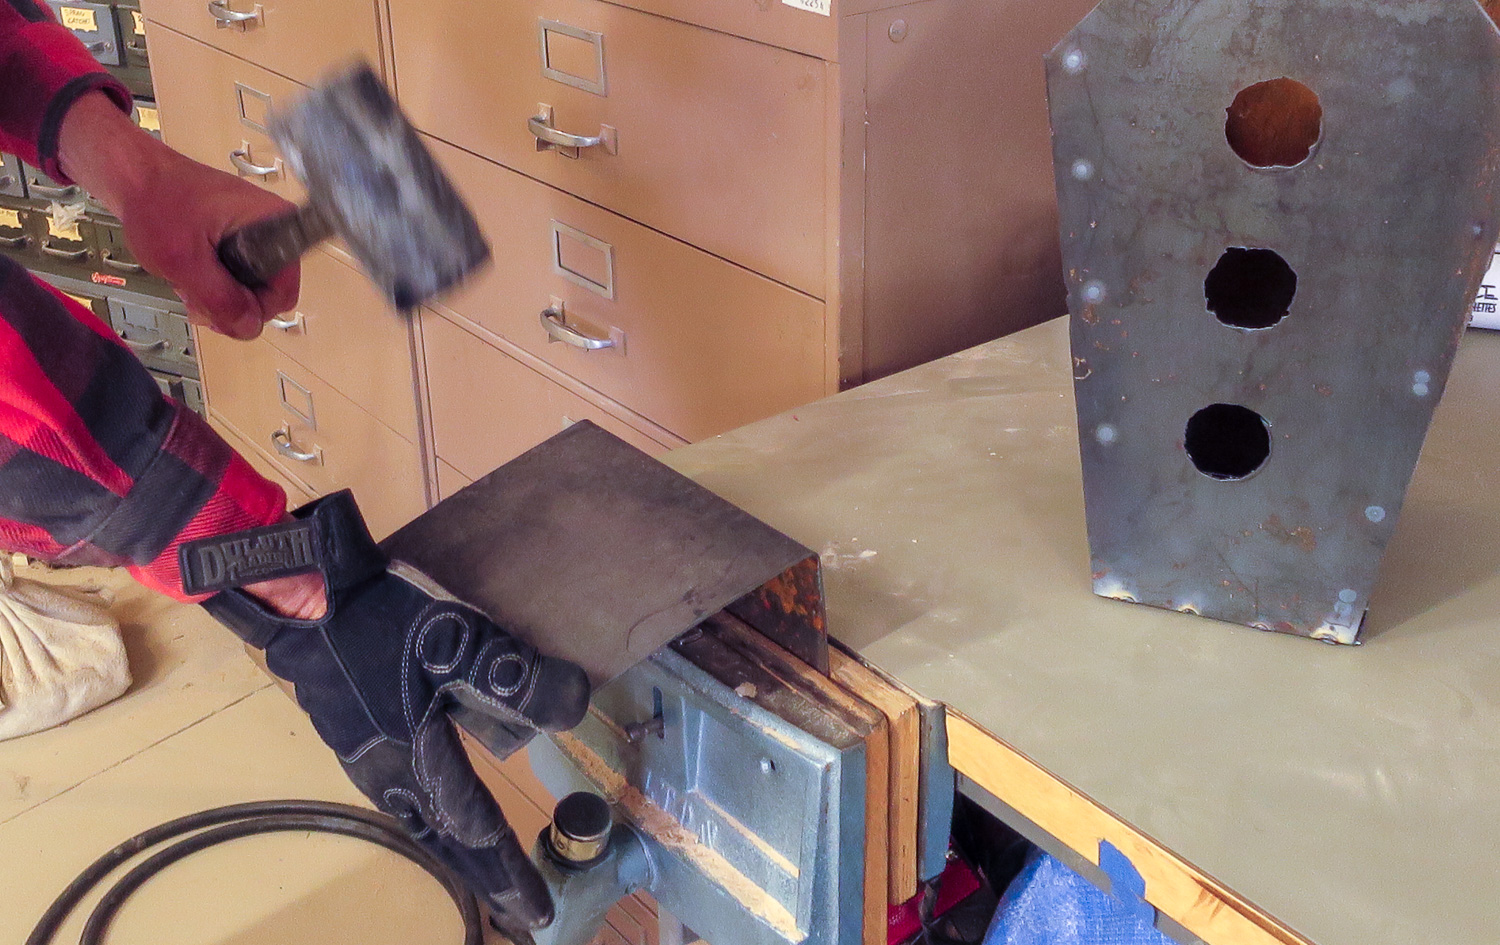
We hammered out roofs….

Then painted them.  We dug a hole, poured 3 bags of cement and installed a post.

We built a ‘receiver’ and mounted the bird houses on the receiver and installed them in place.  For good measure we put a snow gage below them so we could measure the snow in the winter.

I think they came out pretty good…. we enjoyed designing and building them… and they are fun to look at it.  You know… I think we are finally starting to retire.

color_IR.jpg

bird snowgage_IR.jpg

Retaining Wall

So if you have been following me and my blog, you are probably aware that this blog is one of three blogs I try to keep up with.  I have my foodie blog, krittersmenu.com; and my photo blog, kritterspix.com.  Maybe you follow just one or all three.

This blog, kritterspaw.com, is my general blog.  It is more travel and project centric.  Having said that, I haven’t posted a lot of projects lately.  So if you’re following, you’re probably wondering what happened after that massive pizza oven project.  Well, don’t despair, we haven’t hung up our hammer or power tools.

When we first built our cabin in the woods 5 years ago, we designed and built a bridge to literally ‘bridge the gap’ to our house.  You can see that video here.

While the bridge incorporates several safeties to assure there are no ‘surprises’, we have found that the ledge of the moot is crumbling and eroding with the weather shifts.  Thus, we have embarked on securing the wall.  Admittedly there are many different ways to approach this problem statement, and we debated many of them.  What we decided on was a rebar and wire mesh lined with landscaping cloth, anchored on the stable land, and filled with rock.

wire walli.JPG 
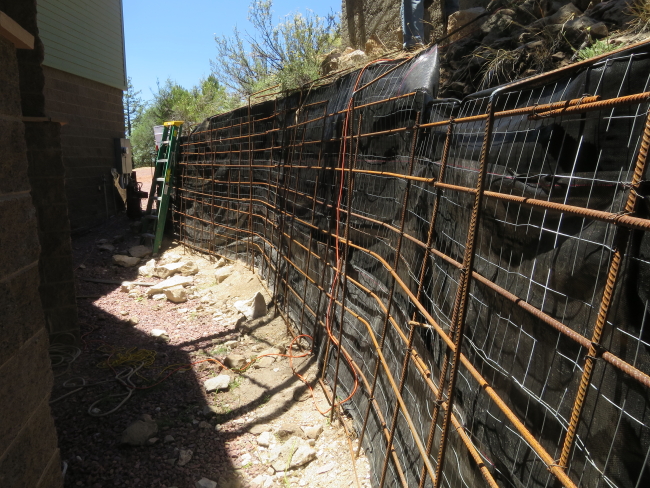
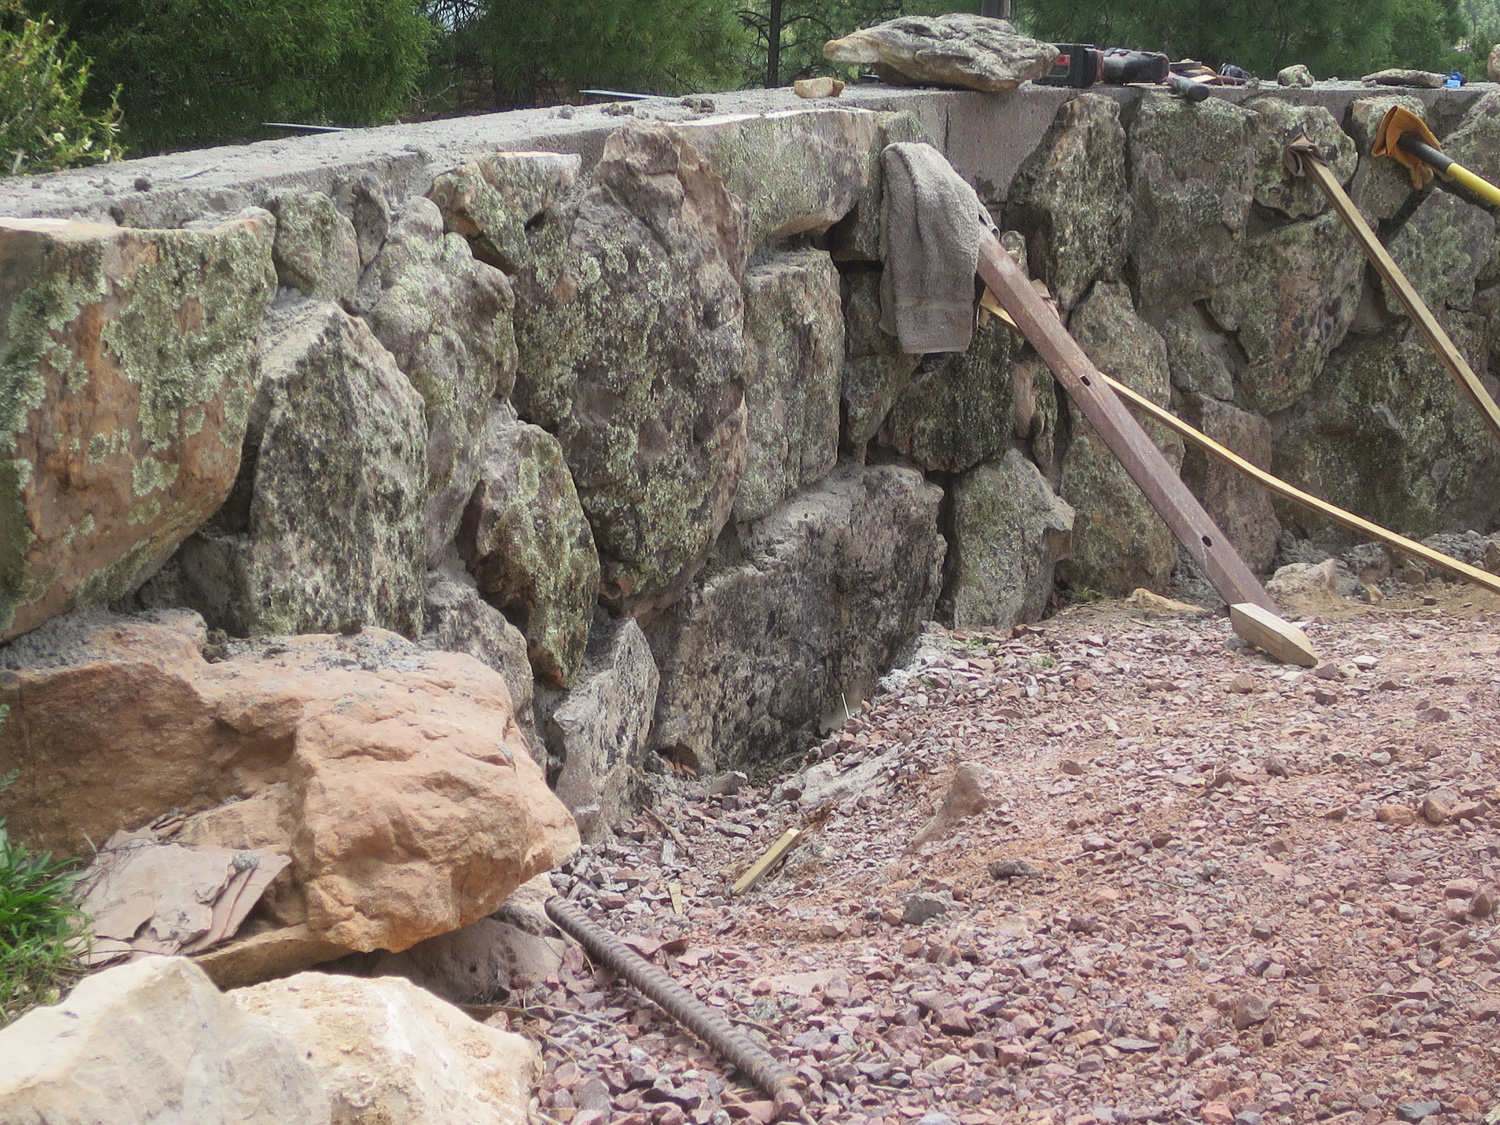
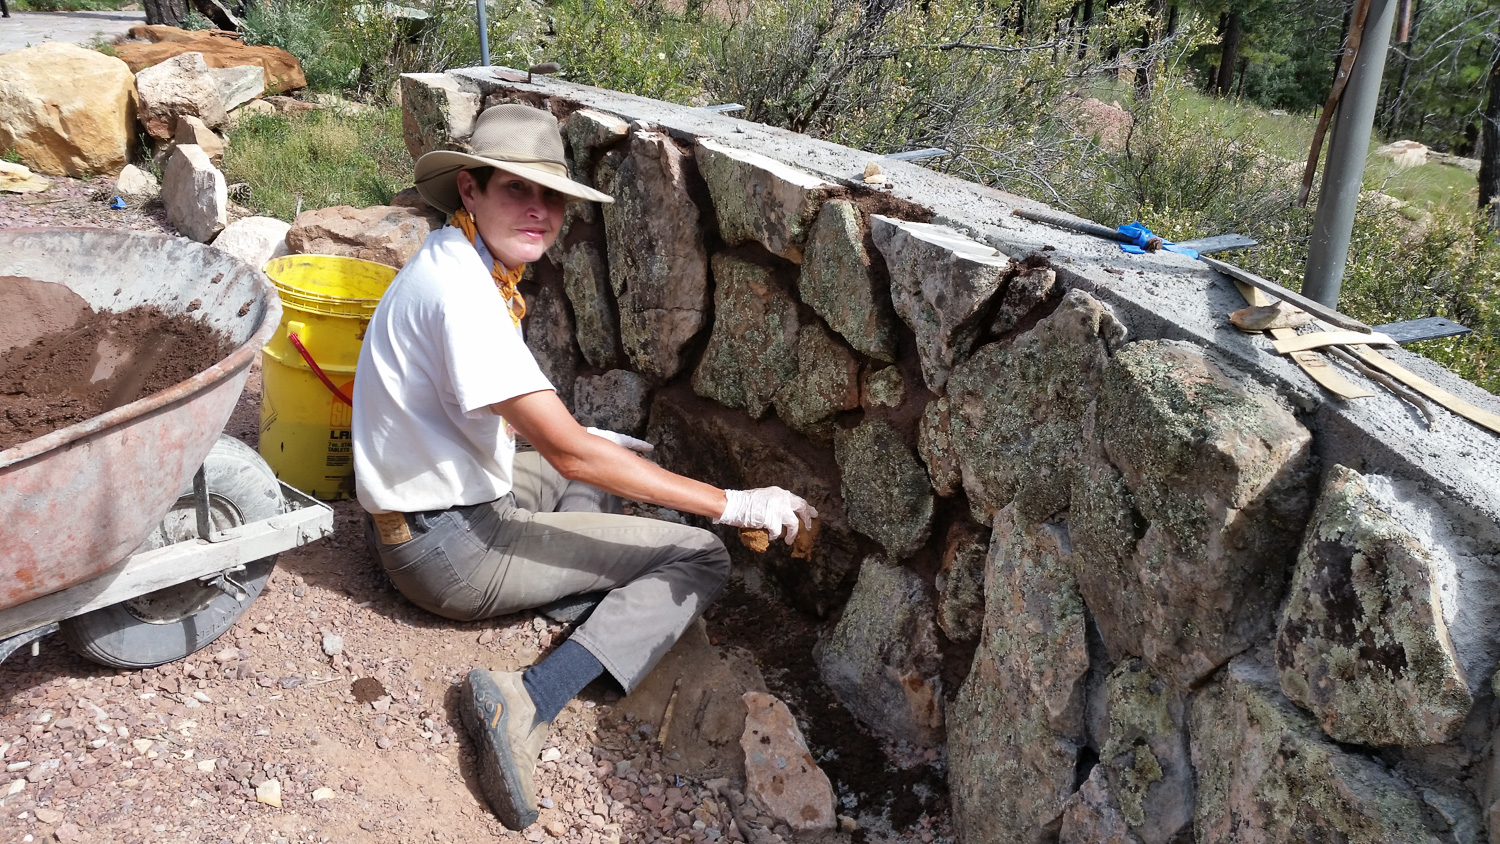
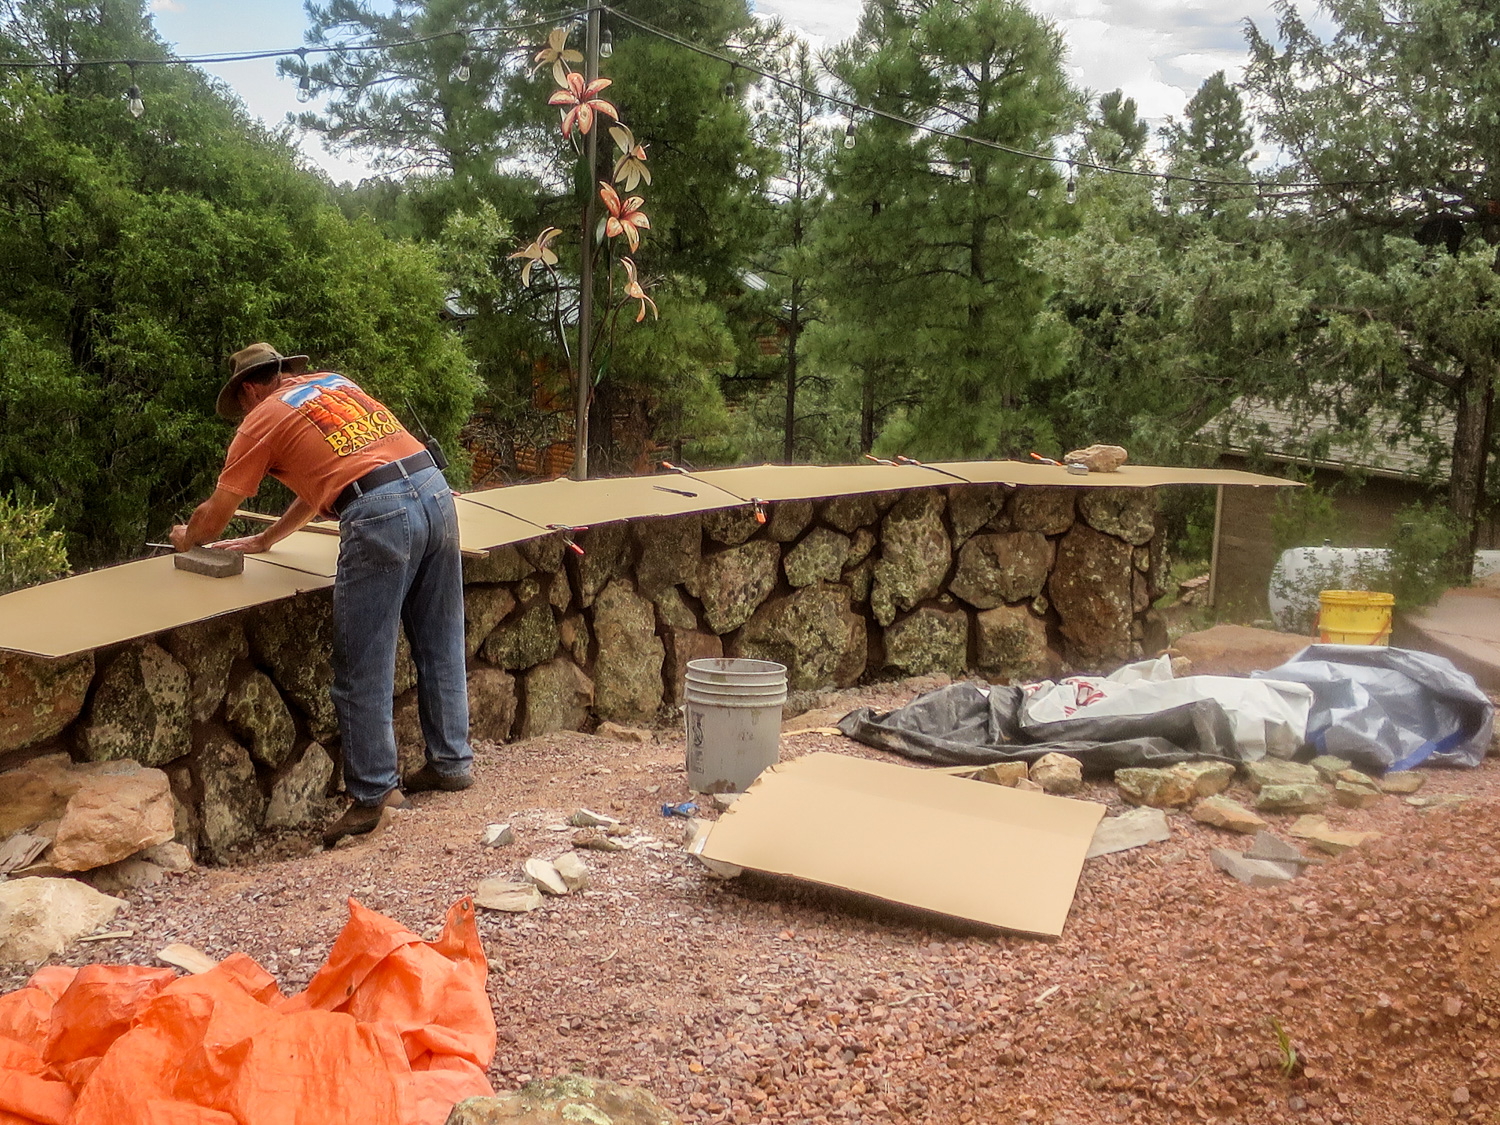
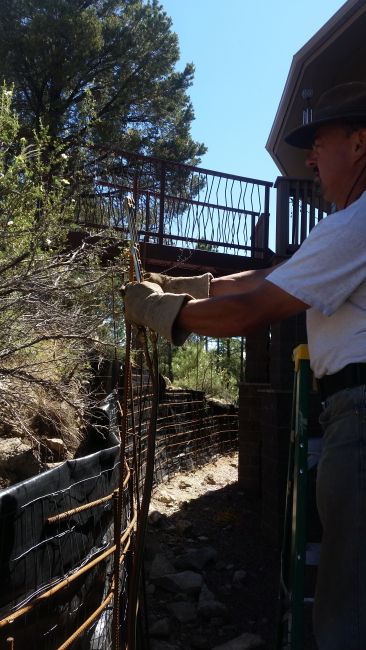
This re-bar wall winds around the solid land dirt crumbling wall.  In all it’s over 60′ long.  The re-bar is in; the wire mesh, and landscaping cloth all installed.  It is drilled and anchored to solid ground, and now awaiting to be filled with 25 ton of crushed red granite. blk cloth2i.JPG

blk cloth3i.JPG

Believe me… pictures don’t do it justice.

Next up, we will plasma cut metal animals to ornamentally grace the wall.


Salt Cellars

saltci.JPG

As we continue to finish up the pizza oven exterior (currently working on the pizza oven doors), we shift our attention to the ‘accompaniments’ to the pizza oven.  Not only will be have to develop custom drawers and ‘tool rack’, we’ll have to develop the tools themselves (pizza peel, brush, etc.) and a system to break them down for storage.  Alas, we are not quite there yet.

But we did find time to make salt cellars for the salt, crushed red pepper, and oregano condiments that will accompany the pizzas once they are finally coming out of the oven.

salt cellari.JPG

We made several… out of red heart cedar… and spruce.  They’ll make great details for our custom pizza oven.  I’m ready to make pizza… too bad our pizza oven isn’t.

ss openi.JPG


More Gourds

hunteri

I had some lingering gourds sitting on the bench that needed to be worked so that the bench could be cleared for the next project — shelving units for my office.

So I sharpened the pencil, heated up the wood burner and got to work.

aspenfalli

I wanted to do designs that were colorful and different.  I wanted them to be fun and professional looking.  I also wanted to take better photos of the finished projects.  What I have learned in taking photos of them, is I have a lot to learn about studio lighting.

AZi

My photographer friend, Maureen, turned me on to LimoStudio Lighting, http://www.amazon.com/dp/B009F37LW8/ref=pe_385040_30332190_pe_175190_21431760_3p_M3T1_ST1_dp_1 .  For under $40 I got a tripod and soft box lighting.  Using it is another talent altogether… one that I still need to work out the kinks with, (though I am improving).

balloonsi

I do like the way they came out.  The colors and designs are original, fun, and professional… just as I had hoped.  Time to put the gourds away and move on.

dragonfliesIIi